He hit me…

screen-shot-2016-10-17-at-11-43-32-am

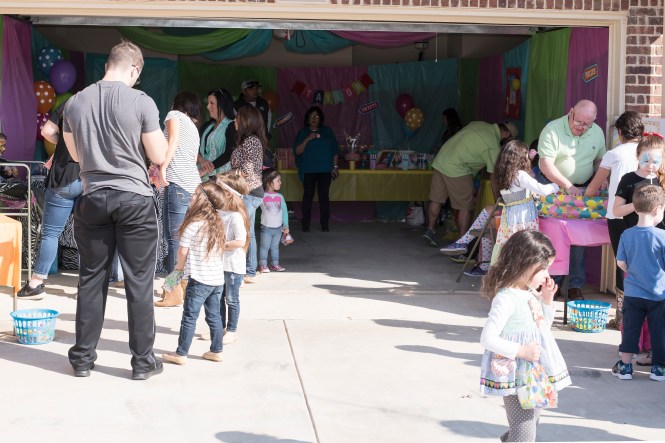
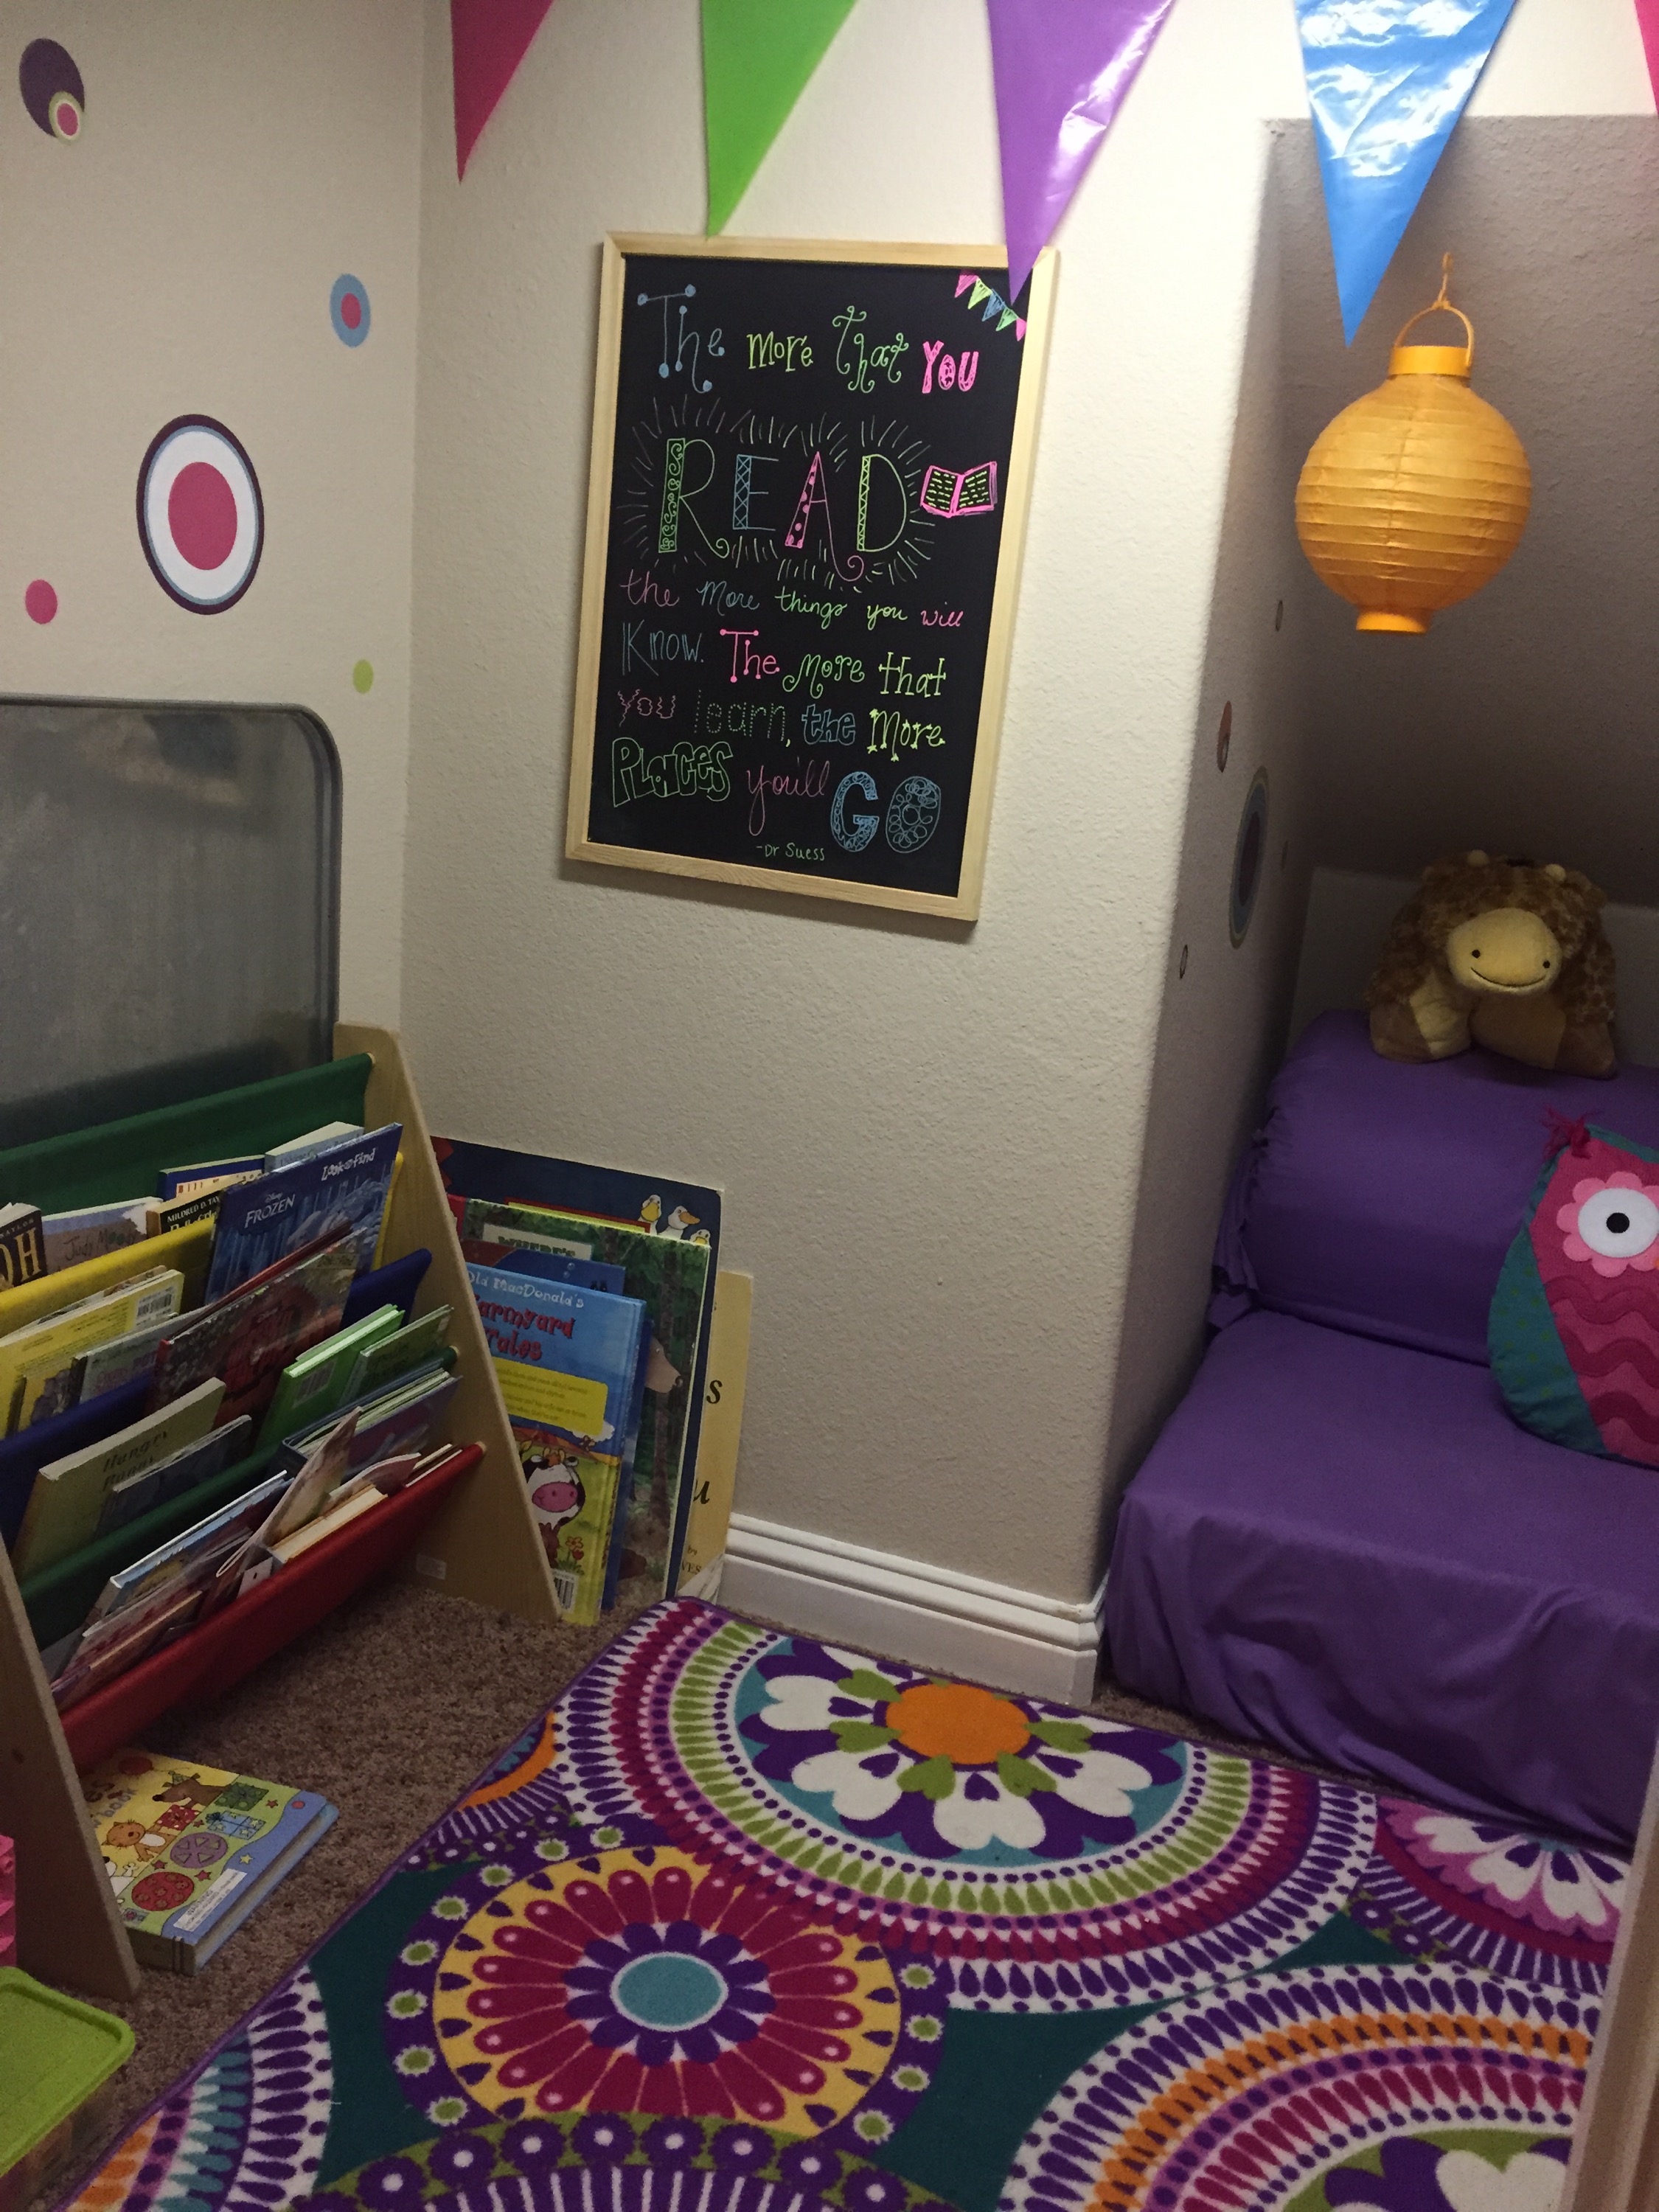
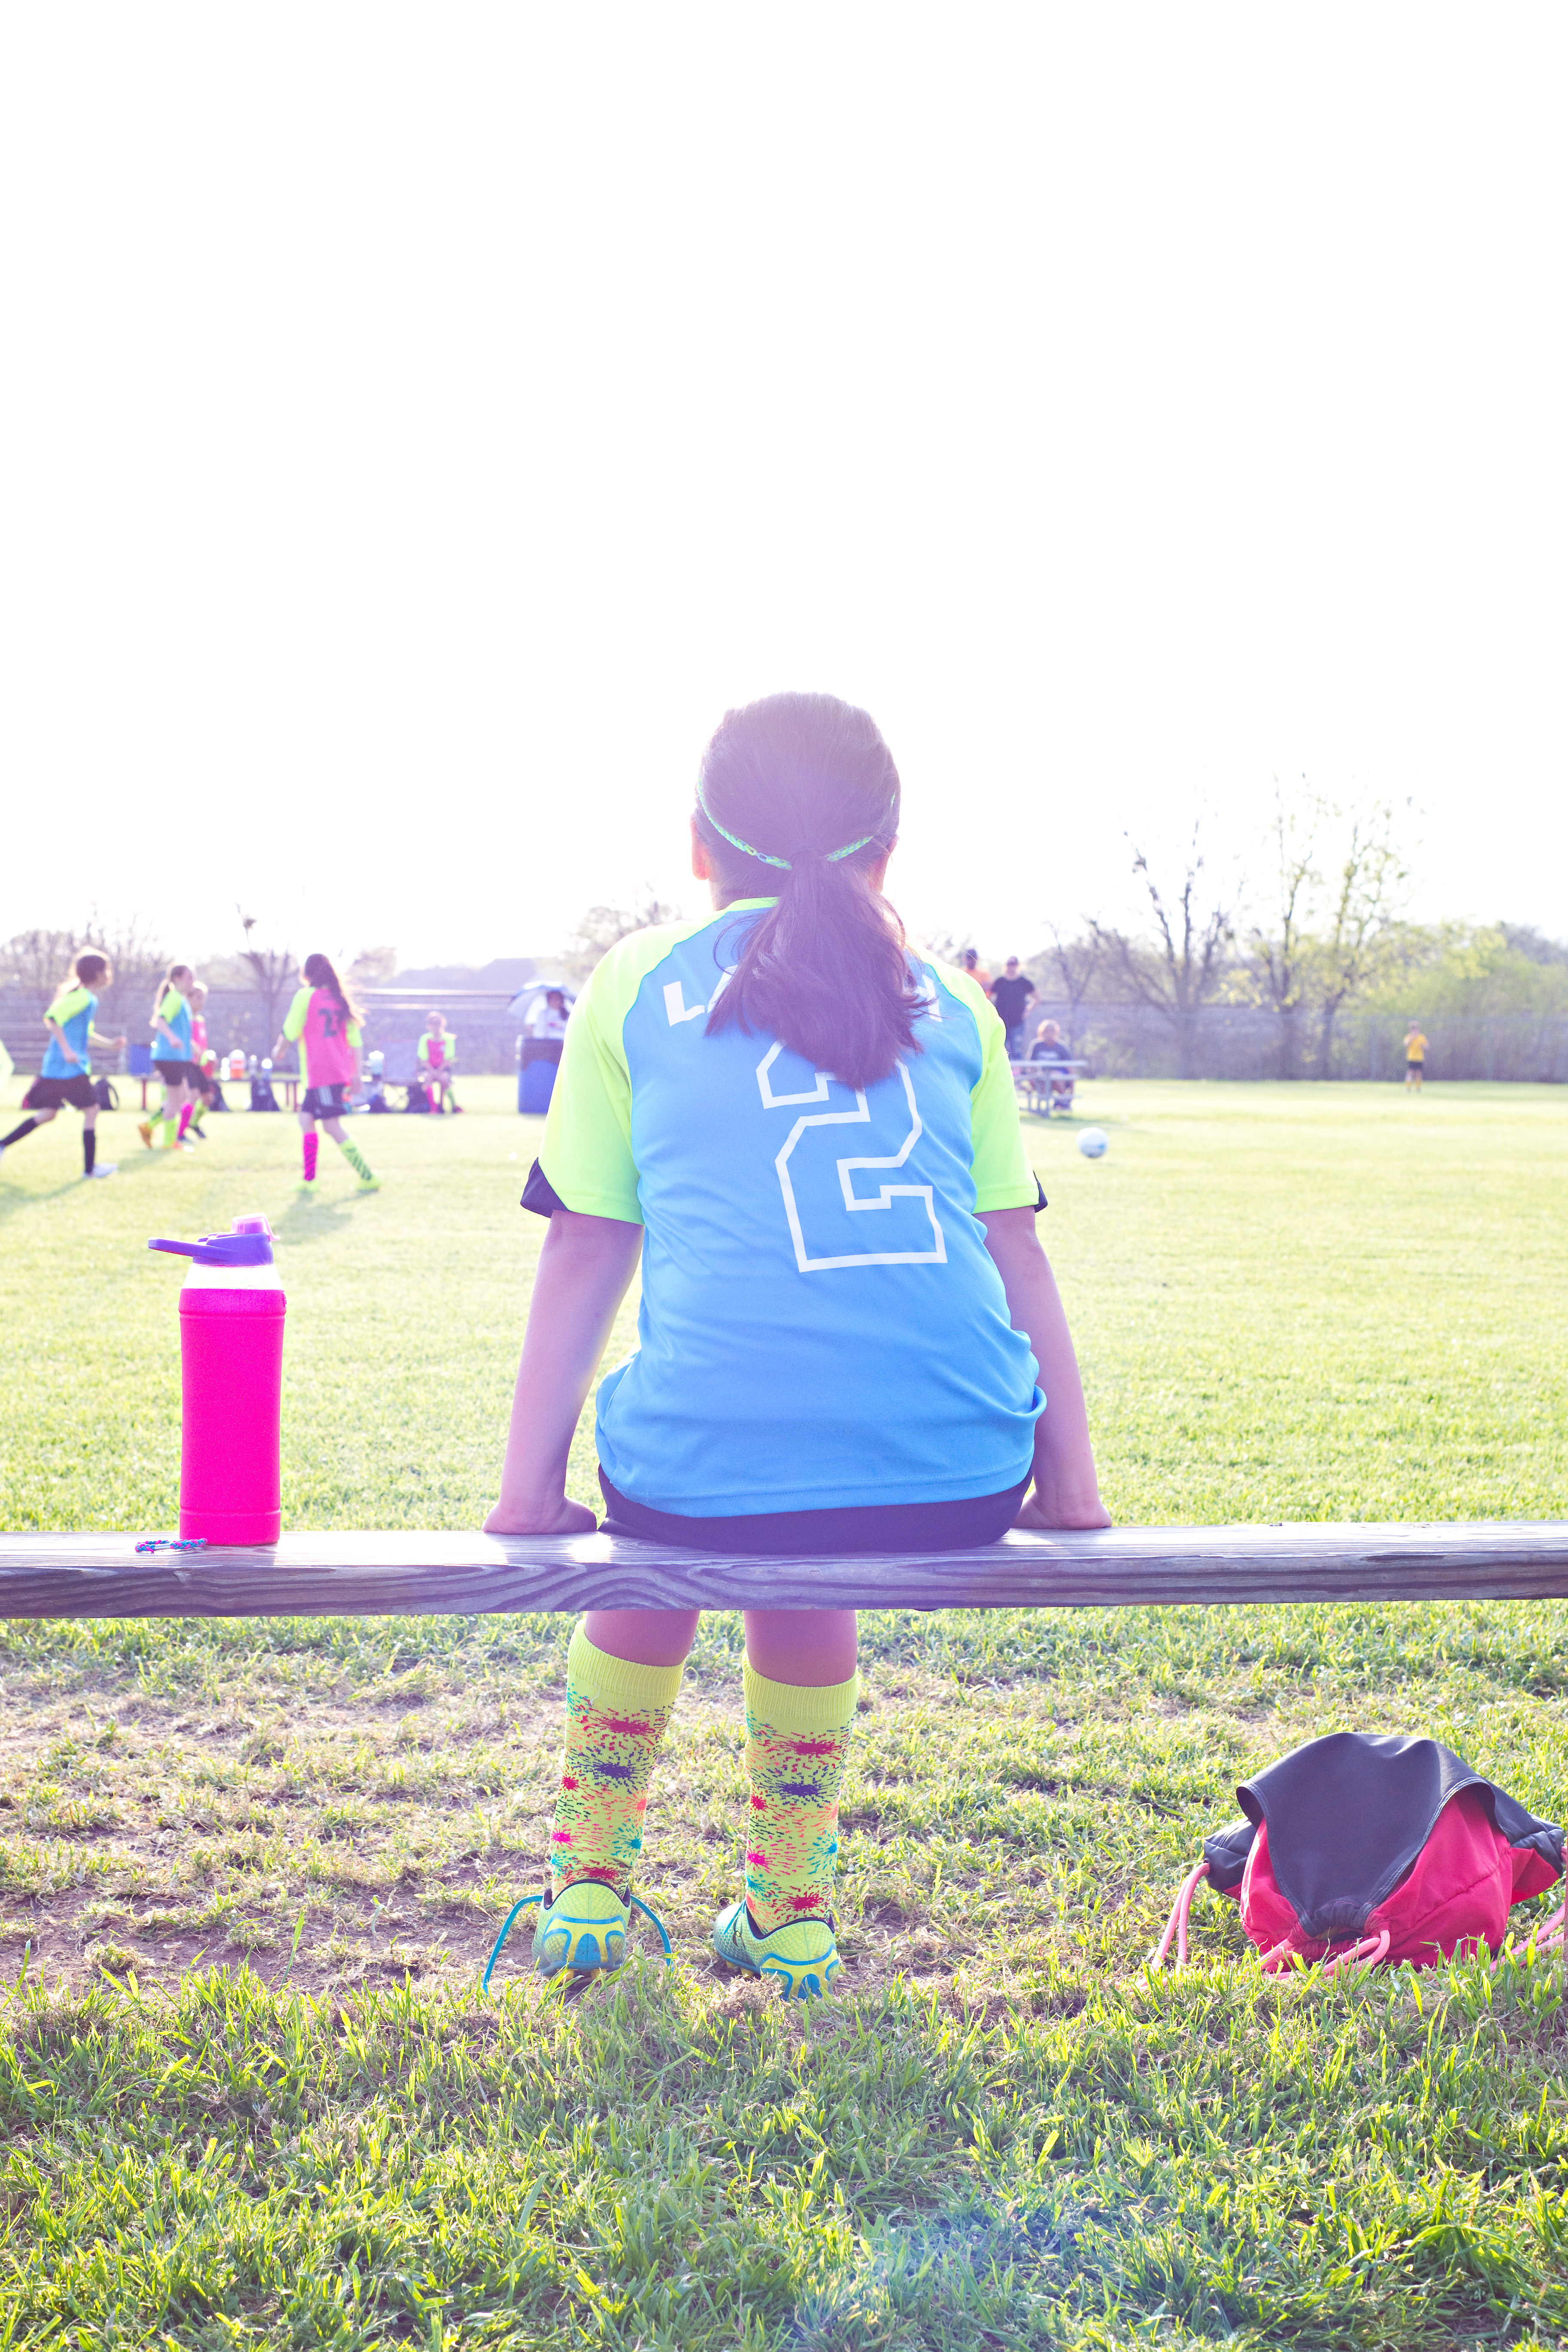
Did you know October is Domestic Violence Awareness month?  Yeah, I didn’t either, it clearly doesn’t get enough attention!  I feel a little nauseous with what I’m about to share with you.  This is not something I’ve talked about much in depth with anyone, even my own family.  As most of you may know, this is my second marriage.  What some of you may not know is that I am a domestic violence survivor.  There, yeah, I said that, out loud.  Feeling completely vulnerable right now because I’ve never considered myself to be a “victim” or a “survivor” of any sort.  That makes me sound heroic or something and I definitely do not feel heroic!  As I cleaned an old file cabinet drawer this month, I stumbled upon a large file containing numerous court documents and police reports.   I sobbed uncontrollably as I read through as I had forgotten (or tried to forget rather) the details that these reports contained.  In an attempt to raise more awareness on the matter, I’m going to be sharing parts of these stories with you this month.

I’ll start with a little backstory:  I married my high school sweetheart at a very young age (19 to be exact).  He was handsome and funny and could always make me laugh.  He was not without flaw and I knew that from the get go.  Honesty was never a strong quality he possessed and this was often a problem for us even throughout the dating and engagement years.  I knew he had been involved in several physical altercations with schoolmates throughout the years (prior to me really) but what young man hasn’t?  He was never violent with me, in fact, throughout our 3 years of dating/engagement, I only saw him remotely violent or agitated once.  Marriage, as you know, at any age, is difficult.  Ours was no different.  We were still struggling to find ourselves, we were growing up together, and dealing with very adult things like BILLS and jobs.  After a year of marriage, I found myself expecting.  He was less than thrilled and demanded that I have an abortion.  I refused and said I would raise the baby alone if I had to.  He knew there was no changing my mind and all I really ever wanted to be was a mother.  Our relationship was strained from then on.  Although he eventually came around and embraced the pregnancy and seemingly loved our daughter very much, our relationship never recovered.  Raising a baby with a man who initially wasn’t sold on fatherhood was difficult enough, raising a baby with a man who could barely hold a job was downright torturous.  We tried to make it work but no matter how hard tried, our resentment for one another only grew.  It seemed we were more roommates sharing a child than a newly married young couple.  We rarely spoke, we fought often, and rarely agreed on anything.  I was 22 years old with a 1 year old child when I began to drink.  Not heavily, not daily, not around my child but enough to contribute to our already mounting problems.  It became an escape for me.  I began going out a couple of times a week with friends.  At first I would invite him along because I desperately wanted to have fun with him.  We rarely had fun together though and I told myself i needed time away from him and the baby to unwind.  I would stay with her all day long, bathe her, feed her, and put her in bed and then I would be off to the bowling alley or our favorite local mexican food restaurant for fun and drinks.  I will never forget the first time he hit me.  Sights and sounds from that night will forever haunt me.  They are etched in my brain permanently.

It was a Thursday night and we had plans to go to a friend’s house for game night.  They were a young married couple too and lots of fun.  My mother was planning to keep the baby that evening and when he came home from work I was excited to go but he was in a terrible mood.  At the last minute he decided he didn’t want to go.  I decided I would go anyway because the thought of being cooped up with someone in a terrible mood all night sounded dreadful.  He wasn’t happy about it.  I don’t know exactly what led up to this point but I remember arguing with him for hours.  Literally, hours.  I was bringing up past issues, he was being unbearable, it was undoubtably tense.  In attempts to diffuse the situation, I turned my back to him and began to walk from the front of the house to our bedroom in the back of the house.  As I neared our daughter’s bedroom down the hall, he rushed up behind me and grabbed my hair.  He threw me to the ground and then sat on top of me.  He slapped my face repeatedly and yelled at me.  He had a crazed look in his eye I’m not sure I had ever seen before.  Pink flip phone in hand, I tried to wrestle him off of me unsuccessfully and dialed 911 with my unrestrained hand.  As soon as he realized what I was doing, he grabbed the phone from my hands, ripped it in half,  and threw the pieces to his right.  It happened to hit and crack the window to my daughter’s room.  I told him I wanted my mother.  I begged for him to let me take my daughter and go to my mother’s house.  He lifted me off the ground by my hair and swiped my daughter up in his free arm. She was crying all the while.  Not crying, screaming bloody murder.  I was also crying hysterically.  We were both absolutely terrified.  He put her in the backseat and threw me in the passenger seat slamming the door behind him and than began to drive. I thought about getting out and running but I couldn’t leave HER.   He yelled at me the whole way.  He said terrible things  to me like “I should drive you out to the middle of nowhere and kill you”.  I wanted so desperately  to remain calm for my child but regaining my composure at this stage proved to be difficult.  He drove for what seemed like an eternity and eventually pulled up to my parent’s house.  My father was out of town and it was very late.  Probably about 1 a.m.  I rang the doorbell still crying, holding my daughter while he still had his hand tightly clasped to me left arm.  My mother answered the door confused and half asleep.  I remember blurting out “he hit me” in between sobs and her quickly ushering us inside.  He left.  She grabbed the phone and said she was calling the police.  I urged her not to.  I was confused and scared.  We never called the police that night.  Something that the both of us will probably always regret.  The next day he was back with flowers, gifts, tears, and seemingly sincere apologies.  He was under a lot of stress I told myself.  Being a husband and father in your early 20’s can certainly take a toll on anyone.  So we went back home with him with a solid promise it would never happen again.  Only… it did.
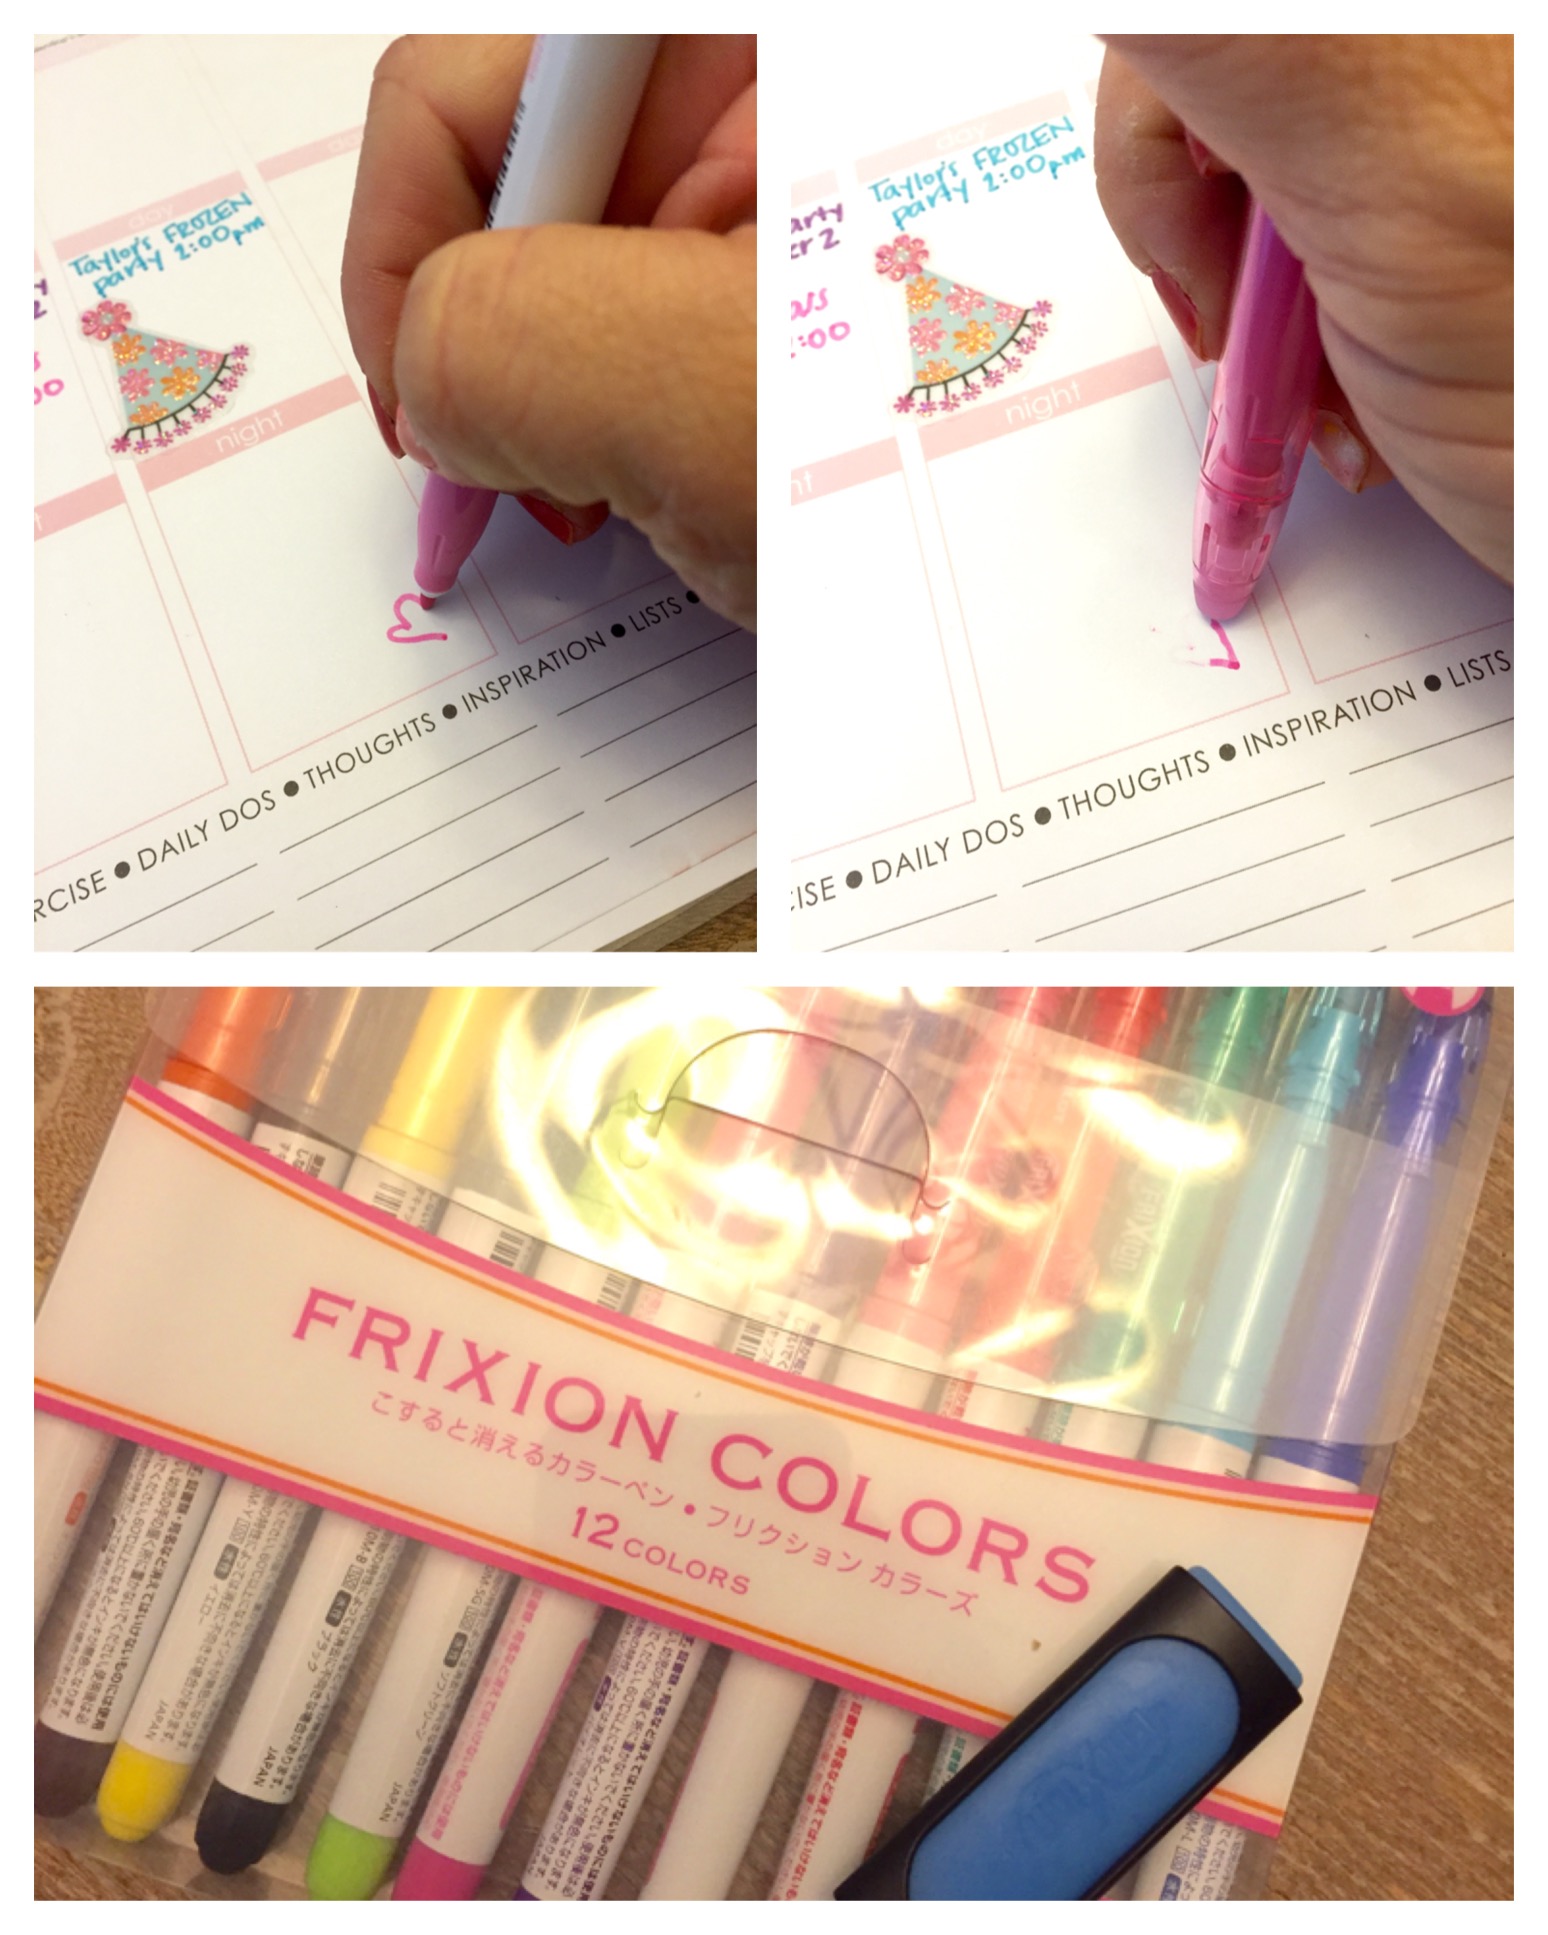
 

to be continued…

What if I don’t want to be a proverbs 31 wife today?!?!

Proverbs 31:10-31 (NIV)

Epilogue: The Wife of Noble Character

10 A wife of noble character who can find?
    She is worth far more than rubies.
11 Her husband has full confidence in her
    and lacks nothing of value.
12 She brings him good, not harm,
    all the days of her life.
13 She selects wool and flax
    and works with eager hands.
14 She is like the merchant ships,
    bringing her food from afar.
15 She gets up while it is still night;
    she provides food for her family
    and portions for her female servants.
16 She considers a field and buys it;
    out of her earnings she plants a vineyard.
17 She sets about her work vigorously;
    her arms are strong for her tasks.
18 She sees that her trading is profitable,
    and her lamp does not go out at night.
19 In her hand she holds the distaff
    and grasps the spindle with her fingers.
20 She opens her arms to the poor
    and extends her hands to the needy.
21 When it snows, she has no fear for her household;
    for all of them are clothed in scarlet.
22 She makes coverings for her bed;
    she is clothed in fine linen and purple.
23 Her husband is respected at the city gate,
    where he takes his seat among the elders of the land.
24 She makes linen garments and sells them,
    and supplies the merchants with sashes.
25 She is clothed with strength and dignity;
    she can laugh at the days to come.
26 She speaks with wisdom,
    and faithful instruction is on her tongue.
27 She watches over the affairs of her household
    and does not eat the bread of idleness.
28 Her children arise and call her blessed;
    her husband also, and he praises her:
29 “Many women do noble things,
    but you surpass them all.”
30 Charm is deceptive, and beauty is fleeting;
    but a woman who fears the Lord is to be praised.
31 Honor her for all that her hands have done,
    and let her works bring her praise at the city gate.

Ladies, not a single one of us hoped on board the marriage and mommy train without good intentions.  If we were raised in the church, we probably knew a thing or two about Proverbs 31.  We wanted to be Proverbs 31 wives.  Or I mean, at least I did.  “Her children arise and call her blessed; her husband also, and he praises her”, I mean, who wouldn’t want that right?  What I didn’t realize was how exhausting achieving Proverbs 31 wife status truly is!  It’s funny, because the chapter is brutally honest about the work it entails but it flows so beautifully that I pretty much only focused on the end part where my kids and my husband were going to think I was the bomb.com and love me and praise me and all that good stuff all the time!

The thing is, 99.99% of the time I’m the first one awake in the morning and the last one in bed at night.  I don’t always make super terrific decisions because I have TOO MANY decisions to make daily!  Where everyone needs to be and when, immunize my kids, don’t immunize my kids, buy organic, dairy is good, no, it’s really not, what should I put in their lunchbox?  I open my arms to the poor, the wealthy, and everyone in between.  So much so that I have nothing left for myself most days.  I’m literally doing something for someone else daily.  I don’t always speak with wisdom.  Sometimes I speak downright foolish things.  Idle time?  What is that?!?!?  My kids, they don’t always “arise and call me blessed”, my husband rarely “praises me”.  Often my job is a thankless one.  I don’t feel like I’m surpassing anyone or that I’m being honored by a single soul.  That’s all okay, I don’t need recognition or a pat on the back very often.  I do these things proudly and joyfully (most of the time). But somedays, SOME DAYS, I don’t want to be a Proverbs 31 wife, I don’t want to wake up before everyone else or stay up once everyone has gone to sleep because there’s still much to be done.  Sometimes, I want some idle time.  I think I deserve some idle time dangit!

The problem is, we’ve put so much pressure on ourselves to be the Proverbs 31 wife by taking care of everyone else that we completely neglect ourselves.  You’re not going to be perfect, ever.  You can’t do it ALL, everyday.  It’s okay to sit down and prop your feet up sometimes.  It’s totally okay for your husband to toss in a load of laundry or cook a meal occasionally.  It’s okay to go through the drive through because you don’t feel like cooking!  It’s okay to sleep in sometimes.  You may not be the perfect wife and mother that you envisioned you would be, but you rock!  You may not get a lot of public recognition for your efforts from your husband or children but, I assure you, they appreciate all you do for them.  Take some time for you today if you just don’t feel like being a P31 wife.  Go get your nails done ladies, take a load off!  ❤

proverbs31

You can print this little design I created for my nightstand here: proverbs 31 printable

per·fect

per·fect

having all the required or desirable elements, qualities, or characteristics; as good as it is possible to be.

Years ago, when my husband and I were in the midst of some marital turmoil, he confided in a friend that one of our biggest problems was that I was too “perfect”.  The way he said it was insulting rather than a compliment.  When I asked him what exactly that was supposed to mean he said “You’re good at everything and it’s annoying”.  There’s something about that statement that has resounded with me since.  It wasn’t the first time someone had given me a “compliment” like that.  In joking I’ve heard, “you’re the perfect mother”, “you’re the mother I wish I was”, “you’re so good at everything”, “you and Dave are so cute, you’re like the perfect couple”, “you put my project to shame”  Funny, these statements were meant to be compliments, but to me, they magnify all that is imperfect about me.  I think a lot of us feel this pressure partially from society, primarily from ourselves, to be perfect.  I didn’t realize my quest for perfectionism was so annoying but I know I often feel exhausted by it.  I recently posted this photo on my personal instagram & fb pages:

13227741_1354616354564844_6198942694277782141_o

Sure it was all supposed to be fun and games but it rings incredibly true.  We slap on a cool filter and display the best of us.  We rarely post the “real” us.  We talk about and post the good but not the bad and the ugly.  Sometimes I’m a rockin’ wife, mom, daughter, sister, and friend but never am I close to perfect.  In fact, more times than not, I’m completely drowning here!  I know I’m not alone here and I think we should all start being a little more real with one another about it.  I don’t want to dwell on my imperfections or shortcomings but I certainly don’t want to portray a “perfect” life.  Maybe if we all started being a little more real with each other, we may be able to let go of some of the pressures that plague us daily.  This week, I shaved one leg and not the other, was late to church, got into a fight with my husband, yelled at my kids, missed the memo about 1st grade awards and didn’t show up, fed my kids absolute junk food at least 3 out of 7 days, and almost forgot to pick them up from school.  Nobody’s lunches were cut into cute shapes, the grocery store was out of organic 2% so I bought regular, and I didn’t work out once.  I did however plan a camping themed family night complete with a tent in the playroom, an obstacle course, and driveway s’mores which I posted the crap out of.  Betcha didn’t see a single photo of all the things I totally screwed up though did you?  My point?  I’m not perfect, you’re not perfect, we will never be perfect.  The good news is, we don’t have to be perfect, just real and kind to one another.  Lighten up y’all, go easy on yourselves, were all in this together!

Sheriff Callie Party

I know I’m a little behind on sharing A’s December birthday party but I figured while I’m on a roll, I may as well back track!  She requested a Sheriff Callie party and I’m typically pretty opposed to character parties but I thought I could probably run with a cowgirl theme so I agreed.  Of course our first step was to snap some photos for her invitations.  I stumbled upon the cutest little flea market outside of town that looked like a mini old west town from the outside so we loaded up and took advantage of the scenery.

12182466_1213939121965902_9062488487293502400_o12183975_1213938948632586_6029924938854189326_o12185582_1213938665299281_3220505073454221304_o

I designed a quick and colorful invitation in photoshop and sent it off to my print company.  The above photo was the back and the front was this:

ainviteblog

We used our trusty ole tablecloth trick to transform our garage into the ole west.  We picked a blue color to look like sky and my mother had the idea to use cotton to make clouds.  The result was pretty adorable!  I knew early on that I wanted to make an old west town out of appliance boxes for the party so I called me local Lowe’s and asked them to save me a few refrigerator and washer/dryer boxes.  They called within days saying they had a few and we went to work cutting and painting them.  We made a bank, Ella’s saloon, Uncle Bun’s store, and of course the Sheriff’s station and jail.  I had my husband cut a walkway between a refrigerator box and a dryer box so that we could connect them.  That way when the Sheriff had to throw someone in jail, they had to go through the station door.  We used a box cutter to make the bars and tin foil to give them a metallic look.

12304129_1229405167085964_2251264644273695482_o

12314507_1229404990419315_5373660943051839464_o

We took pictures of her stuffed animals and added them to wanted posters in photoshop then printed them in sepia tone and taped them inside the sheriff’s station and the outside door.  I used scrapbook paper that looked like old distressed wood from Hobby Lobby for the bank and sheriff’s station doors.  We bought fake money at dollar tree for the kids to play with in the bank, plastic cups and pitcher (also from dollar tree) for the saloon, and brought out some play kitchen foods and shopping bags for the general store.  It’s amazing how much fun kids can have in cardboard boxes!

12309876_1229405043752643_1548588514958694158_o

As our guests arrived, we got them all fitted in bandanas, cowboy hats, and deputy badges. We got the foam hats in black and brown at dollar tree and the bandanas at Hobby Lobby.  Because they were so large and the majority of our guests were under 5, we cut each bandana into 4th’s.  This was cost efficient and they fit much better on little ones.  The deputy badges came from Hobby Lobby as well.  We also gave each guest a little drawstring canvas bag from oriental trading to keep their gold nuggets in from the panning for gold station.

12322535_1229405003752647_5064823667188731418_o copy

Because our party was in the afternoon, we served sweet snacks rather than an actual meal.  We choose flavored popcorns from a local gourmet popcorn shop and put them in little cow print favor bags from Hobby Lobby.  We also made s’more pops by putting large marshmallows on a skewer, dipping them in melting chocolates, and then covering in sprinkles.  These were a huge hit as were the chocolate coins. I raided our American Girl collection and thought this Our Generation horse stable was the perfect addition to our table.  We used it to hang onto our snacks.  12322645_1229405073752640_166357767555459773_o

I found those awesome fabric garlands on clearance at Michael’s for around $3 each and knew I couldn’t pass them up.  We found the tissue fans at Dollar Tree for an extra pop of color.

12322468_1229404623752685_6256342437617259332_o.jpg

Kids colored Sheriff Callie sheets and “roasted” their marshmallows over the “fire”.  I found that adorable inflatable campfire at oriental trading and it was a big hit!  I printed the coloring sheets directly from the disney jr. website.

12310672_187047958307117_7697245316801534665_n

My niece, nephew, and girls tried out the panning for gold station before the party started.  For quality assurance purposes of course.  To make this, we purchased a small bag of decorative rocks from Dollar Tree and spray painted them gold.  We then took a large long plastic bin and filled it with sand purchased from Home Depot and sprinkled the “golden nuggets” all around burying them in the sand.  We added water to the top and added some shovels and other sand toys we already had.  We used foil pie tins which we hammered holes into the bottom so the kids could scoop and sift.  Whatever nuggets they found, they got to take home in their little pouches.  There was a steady flow of children here the whole party.  HUGE hit even with the older kids!

12322975_1229404827085998_6484540091270112386_o12345428_1229409463752201_3992132753195760829_n

Another huge hit was the Photo Booth area.  To make this, I just took an image of a wanted poster I found online (I’ll link it if I can find it again) and enlarged it in photoshop. I then printed it off in quarter sections.  We cut it out, burned the edges with a lighter to give it an aged look and then glued it to a piece of cardboard that was left over from our cardboard box town renovations.  We used a box cutter to cut out the center and thumb tacks to secure the edges and look like fancy nails.  We used a long thick piece of leftover cardboard to create a stand and then placed it in a small bucket filled with sand and rocks to steady it.    The kids had fun with this but honestly, I think the adults had more fun with it!  haha

12304413_1229404437086037_7090691863260207442_o12309593_1229404647086016_1699248556588323366_o12304452_1229404307086050_150008644779209787_o12347620_1229409477085533_5632465708333491233_n

Unfortunately, in my haste, I forgot to photograph the other 2 activity stations we had but they were inexpensive and simple and kept the kids busy the whole party long.  We took a stick horse from our playroom and stuck it in the yard by digging a small hole for the stick.  We set out hula hoops we already had and let kids try their hand at “lassoing” the horse.  It was sort of like a ring toss on a bigger scale.  We also had buckets which I had decorated with pictures of boots I had printed and colored.  We purchased plush snakes from the dollar tree and kids had to try and toss the snake in the boot.  We called it the “there’s a snake in my boot” game.  Because we’re witty like that!  😉

12314597_1229404207086060_6540267032338320195_o.jpg

The Sheriff and all her little pals had a great time and those darn boxes stayed in our garage for a month because we couldn’t bring ourselves to toss them!  lol

Birthday Carnival Fun

Gosh, I’ve been pretty bad about updating here lately.  What can I say?  I’ve been a busy beaver for sure!  The holiday’s had me swamped and then it was birthday parties and traveling and out of town guests galore!  Last weekend, we hosted T’s 7th birthday party here at home.  Even though I never managed to get A’s Sheriff Callie party blogged (I better do that today too!), I thought I would go ahead and get the details for the Carnival party blogged while they were still fresh on my mind.

We decided about 3 months ago that we would be going with a Carnival theme and took to pinterest immediately to begin planning.  A few weeks before the party, I took her out in some colorful clown garb to snap a few photos for her invitations.  They’re pretty goofy but they’re probably my favorite pictures ever of her because they really let her silly personality shine!  Here are a few of my favorites!

pLLP_0422LLP_0383pLLP_0352p

I normally have really cute double sided photo invitations printed from my print company but, unfortunately, I procrastinated a bit and ran out of time.  Instead, I had them printed 2 to a page at my local office depot.  They had them printed and cut down to size for me within an hour and they were on their way to the post office that afternoon!

tinviteblog

Meanwhile, we begin gathering supplies and prizes for the games and sketching ideas for setup in chalk in the garage and driveway.  Haha  We decided that since A. I would be returning from camp with my oldest the night before the party and B. The party was in the afternoon that we would not serve a full lunch menu but instead opted for snacks and sweets.  While I was at camp, I enlisted my hubby and mama to transform our garage into a big top canopy by using plastic tablecloths.  We’ve used this method for many parties and it always works so well.  Gives us an ample party space while still being whimsical and colorful.  You almost forget you’re in a garage.  Thankfully, weather for both my girl’s winter birthdays has been absolutely perfect!

LLP_1348LLP_1323LLP_1307LLP_1321

I wish I had taken a better picture of the garage because it looked super cute but you get the gist here.  We served popcorn, cotton candy, cake, and ice cream.  I got the cute little carnival napkins at Hobby Lobby, as well as the little cotton candy stand, and the marque looking signs.   Most of the other table decor came from the dollar spot at Target!  We found the colorful popcorn containers there as well as the felt birthday banner and letters, and the cute little red cake stand.  Because I didn’t have a lot of extra time or energy for cake decorating, I picked a super simple design and I’m pretty pleased with the way it turned out.  I rolled the bottom tier in sprinkles and for the top tier, I designed cute little ticket strips with her name and birthday in photoshop and then took it down to my local Wal Mart bakery for them to print on an edible image.  It was quick and easy and the image only cost about $7!  I got the little pennant banner, cupcake flags, and glitter 7 at hobby lobby too.  I bought bags of cotton candy from our local Golden Corral for $1.25 each and just divided them into small portions and put them on lollipop sticks.  They made for a cute display and kids weren’t consuming giant portions of sugar so it was a double win!

We had 5 game stations so each kid was given 5 tickets when they arrived (I got these at dollar tree!) so they each got to try each game once.  Because we had extra time and more prizes once each kid had a turn, we allowed them another set of tickets if they wanted to continue playing which most did. We also hired an amazing local face painter.  She was a huge hit with the kiddos!  Our carnival games were simple and inexpensive as were our prizes.  Most were purchased at the dollar tree with the exception of the pet fish soap which I made myself.

LLP_1308.jpg

The balloon pop station was the biggest hit I think.  To assemble it, we used squares of cork board purchased at hobby lobby attached to a piece of plywood we had laying around.  We used thumb tacks to attach the balloons and darts with plastic tips for the kids to throw.  If they popped a balloon the selected a prize (bubbles or play dough) and if they missed they got a piece of candy.  They each got 3 tries per ticket.  We got the dart balloons on amazon and the darts 3 to a pk for $1.97 at Wal Mart.  We blew all the balloons up prior to the party and placed them in trash bags.  We just did a little at a time and within a couple of weeks had them all blown up!  🙂

LLP_1334.jpg

For the fish bowl game we used small clear plastic cups from walmart filled with water.  We dropped a plastic fish toy in several of the cups and kids had to toss ping pong balls into the cups.  They got 3 tries per ticket and if they got it in a cup with a fish, they got to take home a pet fishy bath soap.  I made these easily by purchasing a large block of clear glycerine soap from Michael’s with a 50% off coupon.  It totaled about $10 and I still have a ton left for a future craft!  I purchased the vinyl goldfish on Amazon.  They were so simple to make and the kids had a blast helping me.  We cut the soap into smaller pieces and placed them in a microwave safe bowl.  We melted them in the microwave and then poured the liquid into small plastic treat bags sitting in mugs.  We then moved the bags to a bowl of ice water where we used a skewer to push fish toys down into the soap as it hardened.  If you choose to add scent to your soap, mix it in with the bowl.

fish

LLP_1328

For the ring toss, we had the painstaking job of drinking beer to empty those bottles!  I gave my husband that job weeks in advance thinking they would be done waaaaay ahead of time but the week before party time, we only had 2 bottles sitting on the counter!  Luckily, we attended a Super Bowl party the weekend before and managed to collect enough!  lol  I spray painted the bottles and caps and found those super cute carnival soda labels at Hobby Lobby.  The kids each got 3 rings (which were harder to find than I imagined).

LLP_1346

For the lucky ducky game we purchased 50 rubber duckies and this inflatable pool from Amazon and glued washers to the bottom of each duck.  We painted about 12 with nail polish first.  The kids got 3 tries to pick a duck with a colored washer on the bottom to win a prize.  They got a piece of candy if they didn’t pick a winning ducky.

Last but not least we had a bean bag toss.  I didn’t get any pictures of this but it was pretty simple.  We used a lawn game set we already had from Academy and set it out side by side that way 2 kids could play at once.  Each got 3 bean bags.

LLP_1373.jpg

After a stop at the face painting booth, our guest were ready to have their picture taken in the ring of fire.  I had my oldest and a friend make this using a hula hoop we found at the dollar tree and red, yellow, and orange tissue paper.  Made for a cute photo prop!

LLP_1368LLP_1342LLP_1326LLP_1313LLP_1387


Overall, I think a great time was had by all.  Even this ole top hat wearing Ring Master!  Thanks to everyone who came to make our girl’s day extra special!

LLP_1378.jpg

A very shopkins Christmas

It’s happened.  I tried to fight it for a long time but I’ve finally succumbed to it.  The shopkins craze has hit our house.  For about a year now, T has asked me for shopkins every time we leave the house.  If you don’t know what shopkins are, they are tiny gumball machine prize sized collectibles which unfortunately do not have the gumball machine price tag.  They most often come in “blind baskets” so you have no idea what you’re getting.  It’s a surprise!  All my nieces in the 6-8 year age range love them and thus my 6 (almost 7) year old has jumped on the bandwagon.   This year when making Christmas wish lists, that’s all T said she wanted.  Seriously.  Anywho, if we’re going to do this shopkins thing, we’re going to do it right.  She’s my little collector so I knew I wanted to find a way to display her shopkins so that she could easily reach them to play with but see what she has at all times.  This year, we’re doing Christmas a little differently and we have gift categories to be checked off.  1 category is “made by mom”.  So for T’s gift, I decided I wanted to make a shopkins display.  I purused Pinterest for ideas but couldn’t decide then yesterday, while strolling Michael’s, I hatched a design plan!  Thought I would share it here in case you’ve got a shopkins crazed collector too!

What you’ll need:

-An acrylic box frame (any size you choose) I went big with a 16×20 

-foam core or sturdy cardboard

-box cutter

-wrapping paper

-hot glue gun

  
You can use your frame as a template and a straight edge to cut your shelves out of foam or cardboard.  I wanted 8 shelves on my display and each shelf needs to be doubled up.  So total, I cut 16 strips.  Leave them a little longer than necessary (about half an inch.  You can trim with scissors later.  

  
After cutting them, I grabbed a glue stick and began sticking them together in pairs.

  
Next, I cut 8 strips of wrapping paper to wrap around each shelf.  I had this fabulous glitter paper that worked perfectly because it won’t scratch easily, it was thicker than my others, and it seamlessly matched up when I wrapped it around without being noticeable.  You’ll want to use something similar or solid color for best match up.  You could even use printed contact paper!  I used my glue stick to secure it to each “shelf”.

  
Next, you’ll need to find a box or a book that will match your desired thickness.  I wanted her to be able to store those little baskets and bags on it too so I found a box that was the perfect width in the closet and used that as a guide.  I then used hot glue all along the back and sides of the “shelf” to secure it to the frame.  

  
Moving the box up with each shelf kept them perfectly spaced and I used a small level to double check my work.

  
I plan to cover the outside trim in ribbon that way I can hang it on her wall as well but I haven’t picked that out yet.  Next, stick your shelves with shopkins and you’re ready to go! 

 This week, Michael’s has a 50% off coupon so I used that for the frame which brought it down to about $7.50!  They also are now carrying shopkins in the store so we used to coupon again to score a 12pk set half off!  
Hope this is helpful Mamas!  I know I’m going to have a pretty happy girl come Christmas morning.  😃

Reading nook fun

Our oldest daughter is severely dyslexic.  She’s struggled with reading for years and finally as she nears the end of 4th grade, she seems to be reading on level and actually enjoying books rather than dreading reading time.  I wanted to really nurture her newfound love of reading as well as that of her little sisters so I decided we needed a designated reading area.  I initially planned on a cute little teepee or something in the corner of the playroom with pillows and blankets (hint: hobby lobby is now carrying super cute teepees for $100 and you can use a coupon!) but our playroom looks over our living room and kitchen so it isn’t always the quietest of places.  Then it hit me!  The “secret” closet under the stairs.  The door is in the laundry room and it’s pretty quiet with the exception of the lull of the washer/dryer when it’s on.  We were using it as storage for our cleaning supplies and some boxes of Christmas decorations.  The girls and I got started on clearing it out and moving the boxes up to the attic.  We are so pleased with the way it turned out and it’s been used daily since.  Aside from the little book rack and a new rug, it cost me next to nothing as we used items we already had around the house.  

The only rules are to be quiet and have fun.  Everyone has to pick a quiet activity while in there, doesn’t necessarily have to be reading.  


The reading lounge seating is actually an old ottoman top that no longer matches my living room.  It’s padded so pretty comfy to sit on and the back is a rolled piece of foam for a bed we had laying around.  I had an extra set of queen size sheets that I used to cover  both items and I used a little duct tape to secure them to the bottom without having to actually cut or sew anything.  They’ve held up great so far!  We had the battery operated lanterns and pennant banner leftover from a party and I got the rug from garden ridge on clearance for under $20.  The cloth book rack is from Walmart.com.  It arrived in days and was inexpensive.  I used chalk pens to doodle a Dr. Suess quote on a chalkboard we already had and hung it for decor.  


I wanted some color on the walls but didn’t want to commit to paint so I was ecstatic to find the little circle decals on clearance for $4 at target.  

  
We filled the area with quiet activities like magnets and magnet boards, (an oil drip pan from the auto part store and cookie sheets from dollar tree), I-spy bottles we made a few years ago, and books.

  
We got the idea from Pinterest of course and the girls love them!  Super easy and fun project.  They’re made using voss water bottles, rice, and little trinkets from around the house.  We took photos of the items before putting them in the rice, printed them out, laminated, and numbered them and the bottles as a key.  They use dry erase markers to mark off the items as they find them.  

  
The girls aren’t allowed to have electronic devices upstairs because I like to be able to monitor anything with internet capability so we created an “iStation” with all our iPads, iPods, and innotabs.  We added headphones so that game and electronic stories didn’t disturb others enjoying the quiet space.  We had such a fun time creating this reading nook together and the girls love having a secret quiet hideaway to unwind and enjoy a good story.  Can’t believe I didn’t think of it sooner!  

Memories…

pho·to·jour·nal·ism
ˌfōdōˈjərnəˌlizəm/
noun
the art or practice of communicating news by photographs

Okay, okay so photos of my kids and our life may not exactly be “news” but they do tell a story. I’m sure my friends on social media get sick and tired of me flooding their news feed with a bazillion photos of my kids, especially in the last few months. What can I say? My kids are cute and they’re always doing cute things. I’m proud of them, sue me! Sorry, not sorry. lol Imagine all the photos I take and DON’T post! There was a time not so long ago that I didn’t take my camera anywhere. It’s big, bulky, and heavy so if I was going to snap a photo, I relied on my trusty iPhone camera to capture the moment. Fine in a pinch for a quick snapshot but the problem with iPhone photos is that they are great for Instagram and other social media sites for quick posting but in reality, they are grainy and poor quality. Really how often do you print your iPhone photos? When my mother in law passed in August and we were searching for photos for the slideshow for her services, I didn’t have a single photo of her with my kids that wasn’t a grainy cell phone photo. I can’t get that time back. I will never have those moments back. Why didn’t I take more photos? Why didn’t I capture the way she liked to play baseball in the yard with the family or the way she liked to fish on the river? Why didn’t I capture her smile when she would throw her head back, slap her knee, and laugh? Or the way the kids would light up when she read Jingle to them at Christmas time. I would give anything to go back and have my camera to capture the little things. Looking through those old grainy cell phone photos made me realize the importance of carrying around that big bulky thing for 2 reasons.
1. Life is short. Those you love won’t be around forever and all you’ll be left with are those memories, those photos.
2. Kids, they aren’t kids forever. I recently made a comment to my Dad about how I couldn’t believe my baby girl was 3 already and he said, “how do you think I feel? My baby is 30 and has her own babies!” Woah. Really? It goes by that quickly? Yikes!

I’m going to blink one day and my babies will have babies of their own. There’s so much I want to remember about their childhood. Like what T looked like leading her horse to pasture by herself for the first time at her riding lesson last summer or the longhorn balloon hat she picked when we went to he Fort Worth Stockyards over spring break.
_POC8212
_POC2850

or the pouty face A makes when she’s overly tired and not getting her way or the pure joy on her face when she’s at the park swinging or sliding.
_POC2209
_POC2640

I want to remember forever P’s love for animals and how she just has a way with them or what she looked like sitting on the bench at soccer taking a break and waiting for coach to call her back in. Always with her shoe untied! lol
_POC2830
_POC2979

So how do you know what to include in your photos? Ummm… well, EVERYTHING that means anything to put it simply. Or not so simply. Remember, there aren’t any rules to memory catching. Your subjects don’t always have to be posed, smiling, looking at you, or even facing forward for that matter! Some of my favorite photos are of the back of my children’s heads. Like this one of P & A fishing together last summer.
_POC7478

Get up close and personal! Zoom in, catch the details even if you don’t get any faces in the shots. Last summer after my Mama in law’s funeral, we all spent a week at the family ranch together. The kids loved playing down in the meadow and by the creek skipping rocks and catching roly polys. They spent the week with dirty fingernails having the time of their lives with tiny bugs in their tiny hands.
_POC9284_5008

Pay attention to your surroundings. Over Spring Break, the girls and I hit up the zoo. While there, we rode the train to the wild west area. Normally, I would just snap a photo while I sat across the train from them but then I wouldn’t remember what the train looked like or what it was called. For this shot, I choose to snap the photo before I boarded the train while the other passengers were still loading. This way, I’ll always remember our ride on the yellow rose express. Because at one point, my grandkids will be flipping through a photo album and ask “Grandma, where were you? Why are you on a train? What color was it? What was it called?” Because that’s just the sort of thing kids ask. lol
_POC2365

My final tip to you is to pay attention to your angle. I snapped these tonight at P’s soccer game while A was playing on one of the smaller goals behind the field. The one on the left was shot with me standing like normal over her and looking down. You see the grass and that she’s sort of swinging from something but you’re not real sure what it is or where she is. It doesn’t tell a story. For the one on the right all I did was squat down till I was at her level. You can tell just by glancing at it that it was taken at soccer fields and that she is more than likely swinging from a goal post.
picstitch-5

Remember these things when recording memories of your cuties even if all you have handy is your trusty iPhone. A well executed iPhone photo is better than no photo at all.

My absolute final tip to you is don’t always hide out behind the camera. Jump in front too! Have someone take a photo of you with your kids. Take a selfie, heck, photobomb them! You’re not getting any younger either people! I may need to take my own advice a little more here. I don’t know about you, but I love looking a photos of my mom and my grandmother from when she was younger. Checking out her goofy glasses or seeing the shifting fashion trends. So get out there and get in those frames mamas!

Happy snapping! ❤

After school snacktime

I don’t know about your kids, but when I pick my kids up from school, the very first words that come out of their mouths are usually “I’m hungry”! Sure sometimes they grab a yogurt or some sort of prepackaged snack from the pantry but if we have extra time and I haven’t had a dreadfully stressful day, we like to engage in a little snacktivity. Yeah, yeah, a snacktivity is a snack that doubles as a fun activity. Kills two birds with one stone! 😃 I’m going to share with you a few of our favorites.

There are a few things that you will pretty much ALWAYS find on hand in our house and we use them in many of our snack making adventures. Bananas, peanut butter, pumpkin purée, and wheat tortillas.

1. Peanut butter quesadillas:

IMG_0776

We buy PB2 powdered peanut butter because it has less fat and sugar than typical PB. We buy the other kind too but for smoothies, shakes, and snack making, the powdered kind is awesome! Just mix it with a little water and BAM! Instant PB! We smooth a little on a wheat tortilla and then add our toppings to just half of it. Bananas, strawberries, and chocolate chips. A is allergic to peanuts, not a severe allergy but she gets a little rashy so I use Nutella on hers instead of the PB. Then I fold it in half and toss it on the griddle until it’s nicely toasted. We enjoyed ours with a yummy fruit smoothie on this particular day.

IMG_0777

2. Pumpkin spice chips with caramel pumpkin cheesecake dip
This is one of our very favorite snacks ever! My kids (and myself) could probably slather this dip on just about anything and enjoy it.
For starters, take a few wheat tortillas and coat them in butter. Then add a sprinkle of cinnamon, sugar, and pumpkin spice. Use as much or as little as you want. Use a pizza cutter to cut them into chips and then place on an untreated cookie sheet. Bake at 350 for about 10-15 mins. Ovens will vary so just check on them and pull them out when they hit your desired crunchiness.

IMG_0779
While those bad boys are getting their crispy on, toss 1 part cream cheese in a bowl with 2 parts pumpkin purée into a bowl. Add a tablespoon of powdered sugar, cinnamon, sugar, pumpkin spice, and a few drops of caramel flavoring. Mix it with a fork or use a hand mixer until it’s nice and creamy. Sweeten to taste, different brands of pumpkin are sweeter than others so you may need more powdered sugar.

IMG_0780

3. Banana pops
Easiest snack ever! Cut bananas in half, insert a lollipop stick, and place on a wax paper lined pan in the freezer for a few hours. When you’re ready, take some melting chocolates and toss them in the microwave. I like to use a small juice glass rather than a bowl for these because it makes dipping a breeze. I add a little PB2 for the big girls or Nutella for A and mix well. Remove bananas from the freezer and dip one by one then place back on wax paper in pan. Add sprinkles if you’d like and wait for the chocolate to harden. Voila! Banana pops!

IMG_0783

4. Fruit kabobs and vanilla cream dip
Super easy fun snack and so yummy! I let the girls select and cut up their fruit and then they have a blast designing their own kabobs. We use lollipop sticks rather than skewers because they’re safer for little fingers. While they do that, I combine 1 part cream cheese with an equal part of marshmallow cream. Add a scoop of plain or vanilla Greek yogurt and a couple of drops of vanilla extract and mix well.

IMG_0786
Scoop into dipping bowls, garnish with sprinkles, and enjoy!

IMG_0787

5. Pumpkin pie banana ice cream
Chop up 4 ripe bananas and toss them in the freezer for a few hours. Once mostly frozen, put them in a blender or food processor with half a can of pumpkin puree, a dash of cinnamon, and pumpkin pie spice and blend. Pour into a freezer safe container and toss in the freezer for a few hours or serve just like that.

IMG_0781

I dip my ice cream scoop in a mug of hot water to make for easier scooping. If your ice cream has frozen solid it helps to let it set out a little before serving. We top ours with graham cracker crumbs, chocolate chips, and sprinkles.

IMG_0782

6. Banana chocolate chip oatmeal cookies
Toss 2 cups of oatmeal in my food processor and make a fine powder from it. Take 2 ripe bananas and mush them with a fork in a bowl. Stir in the oatmeal and add a dash of cinnamon, and about 1/8 cup of brown sugar. I toss in some dark chocolate chips and a bit of crushed walnuts and mix completely until it’s the consistency of cookie dough. Spoon it out into cookies on a greased cookie sheet and bake at 350 for about 10 mins.

IMG_0785

7. Cinnamon sugar art
My kids LOVE this snacktivity! Take a paint pallet or a plate and add drops of food coloring. I use a medicine dropper to fill the pallet with milk to make edible “paint”. We use a small cup of milk to wash our brushes and the girls go to town painting designs on their slice of bread. I bought the brushes at dollar tree and washed them with warm soapy water first. We set them aside for this very project. Once they are done with their works of art, we toss it in the toaster until it’s to our desired level of toastyness. Once it’s done, spread butter over the top and add a sprinkle of sugar and cinnamon. Enjoy your edible art!

IMG_0788

Hope you and your littles enjoy these fun, tasty, and semi healthy snacktivities too!

New years resolution. Yep I made one, yep I’m keeping it. So far anyway…

If you know me personally, you know I am simultaneously the most organized and the most unorganized person you will ever meet.  lol  Let me explain, I love my label maker, organizing bins, color coding, and labels that all face the same direction but I can never remember what time to take what kid to what sporting event or party.  I’m always losing papers and I have a stack of mail on my kitchen countertop that I’m confident will reach the ceiling soon if I don’t deal with it.  Unfortunately, 3 kids haven’t always allowed me to be as organized as I would like. I was so tired of being late, missing events, and forgetting where I put things that I vowed to get more organized in 2015.   I had been toying with the idea of putting A in a mother’s day out program 2 days a week for a while but she’s my last baby and I was hesitant.  When they called in December to tell me they had an opening for her, I decided to take the leap and enroll her.  Figured it would be good for both of us and i’m so glad  I did.  She’s still adjusting to not being with me 24 hours a day but the extra time I’ve had to get organized has done wonders for my sanity.  It’s definitely a work in progress.  I’ll share in a later blog how I organized every nook and cranny of my house but today I’m going to share how I’m organizing my life.

I’ve always been a fan of planners, organizers, and journals but my problem is, I’ve never really committed to them or carried them around with me at all times to fully utilize them.  I would write something down on a post it, toss it in my purse, and forget to transfer it to my planner when I got home.  Rather than my usual pick up a planner at Target bit, I decided to jump on the Erin Condren Life Planner bandwagon as recommended by many friends.  I’ll be honest, my main appeal was (and still is) the interchangeable covers.  On the inside it’s much like any other ole’ planner but the cover switching helps keep it fresh in my head I think.  You always like to use new things so switching them out every so often should help with that in my head.  haha

When it arrived, I was immediately impressed with the packaging.  It was colorful, fun, and welcoming.  It included a little envelope of bonus stickers and gift labels.  Who doesn’t love freebies!  🙂

IMG_0343

I selected a cute and colorful paisley-ish cover.  I didn’t put too much time into customizing it because I knew I would work my own magic with it later.

IMG_0395

The tabs and all the pages are very colorful and cheery and I love that!

IMG_0692

I picked up several goodies to help me make my planner manageable including a cute little bag (probably meant to be a cosmetics case) at Michael’s for $4, China markers for the laminated inserts (stays better than a dry erase marker in my opinion), and washi tape in assorted colors and prints.  The EC planner came with several sheets of these cute colorful stickers and I opted to customize a few extra sheets for an additional $5.  The weekly menu insert was an additional purchase from EC and the errands tab I added myself.  I’ll show you how and attach a printable you can use too later.

IMG_0680

I also ordered a package of erasable markers off of amazon.  Yep, I said erasable markers!  Are you as excited as I was?  They are by far the greatest thing since sliced bread and I think I need more ASAP!

IMG_0678

You can find them here

Here’s what the pages look like from monthly and weekly views.

IMG_0677

IMG_0676

If you’re not the do it yourself type, you can purchase additional covers directly through EC for around $10.  You can also find some cute ones on Etsy.  To make my own cover, I selected a cute scrapbook paper combination and scanned them into my computer.  I used photoshop to scale it to size, add text and/or shapes, and then printed them.  I upload mine to office depot because their colors are so much more vivid than my printer at home but you can do it however you choose.  While I was there, I used their straight cutter to trim the covers to size, place pages back to back, and then have them laminated on thick lamination.  Be sure and tell them to laminate it in the center so you have room to cut and make your binder holes on the side.  I then used the straight cutter again to cut the laminated cover down to size leaving an edge all along the sides.

Once home, I lay the new cover over the top of the planner and used a sharpie to mark where the holes would need to be quickly.  I then used a handheld small hole punch to make holes all down the side.  Once that is done, you take your scissors and make a slit through the center of the hole.  Now the cover is ready to click right into your planner.

IMG_0679

IMG_0681

We’re only in February and I’ve already created 2 optional cover sets.  I have commitment issues.  haha

I also created a few printouts to help me with my little goal oriented organization.  I kept seeing the 52 week savings challenge on pinterest and was dying to try it for our next Disney trip spending money stash so I added a checklist for that as well as a little mason jar weight loss page.  I’ve been keeping up with the 52 week savings challenge thing but I will plead the 5th on the weight loss page!  It’s not my fault, it’s those darn girl scouts I tell you!  😉

IMG_0402 IMG_0403

You can laminate these and insert them the same way as the covers if you so choose but I just glued them over some of the additional memo pages in the back that I will likely never use.  I used little heart stickers to symbolize the about of lbs I wanted to lose this year and then as I lose them, I’ve moved them to the other lbs lost mason jar.  Sadly, there are many more hearts in the lbs to go jar than there are in the lbs lost jar!

IMG_0401

Overall, I’m really loving my planner and the fact that it’s large enough for me to see and really write in yet compact enough to toss in my handbag.  I think I’m officially an EC believer!  Ready to get started?  You can follow this link to start your own account and create your very own Erin Condren Life Planner

https://www.erincondren.com/referral/invite/loriannelatch0107

Now here are some of the goodies I made for my planner.  I’ve removed my name for you so that you can add your own and print if you so desire.  Hope you enjoy!

plannerfrontandback1  This one can be used for the front and back of your planner.  Just add your name.

plannerinside

plannerinside1

plannercamera1

plannercamerainside

plannerchevron2

plannerchevronback

Obviously, once you print, you can arrange them any way you want them, this is just how I did mine.  Here are the mason jar printable, errands bookmark style insert, and the 52 week savings challenge to match.

52weeksavings

plannererrands  Just print this, cut it, place it back to back, laminate, punch holes, cut, and insert like the covers

weightloss

Hope you get some use out of these printables.  Have you used any of my printables in the past?  Would love some feedback.  Did they work out for you?  How did you use them?  Keep them coming?  Comment here or email me at dysfunctionaldomesticdiva@gmail.com

Thanks!  Happy organizing!  ❤