I washed my hair in the sink of a tire store-and other misfortunes.

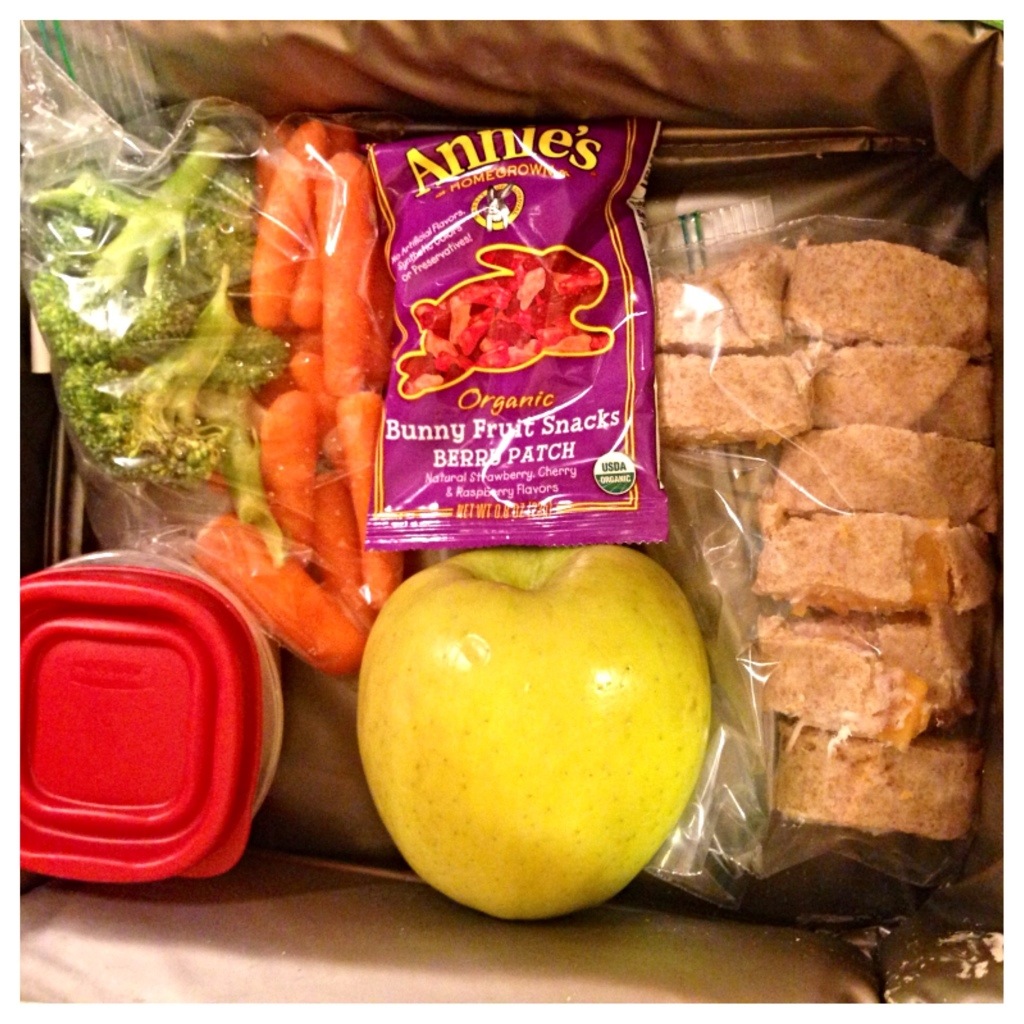
Last Thursday, I woke up feeling great!  I was seriously ready to take on the day!  I got up to make lunches and get the girls ready for school while Dave slept in a little later before heading out for work.  I did my first morning drop off and only had to take 1 kid with me so I fully enjoyed a little praise and worship with the windows down and sunroof open kinda drive home.  When I got back, everyone was up and at um so I went in to make the bed because an unmade bed just irks me all day!

image-15

Any guesses as to which side of the bed is mine?!?!?  Geeeeez… I don’t understand how that man sleeps!

image-12

Ah yes, that’s more like it!

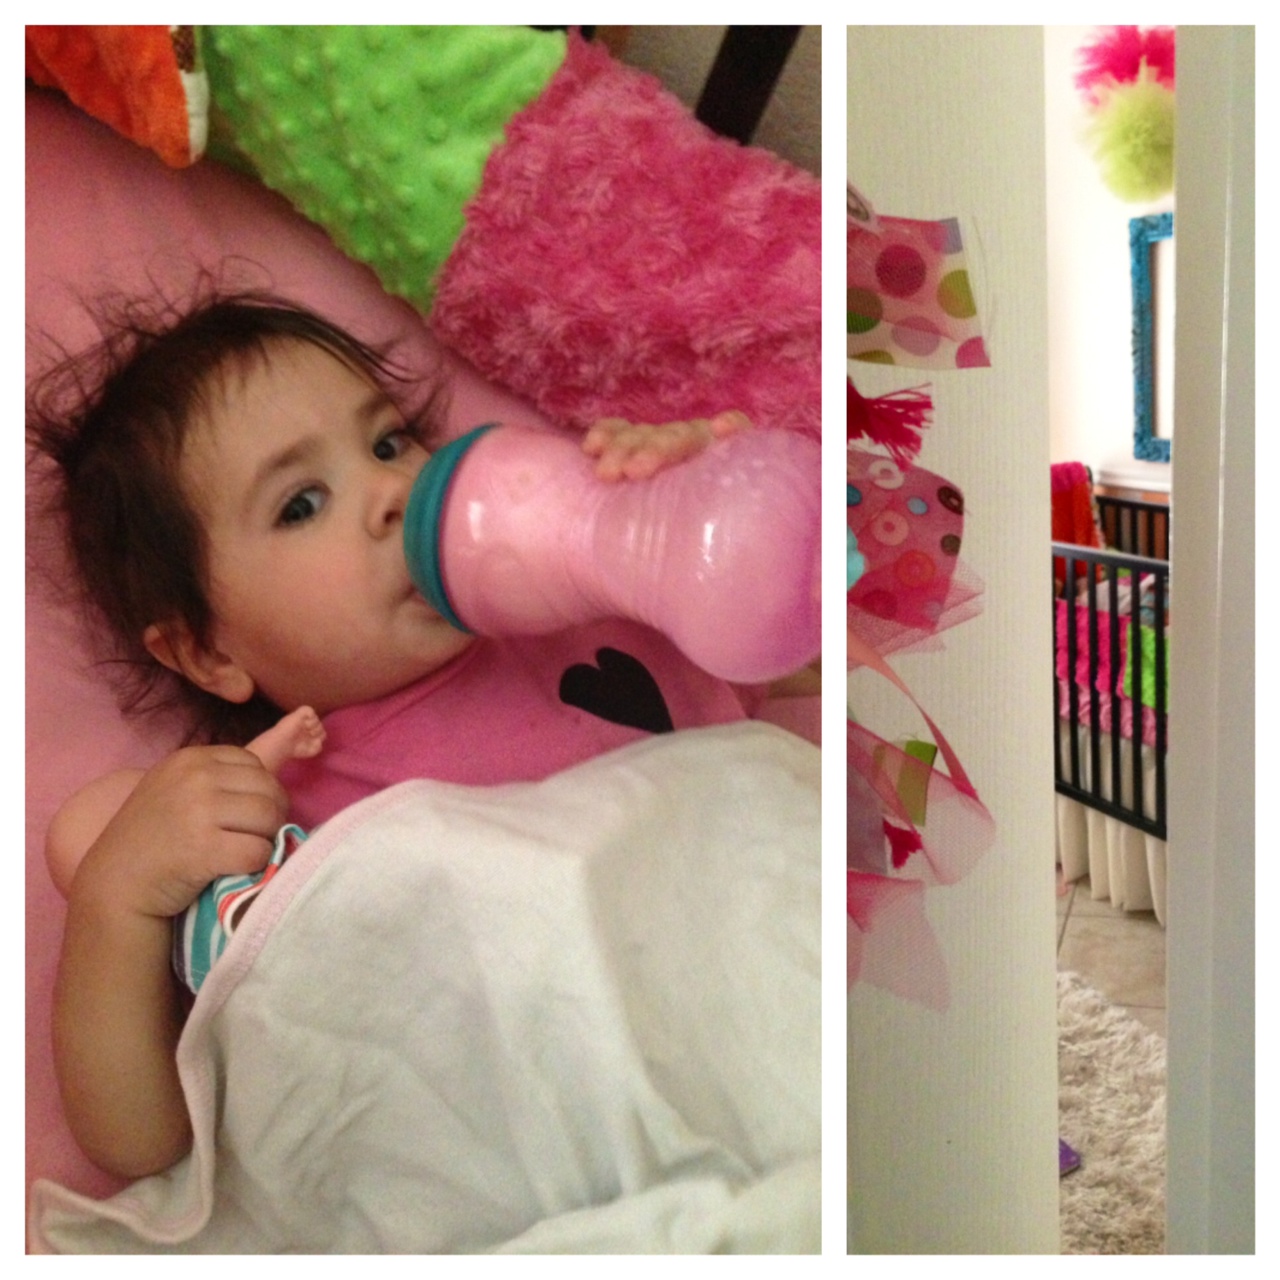
Dave took T to school so after the bed was made, I moseyed on over to my Keurig to brew myself a cup of heavenly Coconut Mocha coffee in my favorite “Shhhh… Mommy’s not coherent yet” mug.  I plopped myself leisurely on the sofa to snuggle with the littlest menace of the house while watching “toons”.  I tried to get a picture with her but she told me “no” seems to be her favorite word these days!

image-13

We hung out watching “toons” for a bit then went into her room to do about 18 wooden puzzles and then read about 15 touch and feel books.  By 10:30, little miss priss was ready for a nap!  I lay her down and said “I love you” and she gave me the usual “tooooooooo” in reply.  I shut the door and practically skipped to my bedroom to grab my bible.  Yep, it was going to be a great day!

image-17

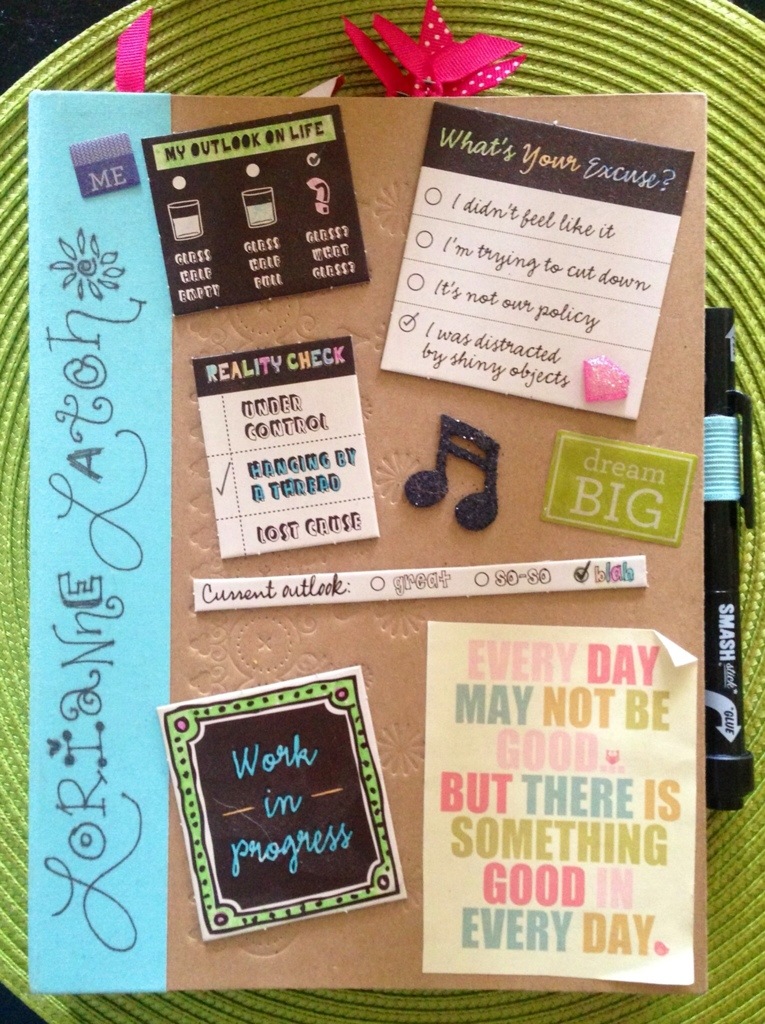
I opened my bible and sprawled out on the bed for my daily (okay, you caught me, more like my thrice weekly) devotional.  It was actually a really good word about allowing God to guide you through the nine billion decisions you have to make a day instead of relying on your own judgement.  Yep, I needed that!  I’m really enjoying this “Daily wisdom for Mothers” devotional journal.

image-18

I was just wrapping up when my phone started ringing and P’s school was flashing on the caller ID.  I answered assuming they needed a volunteer for something but nope.  It was worse. Much worse!  They informed me a child in a lower grade had a confirmed case of lice and that I needed to come inspect my child’s head with the nurse to ensure that she hadn’t become a buggy breeding ground!  Lovely!  I called my mother who was luckily available to come stay with the sleeping baby while I dashed off (without so much as showering mind you) to bug hunt.  When I was a few blocks from the school, my phone begin to ring again.  It was Dave, I figured he was calling to tell me he had made it to his rig in one piece.  “I need you to call me a tow truck” were the first words out of his mouth.  It seems he had a double blow out in the middle of nowhere about 2 hours from home.  Thank God he was alright!  The damage to the truck was minimal and he didn’t flip despite both the right tires being ripped to shreds.  His fender was a little messed up and his step rail on that side was bent as well.  But thank you Lord he was okay!  I sat in the parking lot of the school and made some phone calls for him as his service was pretty patchy where he was.  As I waited on some calls, I went into the school to see what the situation was with P.  There were a couple of girls in the office and the nurse informed me that she thought she had seen a single “nit” on her head but was unsure as P has very dry scalp and it could have possibly been a flake instead.  We searched and searched and never found it but thought it best to treat her just the same as a precaution.  Better safe than sorry, so I brought her home with me.

Meanwhile, back on the side of the road, we had determined that a towing company could pick Dave and his truck up and tow it to the closest town’s tire shop to get him back on the road.  Long story short, after quite a few phone calls back and forth, we determined the local tire shop didn’t have the correct size tires in stock so they wouldn’t be able to fix it that day.  He had to get back on the road to work so this wasn’t an option.  I called our local discount tire and determined that they had the correct tires in stock and ready for pick up.  As luck would have it my mother was off and available to keep the kids so I could go pick up the tires and drive them 2 hours to meet Dave at the tire shop in Pecos so that they could mount them and he could be on his way.  By the time I got there it was around 3:30 and Dave was on the way with the tire crew.  Poor guy had spent  4.5 hours on the side of the road waiting for tires!  I had a little time to kill before he got there but I was starting to panic because I hadn’t yet showered and had my hair in a tangled ponytail under a baseball cap.  I was wearing athletic shorts, a t-shirt, and running shoes.  Normally, this wouldn’t have been an issue but it just so happened on the crazy day that I’m running around like a nut, I have somewhere to be at 6:30!  My best friend had made us a reservation weeks earlier to a dinner/painting class at a nice restaurant.  So naturally, like the dysfunctional domestic diva that I am, I stopped in to the friendly local Wal-Mart in Pecos and rummaged through the racks for something suitable to wear to dinner!  I snagged a black dress, a mustard yellow cardigan, some colbalt blue flats, baby wipes, a travel bottle of shampoo, mousse, and a package of elastic headbands and was on my merry little way out the door after spending a mere $32.81!!!

Once I arrived at the tire shop, I moseyed into the bathroom, locked the door behind me and slipped my new ensemble on.  I used the baby wipe to “wash” my face, and then took my cap off to survey the damage.  Just as I suspected there was no way in hell to spruce that rat’s nest up so I did something that I’m not quite sure that I’m proud or ashamed of…  I took my tiny little travel bottle of garnier fructis out and washed my hair in the sink of a tire store.  I grabbed a handful of paper towels and dried it the best that I could before scrunching it with the t-shirt I had been wearing earlier and a little mousse.  Dave about fell over when I walked out in a whole new outfit with wet hair!  Once in the car, I slapped on some makeup, a spritz of perfume, and hauled a$$ back to Midland!  Not too shabby for a Wal-Mart makeover in a tire store huh?  hahahaha

image-21

I don’t wear flats often but, I actually think these are pretty cute for $11!

image-20

I pulled up to the restaurant at 6:35 and we found our seats and joined right in with the rest of the group on our peacock painting lesson.  Even though I had a crazy terrible day, it ended with friends, fun, good food, a couple of glasses of wine, and pretty peacocks.

image-23

Okay, I won’t be selling any paintings in the near future, but not too shabby for my first major painting.  It was so relaxing!  I’ve been trying to think of something else to paint all week!

image-22

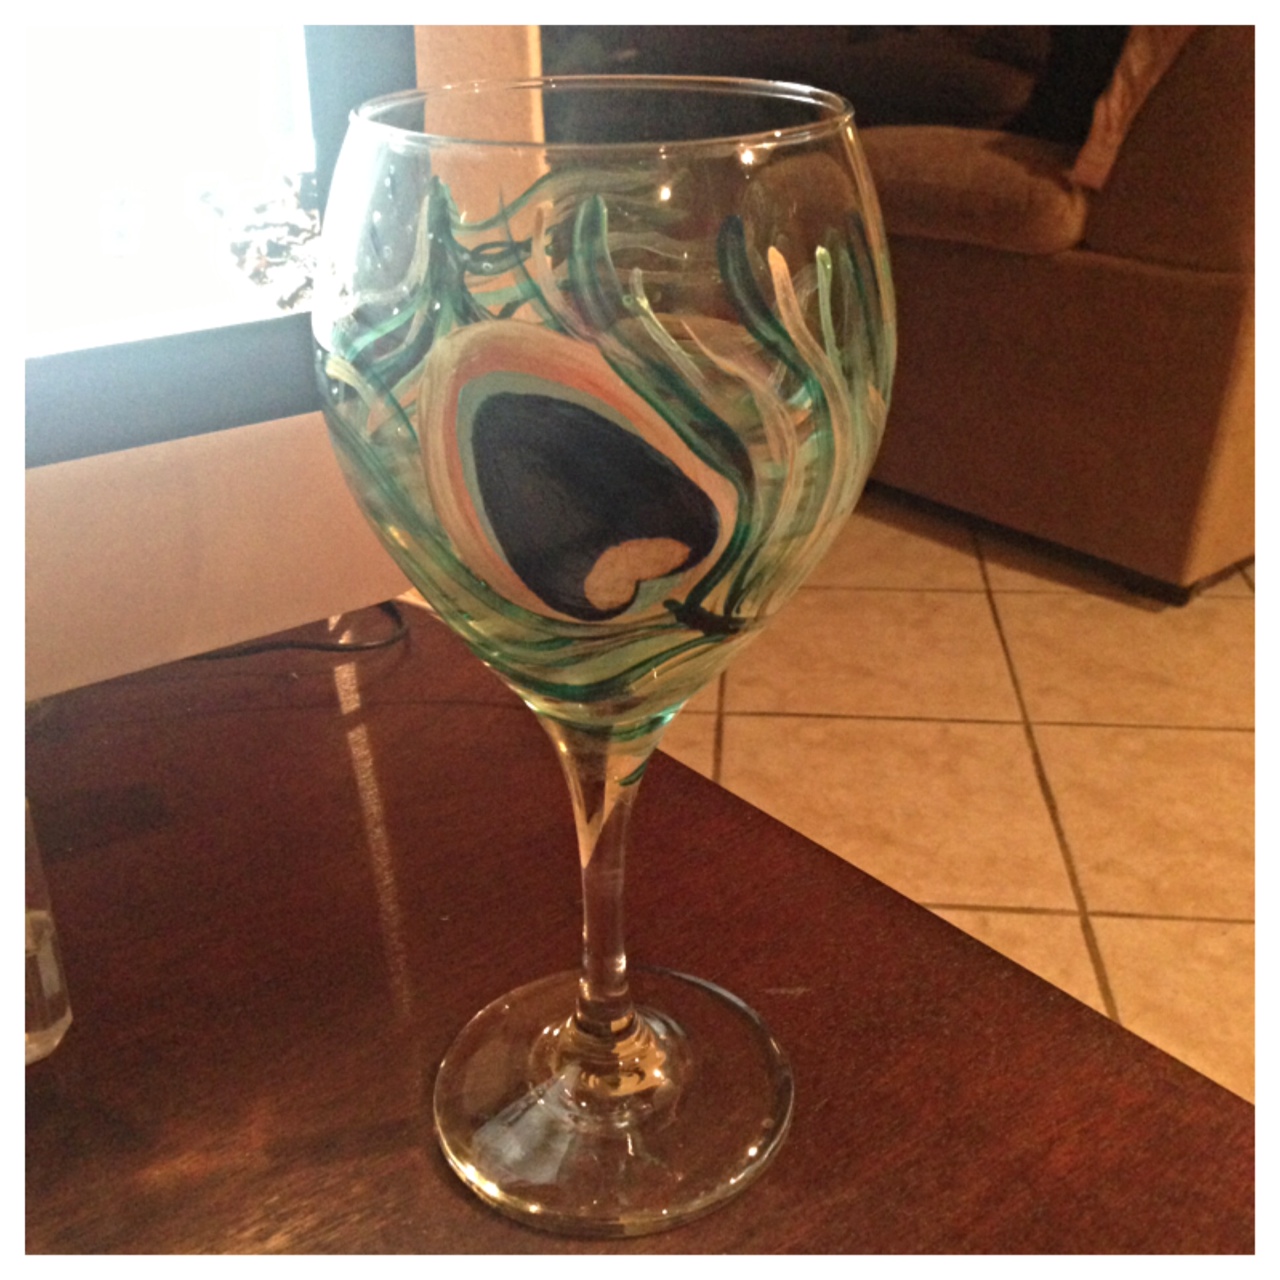
They had a contest to see who could come up with the best name for the painting and the winner got a pair of hand painted  peacock feather wine glasses so I gave it a go with “Do these feathers make my butt look big?”  and wouldn’t you know I WON!  Yay!

image-24

As I sit her tonight, almost a week later, testing my new wine glass out, I have to think to myself.  Geeez.  that was a stressful day, but all is well that ends well.  They say God never gives you more than you can handle and I guess maybe that is true.  Or maybe when he gives you so much to handle, he likes to toss in a happy ending to lighten the load.  Whatever the case, even though 2 new tires cost me close to $1,000 and I spent half  the day running around like a chicken with my head cut off, I’m grateful that His protective hand was on my husband in a scary situation.  I’m also grateful for the 1 random clearance dress in all of Pecos, Texas, a fairly clean ladies room at Pecos tire, a great mom who came to my rescue on her day off, and good friends who laughed with me about my day.  All in all, I would say it’s a beautiful life even when it doesn’t go the way I plan.  Yep, I’ll drink to that!  Cheers!

image-19

Taco wraps

When we were off shopping for a few essentials at Albertsons last week, these ginormous burrito style 10″ tortillas caught my eye.  Nope they weren’t an essential, nope they didn’t look healthy, but they sure looked like fun!  So, I grabbed a package!  I wasn’t sure what I was going to do with them but they were super thin in opposed to most flour tortillas so I thought they would make an excellent wrap of some sort.  I was right!  Mmmmm… these were so quick, easy, and delicious.  They were a crowd pleaser with everyone for sure!

You know the drill!  Gather your ingredients-you’ll need:

  • 10″ tortillas or a similar wrap/bread
  • ground beef
  • frozen (or canned) corn
  • 1 can of black beans
  • instant brown rice (or rice of your choice)
  • greek yogurt (or sour cream)
  • salsa
  • shredded cheese
  • Chili Powder, Comino (cumin), Ground Cayenne Red Pepper, Onion Powder, Garlic Powder (or pre-made taco seasoning if you choose)

image-1


In a small pot, begin to boil your rice according to the package directions and desired servings and add in your corn.  The amount you use is entirely up to you.  Simultaneously, in a large skillet, season and begin to brown your ground beef adding in the drained black beans when your meat is almost completely done.  I use about 1/2 a can per 1 lb of ground beef  but you can use more or less.  How much seasoning you use is entirely up to you but remember, you can always add spice later but you can’t take it back!  I accidentally added a bit too much red pepper and chili powder to my meat and 75% of us thought it was perfect.  My 4 year old on the other hand said “Mommy, don’t get me wrong, these wraps are delicious but they make my breath spicy and my tongue burn!”  lol  Luckily, adding a bit more greek yogurt to hers helped tremendously and she at it all up!

image-4


When we visited my cousin in Fort Worth over the summer, she made us some taco salad with some really delicious sauce that my kids and I really loved.  When I asked what was in it, I was shocked by how simple it was and have been making it since.  She used equal parts sour cream and salsa to make hers but I always substitute sour cream for greek yogurt when possible as it is a little better for you.  You can use either you would like.  I use a small personal sized blender and scoop in equal parts of greek yogurt and chunky salsa and blend until the chunks are gone and it’s a nice pinkish-peach color.

image-2

When your meat and rice are completely cooked, remove them from heat, lay your tortilla on a plate, and begin adding everything in layers.  I first added the rice/corn, then the meat/beans, I drizzled with a little sauce, and topped with some cheese.

image


Take the ends of your wrap and fold them over and then do the same with the sides rolling it as tightly as possible.  Heat a small skillet and place your folded wrap in to crisp tortilla on both sides

image-10


Remove from skillet and cut in half to serve.  They were HUGE so 1 fed both of my kiddos.  I gave them blue corn chips and a spoon full of organic peach salsa.  You’ll want to buy some of this at your closest HEB for a future recipe anyway!  😉

Mmmm… migitas!

When I was a little girl my Daddy used to make the greatest breakfasts!  His paps (or potatoes) were always a crowd pleaser but my favorite were always his migitas or migas as most of you have probably heard them called.  Now that I’m all grown up, Daddy doesn’t make me breakfast much and I’ve never perfected his breakfast papas but I’ve learned to make the perfect migas and I’m going to share how with you if you’ve never attempted it.  They’re actually super simple to make and extra delicious!

First gather all your ingredients.  You’ll need

  • corn tortillas (I use white corn but yellow corn would be just fine too)
  • tomato
  • eggs
  • onion
  • cilantro
  • garlic powder, onion powder, salt, and pepper
  • avocado (optional)
  • shredded cheese (optional)

image-9

stack your tortillas and either cut them with a knife into small squares or you can tear them with your hands if you prefer.  Once they’re all cut up, put them in a skillet and drizzle oil over the top.  You’ll want enough oil to coat all the pieces but not so much that they become super greasy and soggy.  Obviously how much oil you use will depend on how many tortillas you used.  I for instance use about 10-12 tortillas for my family of 5 and usually have leftovers.  I mix the tortillas in the pan to coat them in oil but I don’t turn the burner on just yet.

image-5

You’ll then need to chop your onion, tomato, and cilantro.  Once you’re done, crack your desired amount of eggs (usually about 1 per serving), into a bowl and add your onion, tomato, cilantro, garlic powder, onion powder, salt, & pepper.  Whisk until mixed well and set aside.  Meanwhile turn your burner on to medium heat and begin to fry your tortillas constantly mixing to ensure even cooking.

image-6

Once your tortillas are mostly cooked and a lovely golden shade, you’ll want to stir in your egg mixture.  Continue mixing making sure your tortillas and eggs are nicely intertwined until your egg is fully cooked.

image-7

Once eggs are fully cooked, remove from heat and serve.  My kids and I like ours with a little bit of shredded cheese sprinkled on the top and I usually serve it with sliced avocado as well. Dave doesn’t really like avocado so he usually sticks to drizzling his with salsa.  See?  Super simple!  Are you absolutely drooling over there?!?!?  I am just thinking about them!  May need to repeat tomorrow, enjoy!

image-8

Packing lunches

We do most of our grocery shopping at HEB but yesterday, I realized we had no food in our house so we ran into Albertsons super quick to grab a few things to tie us over. I really had no desire to take 3 kids on a full fledged grocery expedition. I’m not a huge Albertsons fan. They don’t have a very good organic selection, their produce is not great, and they’re more expensive than HEB but they have baskets in the shape of cars so my kids actually go willingly! Moral of the story, it was slim pickings for lunch boxes today!

P asked for turkey roll ups, they’re one of her favorites. I make them with cream cheese on whole wheat tortillas.

20130913-001210.jpg
I spread cream cheese on the tortilla then add turkey and cheese.

20130913-001719.jpg
I then roll the tortilla tightly and use cream cheese as a “glue” then I cut the ends off and toss them out (or eat them) and slice the rest.

20130913-002515.jpg
She’s like her mama and loves veggies dipped in Greek yogurt ranch so I gave her some baby carrots and broccoli and a tiny bit of ranch. I tossed in some bunny fruit snacks for dessert and the apple for afternoon fruit break. She took water to drink.

20130913-003110.jpg

T on the other hand hates turkey roll ups and broccoli and carrots too! She asked for a peanut butter, banana, and Nutella sandwich butterfly.

20130913-003434.jpg

20130913-003507.jpg
It’s ridiculous I know but last year, she was super nervous about going to school so I persuaded her to go those first few weeks with elaborate lunches. She eventually got over being away from mama and I didn’t have to ridiculous lunches all the time but today she asked for a butterfly.

20130913-003932.jpg
The spots on the wings are m&ms and she got an applesauce, nila wafers, and a juice pouch.

20130913-004120.jpg

Have you guys tried peanut butter, banana, & Nutella sandwiches?!?!? Oh my gosh! So delicious! Tastes more like dessert! Mmmm… What’s your kids favorite school lunch? Lets share some ideas! Email me or leave a comment 🙂

Studies reveal that mean kids turn into mean adults over time!

When we were kids, we couldn’t wait to grow up!  We were going to do whatever we want and not have to ask permission.  We would watch whatever we wanted, listen to whatever music we wanted, and eat whatever we wanted and all would be right with the world.  As an awkward teenager  or a dorky elementary school student we thought to ourselves “someday, when I’m a grown up, people won’t be mean and immature.  There won’t be any “popular kids”  or cliques and everyone will just be nice to one another.  Nobody will ever push me around or make me feel bad about myself.  Everything in the world will be rainbows, butterflies, and lollipops”.

Then we grew up, got married, had some kids and realized that growing up wasn’t as much fun as we thought it was going to be.  There are bills to pay, mouths to feed, floors to mop, and lots and lots of stress.   We do NOT get to do whatever we want whenever we want because finding a babysitter is like finding a pearl in an oyster and it’s awfully expensive too!  We don’t get to watch whatever we want either because anything not rated G or PG is just out of the question, and we always have nursery rhymes and Veggie Tales songs stuck in our heads.  Nobody told us we couldn’t eat whatever we wanted once we were adults either because it would go straight to our thighs!  Life my friends is NOT all rainbows, butterflies, and lollipops as an adult.  All of this was disappointing to learn but not nearly as disappointing as learning that adults are STILL mean and immature.  The “popular kids” still exist and although they’ve traded in their backpacks for designer handbags and luxury SUV’s, they still know how to make you feel small.  Yep, sad truth is adults are NOT always nice to one another!  You just have to accept the fact that often grown adults will get jealous, they will talk about you behind your back, they get bossy, and even form cliques that you won’t always be a part of.  They will be unkind, inconsiderate, and just blatantly rude from time to time too.

But not you!  Nope, you’re nothing like these rude, clique forming adults I speak of right?

WRONG!

We need to remember that all of these not so nice qualities live inside each and every one of us.  We’re all guilty of gossiping about one another, we’re all guilty of leaving someone out of our circle of friends, and we’re all incredibly guilty of judging one another like God has appointed us his CEO of the judgment department!   Somedays it’s harder to keep our inner demons at bay than others.  The important thing to remember is that while there is bad in everyone, there is also good.  Just as God forgives us when we are not so nice to him, we should forgive others who are not always so nice to us and should strive to be equally kind to everyone!  Everyone is fighting a battle of their own so treat others the way you would like to be treated.  Don’t make it a point to leave people out or make them feel like less of a person just because you can!  In short, don’t be a bully because there will always be a bigger kid capable of bullying YOU!

These are important things to remember for 3 reasons:

1.  Nobody likes to be bullied or made fun of.  Nobody likes to be made to feel like their thoughts, opinions, feelings, and self worth are less valuable than anyone else’s.

2.  Remember those kids we’re raising?  You know, the ones who we strive so hard to shelter from these mean bully kids?  These kids are looking to us for examples of the kind of adults they should become.  If we are portraying an adult who speaks poorly about other people, who often says things like “no, I’m not going because so and so will be there and I don’t like her”,  or shows no concept of compromise or kind regard for the feelings and well being of others, than we are failing these children miserably!  They will be destined to become rude, snobby, bossy, boastful, unkind adults!

3. Most importantly, God commands us to be kind to one another time and time again throughout the bible!  He commands us to be forgiving and compassionate just as he is with us.

Ephesians 4:32 “Be kind and compassionate to one another, forgiving each other, just as Christ God forgave you”

James 2:8 “If you really keep the royal law found in scripture, “Love your neighbor as yourself”,  you are doing right”

The bottom line here folks is we’re all sinners.  Romans 3:23 “for all have sinned and fall short of the glory of God”.  Nobody is asking you to be perfect and we are all a far cry from the people God is calling us to be but nobody young or old should have to deal with the mean kids on the playground.  If we all made a conscious effort to do what God is asking and just simply be kind and compassionate to one another, I imagine the mean kids on the playground would cease to exist!  Reach out to someone this week and let that beautiful light shine through you!  Sometimes we have to step out of our comfort zones and often including others in our plans is an inconvenience but if we ALL put others before ourselves, we would always have someone out there putting us first.

Lord, today my prayer is that you make me more like you.  Make me more compassionate and tolerant of the “mean kids” who aren’t always the easiest to love.  Help me to lay my own hurt aside to be forgiving to those who have never even asked for forgiveness.  Work through me to show them the joy and peace that only you can give.  I pray Lord that you will penetrate  the hearts of my children so they will always let your kindness shine through to their peers all their lives.  I pray that you will use my actions and my words to be a living example of your love and mercy to my husband, my children, my friends, family, and everyone I come in contact with.  Fill my heart with your peace and love and grant me a spirit of compassion and kindness.  Thank you so very much for loving me and forgiving me even though I don’t deserve it.   Amen ❤

American Girl Bitty Baby House Party

If you know me, you know that I love throwing a good party and I tend to go overboard.  If you don’t know me, you probably could have figured that out all on your own!  I’m not someone who does things the easy way either.  Nope, store bought decorations, invitations, and favors have never been my thing.  Not that there’s anything wrong with store bought party stuff, just saying, it’s not my thing.  I know I have mentioned before that my children (and myself who am I kidding) love American Girl Dolls.  We share our house with several of them but one of our favorites is Lizzy, T’s Bitty Baby.  She loves to push her in her stroller, sit her in her highchair, and carry that diaper bag everywhere we go.  When baby sister got old enough to take an interest in baby dolls, she pretty much kidnapped Lizzy for good.  I had officially decided that A would be getting her very own Bitty for her 2nd birthday in December.  Now P says she wants one too of course!  Got to have 3 of everything in a house full of girls you know!  Anyhow, a couple of months ago we got wind that AG was planning to release their revamped line of Bitty Baby at the end of August.  T was ridiculous amounts of excited so we had to do a little internet research to see what changes were being made exactly.  We discovered that there would now be 11 bittys to choose from, a whole new line of story books geared towards the younger AG lovers, and lots of exciting new accessories.  We also stumbled upon the House Party website.  How on earth had I never heard of House Party before?!?!?!  My love for over the top parties and my love for free products combined into one fabulous website!??!?!  If you don’t know about House Party, you NEED to check them out at http://www.houseparty.com and sign yourself up to host your very own!  American Girl teamed up with House Party to select 1,000 or so lucky ladies to host a Bitty Baby tea party to introduce new Bitty to the world!  Naturally we signed ourselves up to be hosts and patiently waited for what seemed like forever to find out if we had been chosen or not.  I have to tell you I had pretty much psyched myself up for disappointment because I never win anything.  Seriously.  NEVER!  Imagine my joyful surprise when I checked my email on host picking day to discover that I had been selected!!!  So in about a month we will gather around with some of P & T’s favorite lil’ ladies and have a tea party to welcome our new Bitty home.

This is the new Bitty Baby.  Her face mold has been changed as well as her hairline.  She now comes with her own full color story book called “Bitty Baby and Me” and a cute little wishing star.  Her little sleeper outfit has changed too and is super cute with little ruffles.  Can’t wait to see her in person.  T is ridiculously excited!

F6254_main_2American Girl and House Party are sending us and our guests lots of goodies and naturally I had to start whipping up my own special touches immediately!  I don’t normally share my party plans pre-party because I like for my guests to be pleasantly surprised by my personal touches but I figure there are so many other host mamas who could probably benefit from my hours of computer design work too.  My husband always says nothing in this world is free but why I ask, WHY!?!?!  We mamas have braces, shoes, school, and dolls to pay for by golly.   Shouldn’t something be free from time to time?   So here you go fellow Bitty Baby House Party Hostesses some FREE downloadable printables for your own party!  I know I’ve already emailed several of you the water bottle labels and cupcake toppers but I’ve added a few other goodies for your printing pleasure here!   Just click on any of the links at the very end of this post to download whichever party goodies you would like.  When printing make sure you select “scale to fit (print entire page)” so that none of the design is chopped off.  Some printers may have you select to print at 90% instead of 100%.  Hope that make sense.

image-5To create the place cards, simply cut each one out around the solid black lines and fold at the dotted line.  I used the computer and a snazzy font for our names but you could easily handwrite them if your handwriting isn’t chicken scratch like mine.

photo-11The water bottle labels are pretty self explanatory.  Just cut them out and use tape to secure them.  If you plan to keep them in an ice bucket you may want to laminate the labels or cover them in clear tape to make them waterproof.

image-4You can cut the cupcake toppers out by hand or use a circle shape maker if you have one.  I used to have one purchased at Hobby Lobby but it was M.I.A. so I had to do them the old fashioned way.  Once they’re cut out just tape or glue a toothpick to the back.  If you’re feeling extra ambitious you can make them 2 sided by sandwiching the toothpick in between 2 circles!  I personally think the fact that I created them, cut them, and taped them at all was ambitious enough for me!

image-6To make the Bitty Baby scratch off lotto tickets you’ll need to print 1 copy of the page with the winning ticket and then a couple without.  You also need a small paintbrush, some clear packing tape or wide shipping labels, dishwashing liquid, and silver paint.  Cut your clear tape or clear shipping label to fit the scratch off area and place it over the print.  In a cup or bowl that’s okay to get paint in mix 1/2 dishwashing liquid and 1/2 silver paint (or any color of metallic paint you choose).  Paint over the labels or tape until you can’t see what’s underneath anymore.  Mix a little bit of black in your silver for a darker better coverage if you don’t want to have to do so many coats.  I did and still had to paint on 3 coats!  If you’re using the shipping labels it’ll probably be much easier to paint them before you cut them and stick them on.  It was tough to stay in the lines with the tape.

picstitch-2Once the paint has completely dried (overnight would probably be best but I was dying to try it so waited an hour), cut out the lotto cards and they’ll be ready for your guests!  You can pick anything you want big or small to be your door prize.  I will probably do one of the new Bitty books.  What a fun project!  I will definitely be doing these again!

I also created a party welcome banner to match and invitations too!  You’ll obviously have to add your own party information.  The invitations are formatted to a 5×7 size.

bittybabyinvite1

bittycupcaketoppers

bittyplacecard

bittywaterlabels

bittywelcomebanner

bittylotto

Check out the new Bitty Baby line for yourself at

http://www.americangirl.com

and don’t forget to check out

http://www.houseparty.com

I love you because…

Positive reinforcement is such an important key when dealing with our children and spouses.  Sometimes just saying “I love you” isn’t enough.  Sometimes your significant other and those precious kiddos need to know WHY you love them.  Everyone needs an extra pat on the back and a sweet little reminder of the things that make them so special and so very loved!  I saw a post on Pinterest once with this idea and although it was just a photo that lead nowhere with no link, it looked simple enough so about a year ago, I designed 1 for each of my children and they got such a kick out of them I got to thinking we might need one in our bedroom too!

photo-10

Dave may not be very pleased that I used his most recent love doodle for my blog but I don’t get them often so I would like to forever embed it into internet history!  haha  Sorry honey! I made one for the baby’s room too but she’s not old enough to appreciate it yet so I change it less often than the others and it’s more for my sweet memory.  I leave a dry erase marker by each and although I don’t change them daily,  I try to change them at least once a week.  Every once in a while, I’ll find a sweet something written just for me too!  It’s no grand gesture, just a little something that says “Hey!  You’re pretty awesome and I love you for it!”

You can make your very own “I love you because…” sign too and remind the people you love what makes them extra special to you.  All you need is a picture frame, a dry erase marker, and a printer!  I’ve created a few downloadable printable signs for you but you can create your very own to match your child’s personality or decor.  These were created in a 5×7 size so all you need to do is select the image you like best and print! There’s a little something for everyone-even the boys with legos and camo hearts!  Just click on the link to view, print directly, or save and send to your favorite online print company.  They sometimes look a little blurry when you first open the file but they don’t print that way, it didn’t for me anyway.  Enjoy!  ❤

camolove

chevronlove

cowboylove

legolove

leopardlove

lovedots

roselove

doodlelove

kisslove

USAlove

Baking with the Bigs

When 8:00 rolls around and I finally lay the baby down for the night, the big girls get hungry for some attention. I often get hungry for baked goods so baking together seems like a win for everyone! In all sincerity though, I can’t express to you enough how important it is for you to spend quality time with your children and build some memories. As a busy mom, it’s easy to be in a rush all the time and say “I don’t have time to play a game right now I’m doing the dishes!” or “No, you can’t help me make dinner, I’m in a hurry and you’ll just make a huge mess!”. I guarantee those kids won’t remember the dishes in your sink but they will certainly remember all the fun they had getting flour and food coloring all over the kitchen! When I was a little girl, I remember feeling like I never had my mother’s full attention. She always seemed preoccupied with housework. Not that there is anything wrong with that, different moms interact with their children differently and not all children are the same so this may not have had an affect on someone else but it made me personally feel insignificant. I didn’t want to chance my children ever feeling that way so you’ll often find us all in the kitchen together wearing matching aprons cooking or baking together. More often than not, you’ll also find an American Girl Doll or two in an apron “helping” as  well! Your chores will always be around,but your kids won’t be kids for long. Your kids should know the whole world doesn’t revolve around doing things with Mom. They should definitely know how to play independently and with each other while you get your chores done but we have to master a healthy balance of “hey kids, wanna help me bake?” and “I can’t fit another dirty dish in the sink, the floor is sticky, and everyone is out of clean undies. Could you play amongst yourselves while I tidy up?” Middle ground people. Middle ground! Lol. I hope someday when my girls have children of their own they will remember the giggles and smiles we shared doing ridiculous things like making tiny doll sized sugar cookies!

20130906-153546.jpg
I don’t want any angry emails over the dangers of artificial coloring in my food because you won’t ever persuade me to toss the food coloring! I divided the cookie dough into 3 equal-ish blobs and each one of us picked out a color.

20130906-153724.jpg
I then divided each color into 3’s and we each rolled out our own dough design on a cutting board before using cookie cutters to make shapes.

20130906-154053.jpg
Almost ready!!!

20130906-154227.jpg
The girls served their dolls first like good little mommies 😃

20130906-154324.jpg
Everyone (including Daddy & I) enjoyed our late night snack!

20130906-154432.jpg

Smash booking

Before I had kids, heck, when I only had 1 kid, I loved to scrapbook. I had a bazillion shape makers, corner rounders, paper stashes, stickers, and other assorted awesomeness. I would spend hours cutting my pictures into shapes with my Creative Memories custom cutting system and then cut cute little papers for photo mats and decorative flair. P’s scrapbook is amazing with hand cut and drawn layered paper Oreo cookies to commemorate her first ever cookie. Years 1-4 are detailed, colorful, and organized. Then I had T and all my well made scrap booking plans went out the window and my bins upon bins of fabulous scrap booking tools sat and collected dust in the garage. After our 3rd little princess was born, I realized I wouldn’t have a chance to play with my scrap booking stuff again until they were all in grade school and I was all alone for a few hours daily in sweet blissful silence! But there’s still lots of stuff I want to remember in the meantime. Dates with my hubby, craft projects I made with the girls, etc.

Enter K&Company Smash books.

20130904-101849.jpg
They retail for around $15 but you can get them for less by using a Michael’s or Hobby Lobby coupon, I know I did!😃
What on earth is a smash book you might be asking…
A smash book my friends is sort of a journal, meets a scrapbook, meets a tangible pinterest! It’s a scrapbook for the creatively challenged or for those of us who are now too busy to sit down and let our creative juices freely flow! Each Smash book has a theme and is choked full of built in awesomeness and zany printed pages.
Here’s a peek at some of the many smash books I’m currently working on and some of my smash accessories stash too!
This is my own personally random, mish mash, quirky Smashbook. I doodled like a school girl on the front cover and all over the inside too and added some nifty little clearance chipboard items to the front for character.

20130904-214820.jpg
One of the features that makes the smash book so neat is the included smash stick which is a great felt tip marker on one end and a glue stick on the other end. This is great for dysfunctional, unorganized, on-the-go crafters like myself!

20130905-010818.jpg
K and Company offers a whole plethora of cute and unique accessories to give your book an added boost of fabulousness and provide some easy storage for those souvenirs and other assorted keepsakes. There’s pockets, and labels, and baggies oh my!

20130905-011317.jpg
They also have a vast variety of “smash pads” to choose from. Each smash pad is choked full of themed notes and journal prompts to help you remember every last detail of whatever event or project that you care to smash into your book.

20130905-011621.jpg
What do you put in a Smashbook? ANYTHING YOU WANT!!! I’ve got magazine clippings, random things I’ve printed from the internet, catalog clipping wish lists, ticket stubs, pictures, and other random tidbits in mine! The back of each book has a built on pocket for extra smash ability.

20130905-012140.jpg
K & Company sells fancy “smash tape” but I like a little glitter in my life so I bought a ton of Reflections brand tape at Michael’s on sale and cut slits in one of my children’s shoe boxes to make a handy little tape dispensing device. Smash tape (and other similar products) are super easy to use and add a decorative flare to items you may not want to permanently glue down. It does not tear paper and is reposition-able if you decide to move it around. It’s overall pretty darn awesome!!!

20130905-012605.jpg
I used the “wedding” themed book to create a way to store our wedding and shower invitations and momentos as well as keep a log of our anniversary celebrations over the years, special date nights, etc. I used several pockets to store pamphlets, postcards, hotel keys, and other assorted goodies I’ve collected over the years. I even had random Instagram photos printed to remember dates and venues. I love that on our 30th anniversary some day, I can look back and remember that we spent our second anniversary at the Mansion on Turtle Creek in Dallas and have the handwritten card the manager left in our room to prove it!

20130905-013317.jpg
This is just a tiny glimpse of the many memories, thoughts, and souvenirs I store in my Smash books. What will you smash into yours?

You can get your smash book in 3 different sizes at Hobby Lobby, Michael’s, Target, or Amazon.com if you’re an online shopper. In fact, if you’re in the market for one this week, I happened to notice that the books and lots of accessories are being featured on the discount site Zulily through Friday so go have a look!

http://www.zulily.com/e/k-and-company-smash-58074.html?pos=74

Happy smashing!

Steak tacos

Steak tacos are a favorite go to meal in the Latch house. The kids love anything involving steak and cheese, and I like anything that doesn’t make a gigantic mess, takes less than 30 mins to make, and is delicious!
Gather ingredients-you’ll need
-Steak- I typically use sirloin but have used filet or ny strip before.
-Colby jack or other favorite cheese
-1 lime
-white corn tortillas
-cilantro
-steak seasoning (optional)
-margarine or butter

20130904-143122.jpg
Slice steak into thin strips and place in large skillet with about a tablespoon of butter or margarine. Take this time to add whatever seasonings you normally would a steak should you choose to do so. I use this fabulous Weber Chicago Steak seasoning that my hubby does when he grills. I also add a dash of onion powder and garlic powder. I often slice some very thin onion and toss it in with the steak but I was running late for an appointment so I skipped it this time. Cook the steak on medium heat till its at your desired heat.

20130904-143426.jpg
While your steak is cooking, take a second to grate your cheese if its not already done, slice your lime, pick and wash your cilantro leaves, and begin to hear your tortillas in a small skillet or in a griddle if you’re one of those kind of domestic divas.

20130904-144308.jpg
Once your tortillas are warm and toasty and your steak is cooked well enough for you get your plates handy and begin to assemble your tacos. Add the steak then squirt with some lime juice and top with cilantro then cheese. Fold in half and serve. We often serve with rice but they’re pretty tasty all on their own too so it’s not needed!

20130904-144603.jpg