
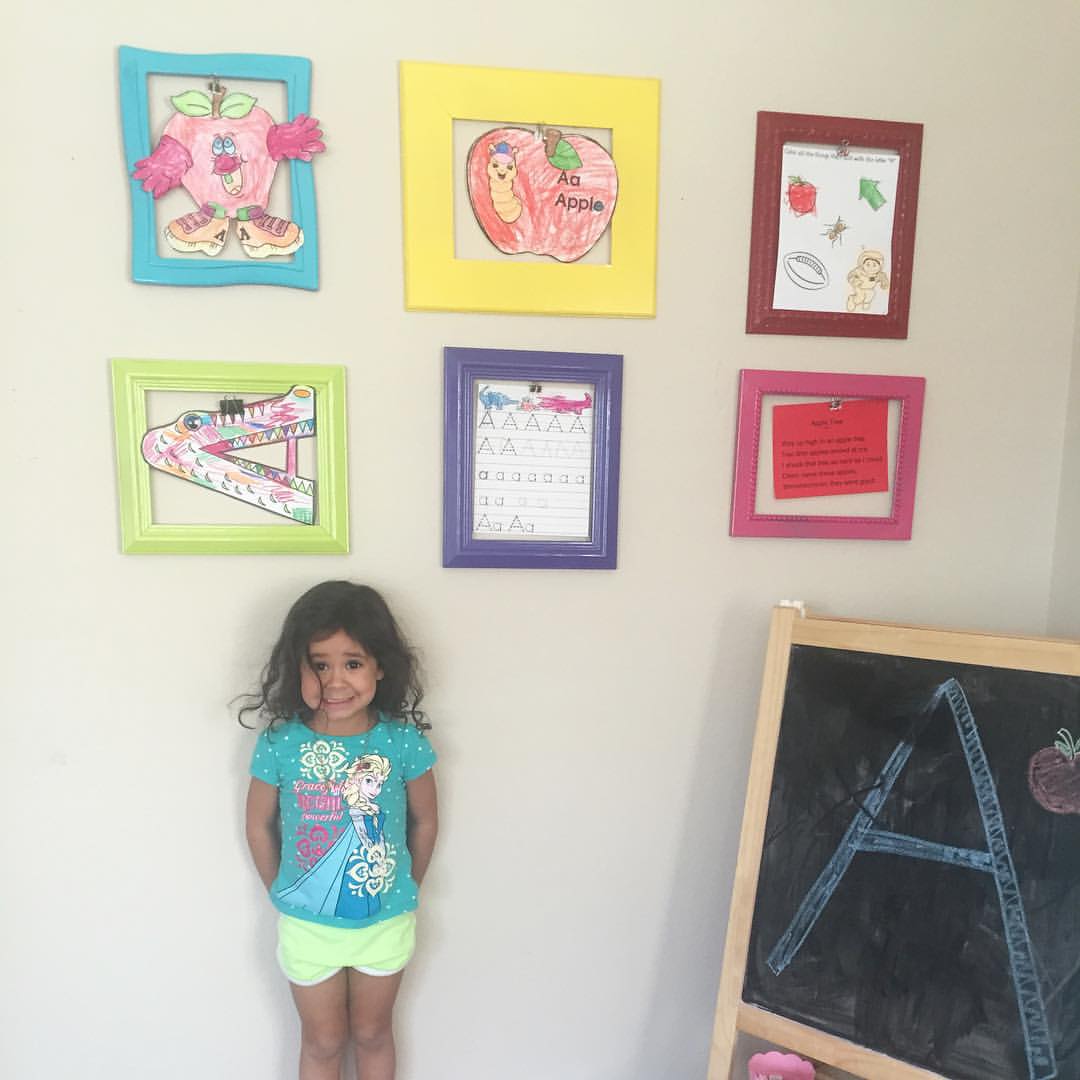
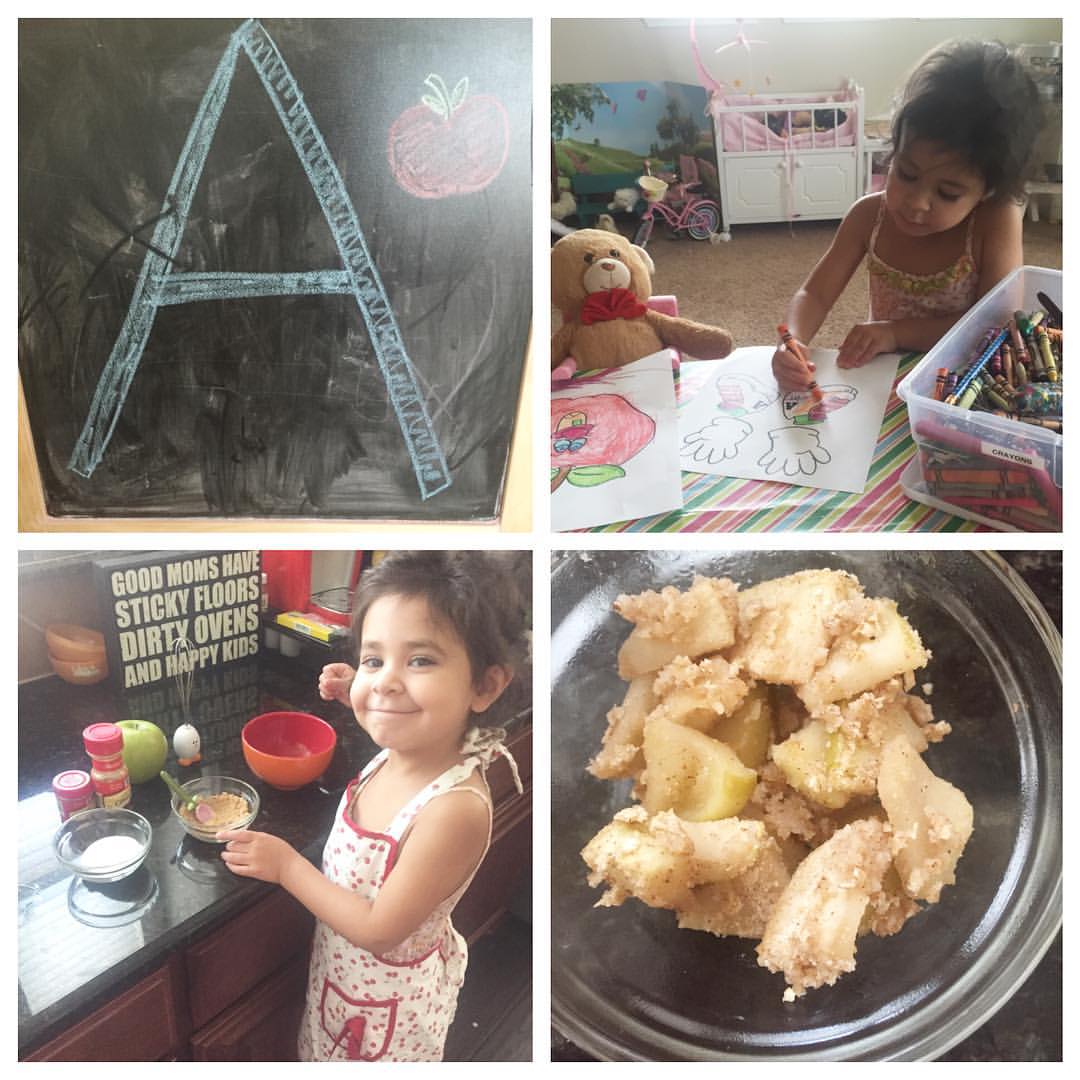
Here’s part 2 of our alphabet projects. Letters D, E, and F. You can see part 1 featuring letters A, B, and C HERE
Letter D:
Dinosaur
Dog
Duck
Digging
Donkey
Donut
Dad
Dirt
Dice
Dreamcatcher
Dandelion
Dolphin
Drum
Doll
There were so many fun things planned for D but we ran out of time before getting to them all 😦
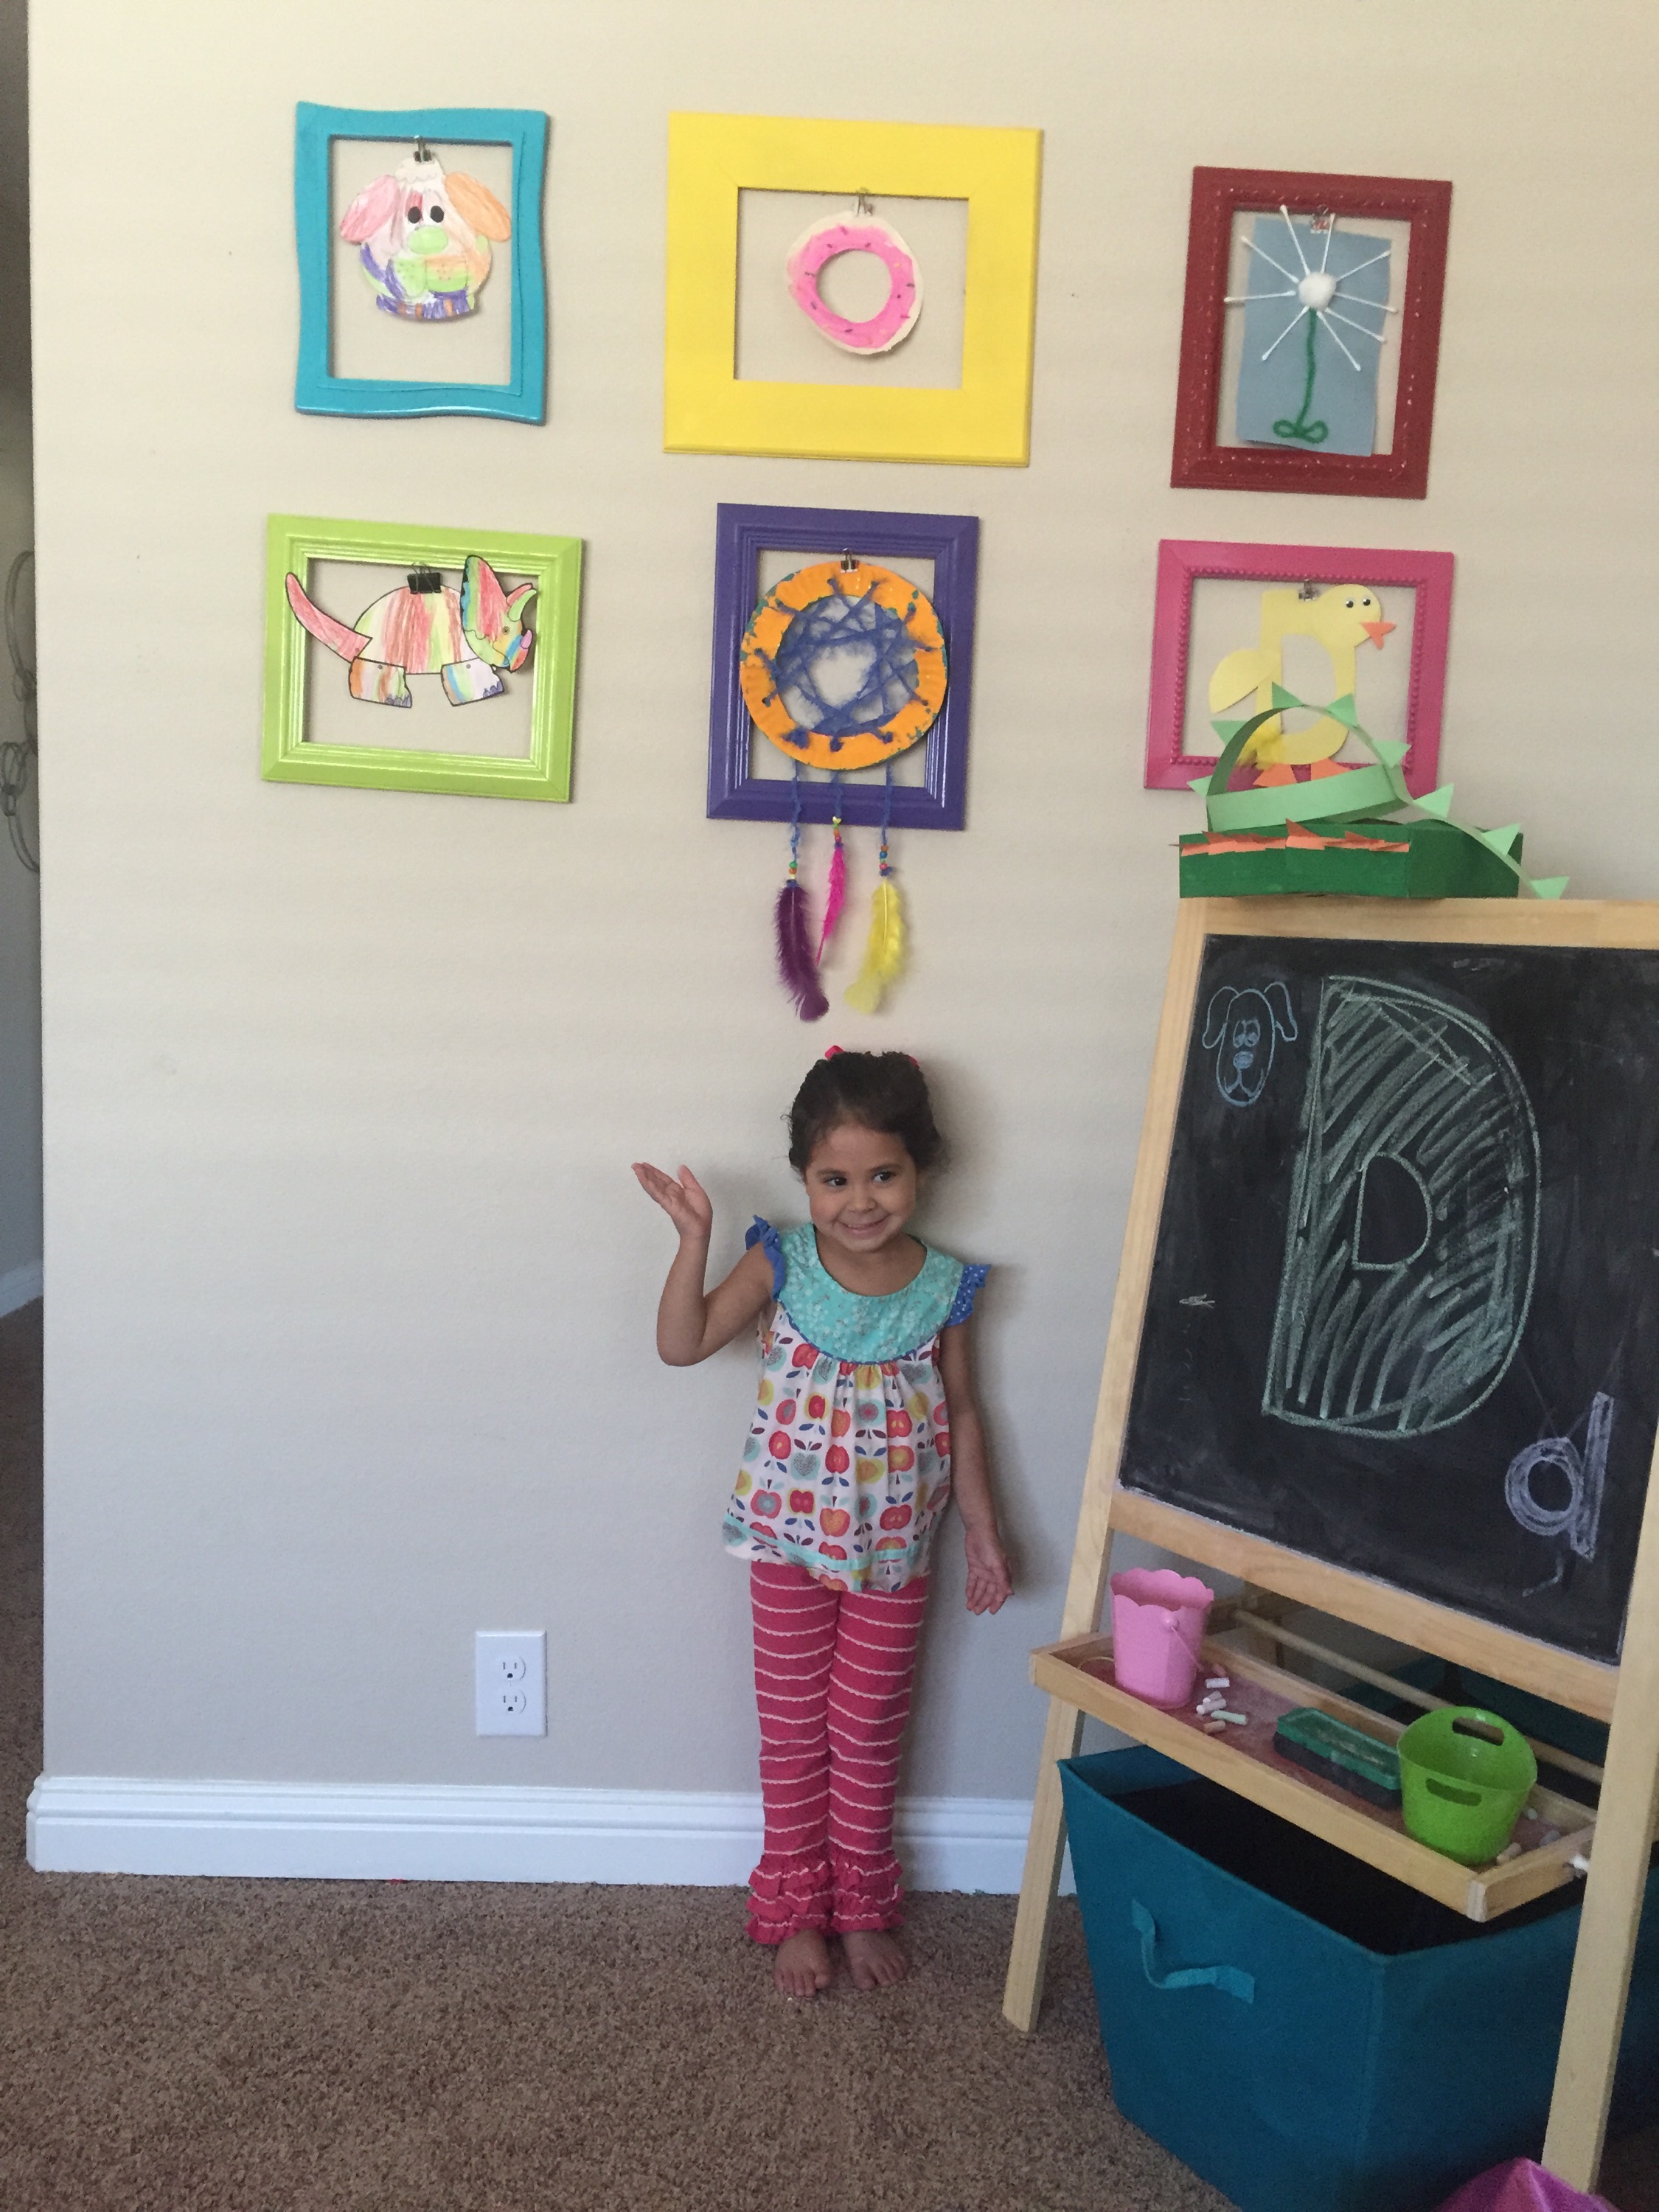
I’ll highlight a few of the fun ones we did get to as I’m sure you’re not so interested by the worksheets. We made a dandelion using q tips, a cotton ball, and a pipe cleaner. She simply glued the cotton ball on the top center of a piece of paper then glued the q tips around it. I made a pipe cleaner stem and we were done! We also used a paper plate to make a donut. She painted it and then glued on real sprinkles. For the duck, I cut out a D from yellow construction paper as well as a half circle wing. I made a heart shaped beak and triangle feet from orange paper. She glued all the pieces on and added some yellow tail feathers and goggly eyes.
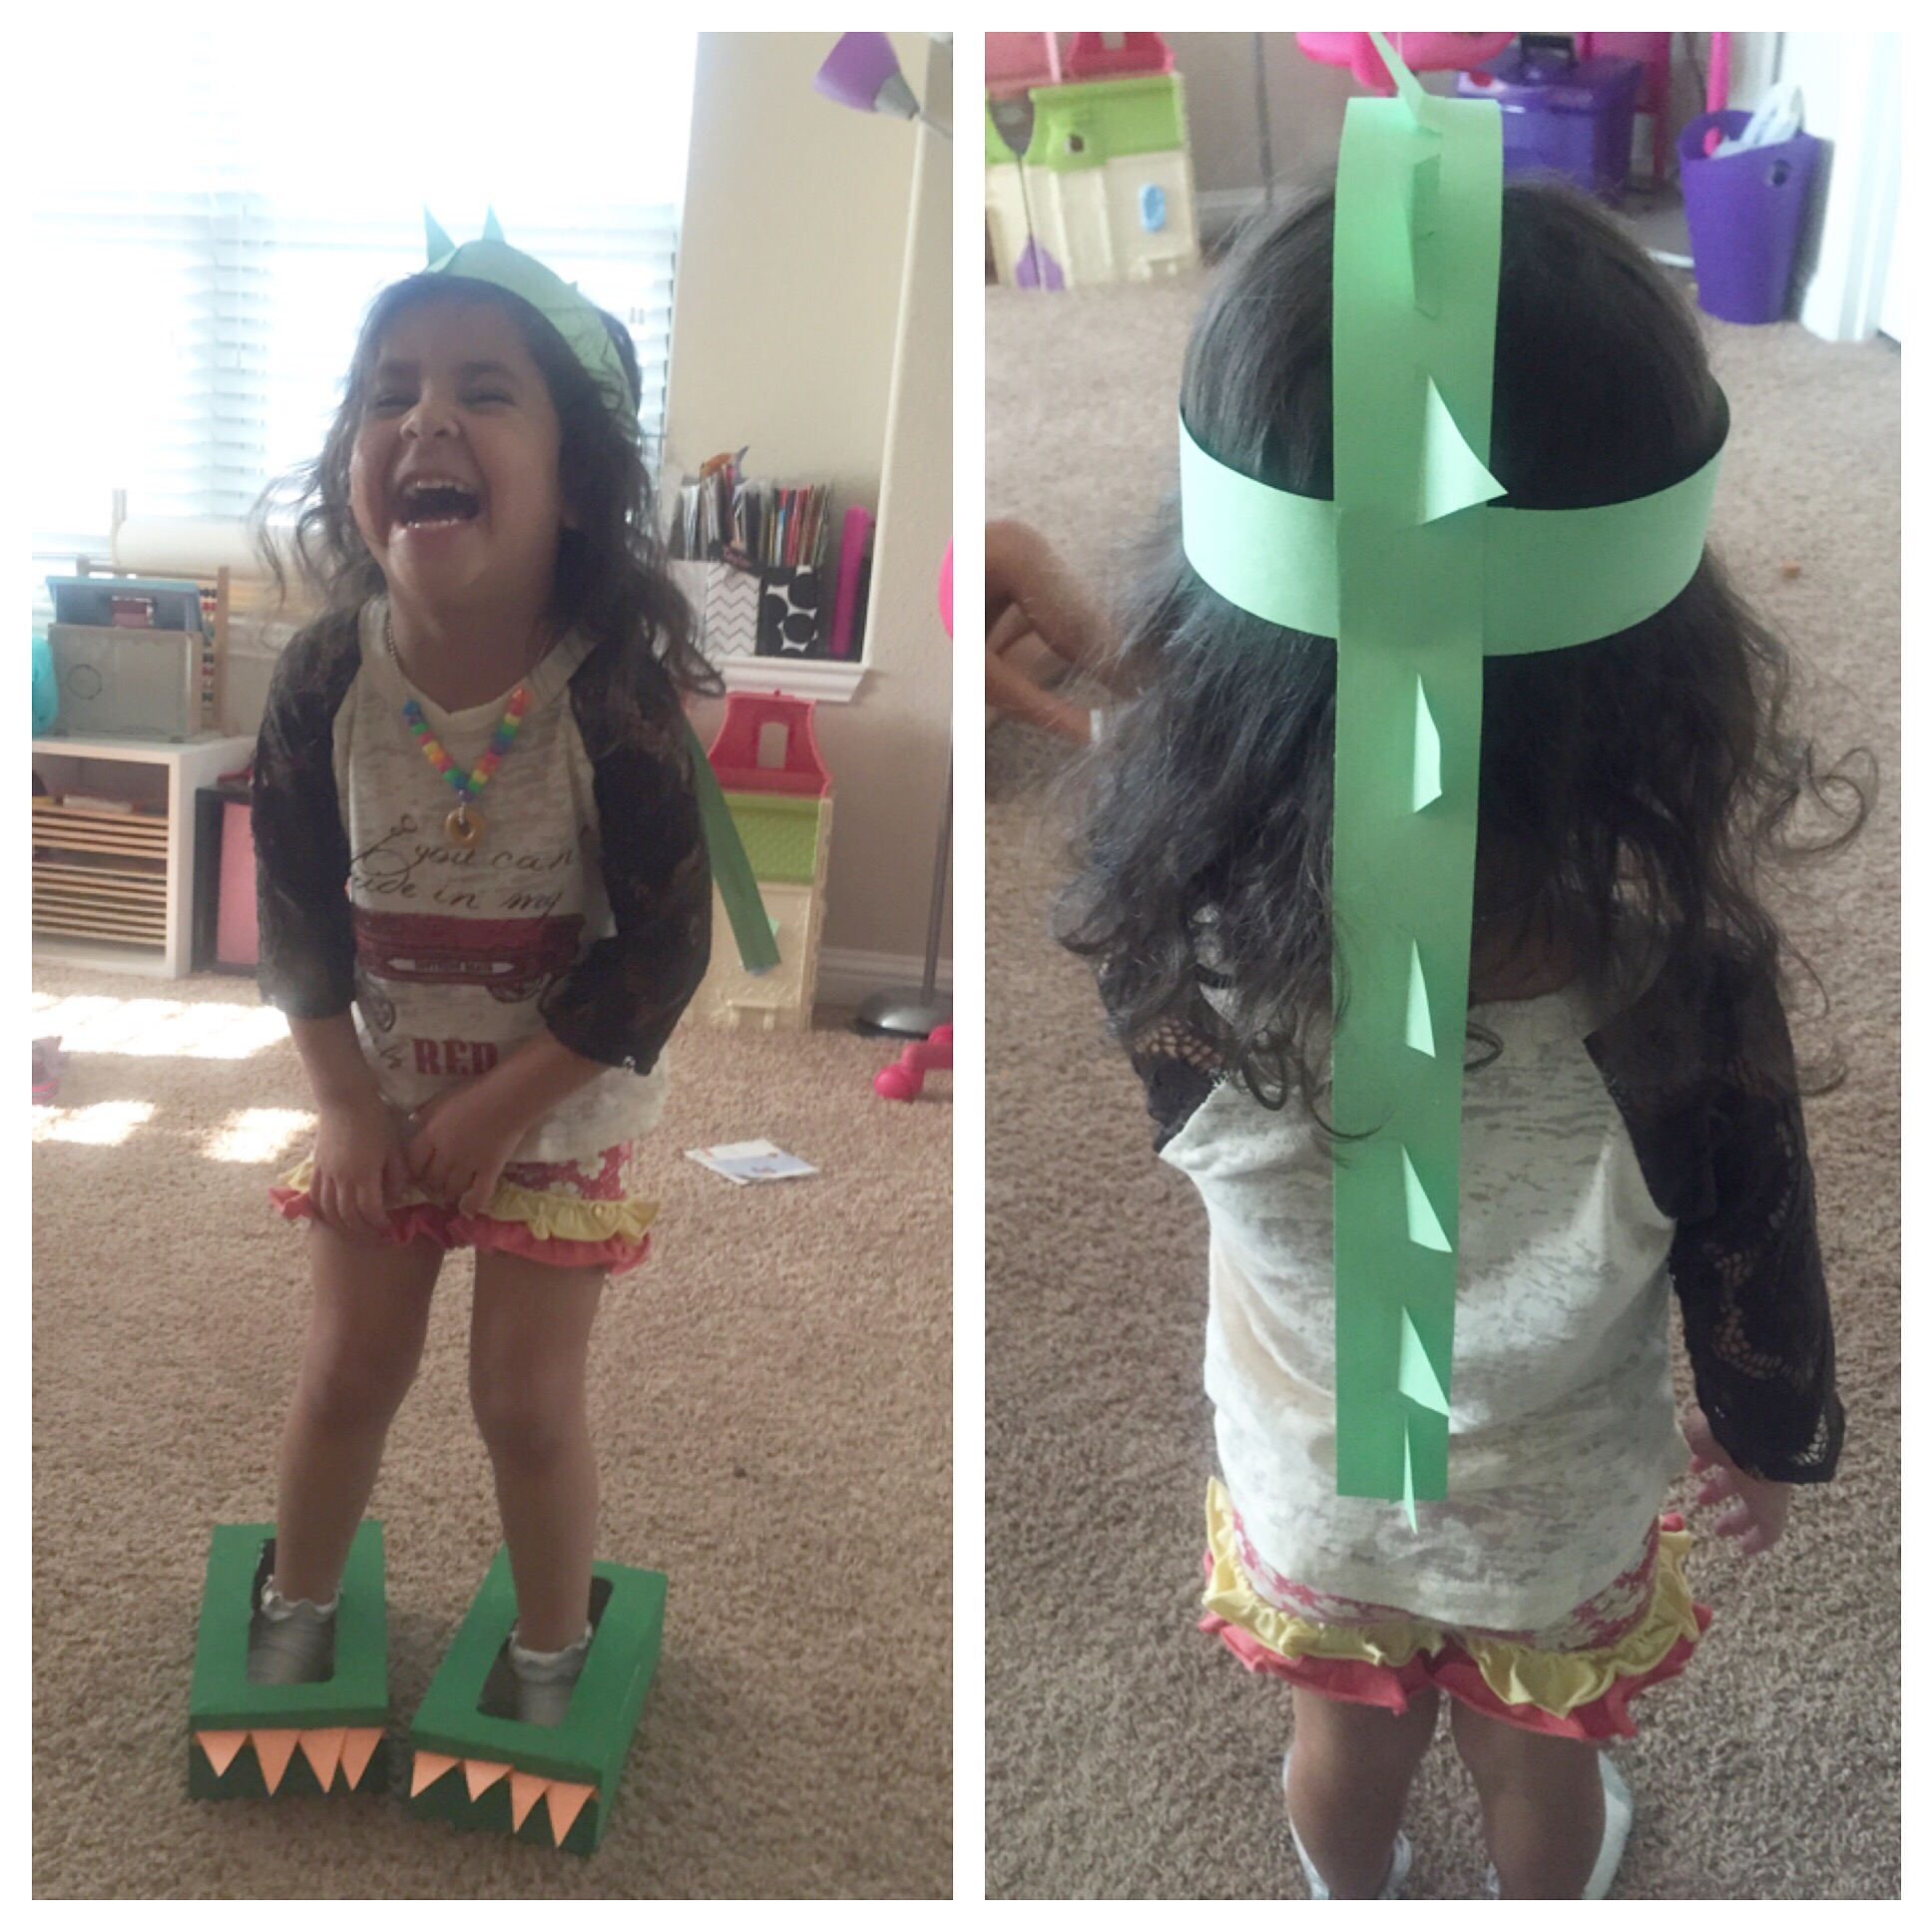
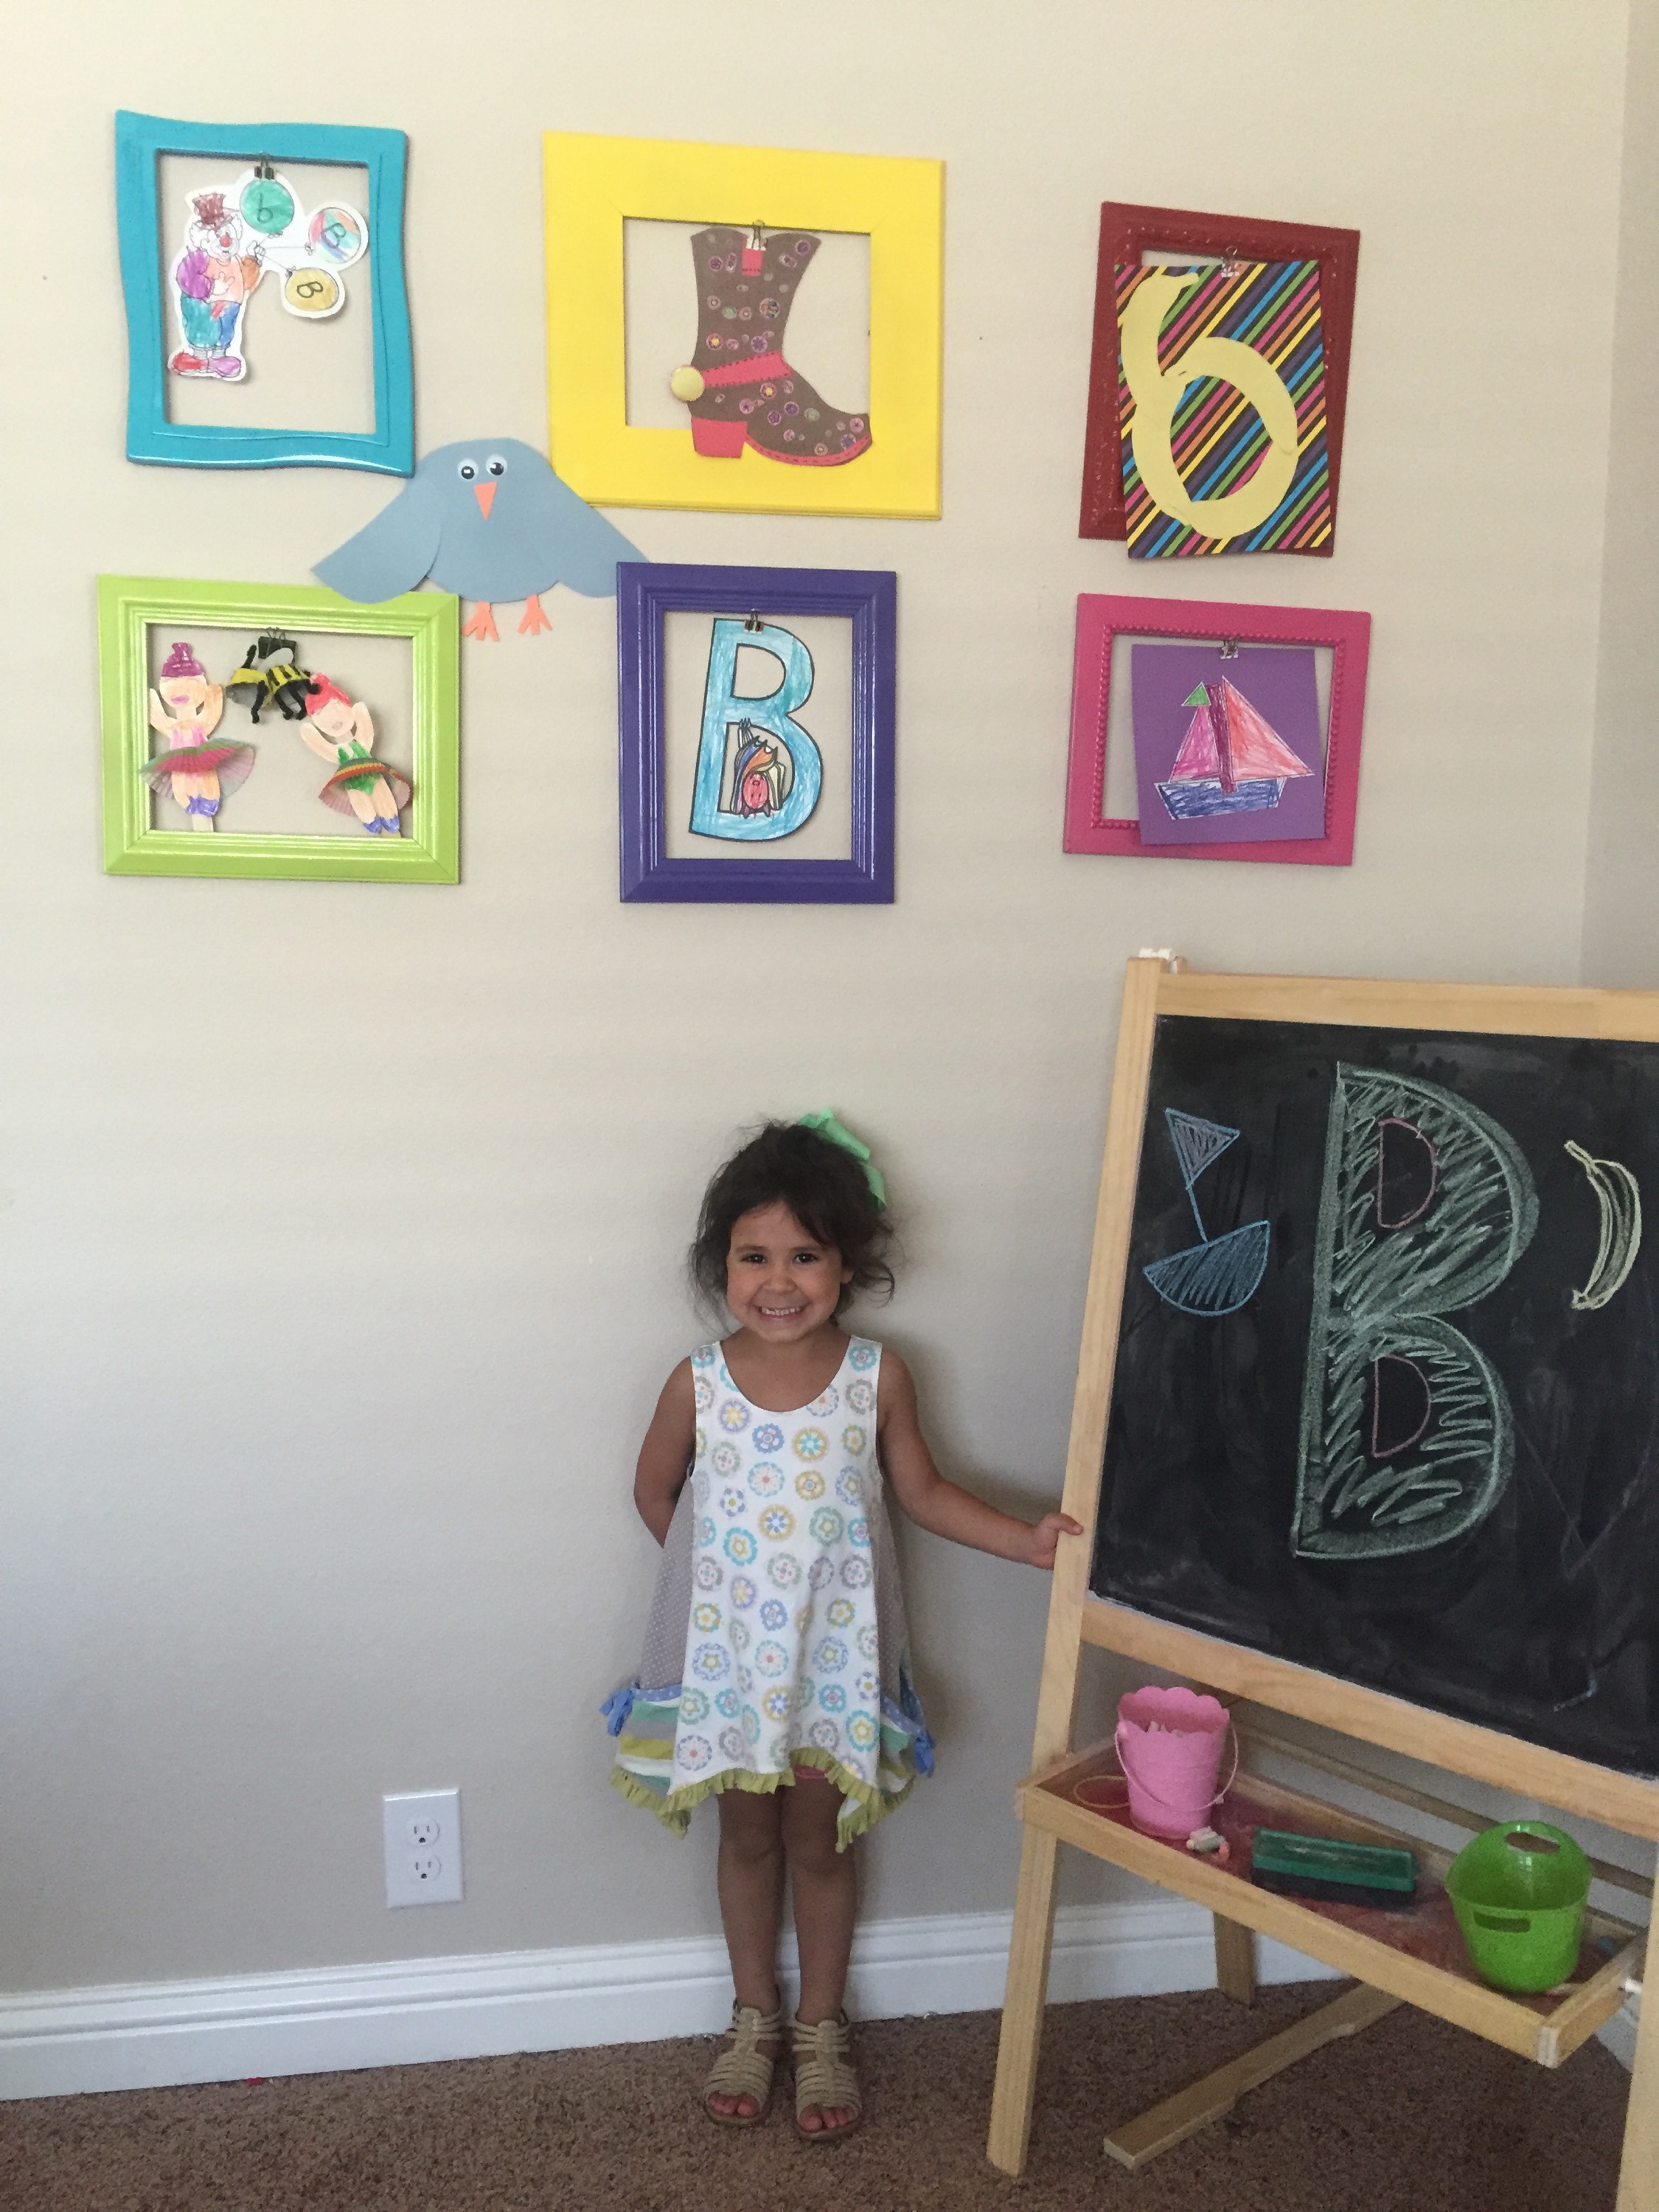
For the dino feet, I let her paint 2 empty (okay fine, I had to empty them but we are still totally using the kleenex! lol) kleenex boxes. I free cut 4 orange triangle claws per foot and let her glue them on. We then took green construction paper cut into strips and made the hat. 2 around the head and 1 across the top. I then let her glue on green triangles all around the top. She got a kick out of this and is still parading around in this outfit today!
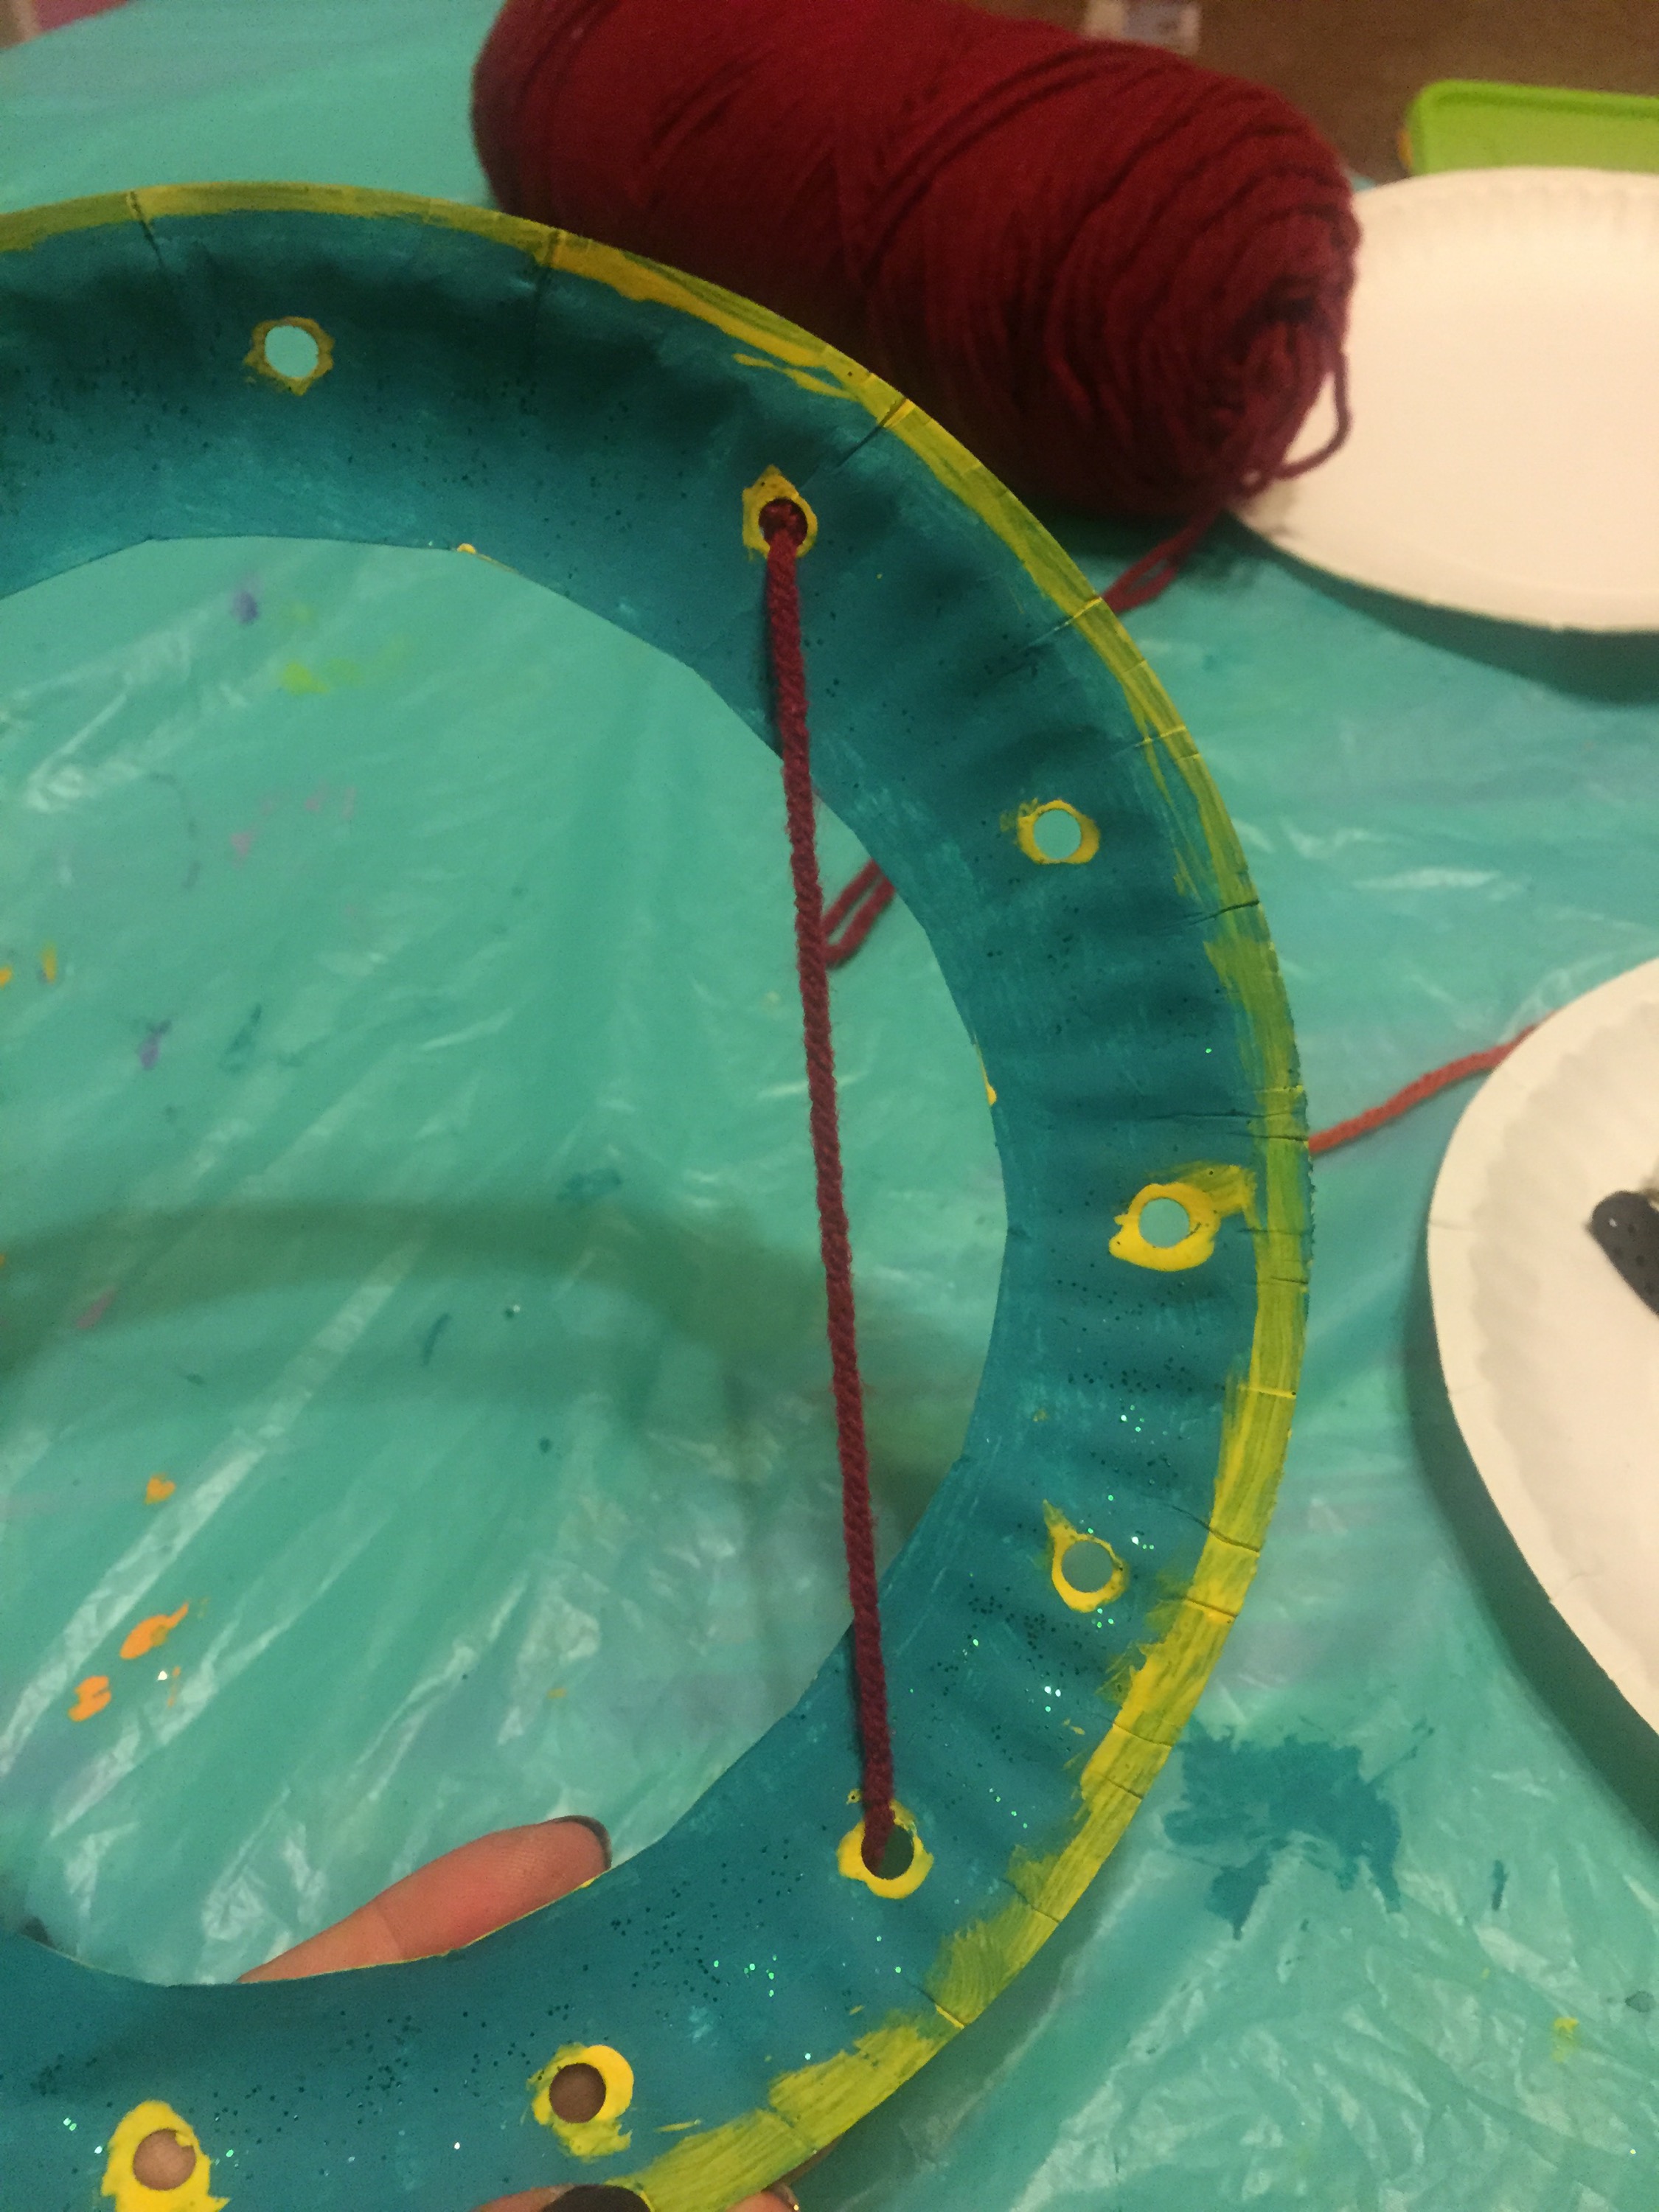
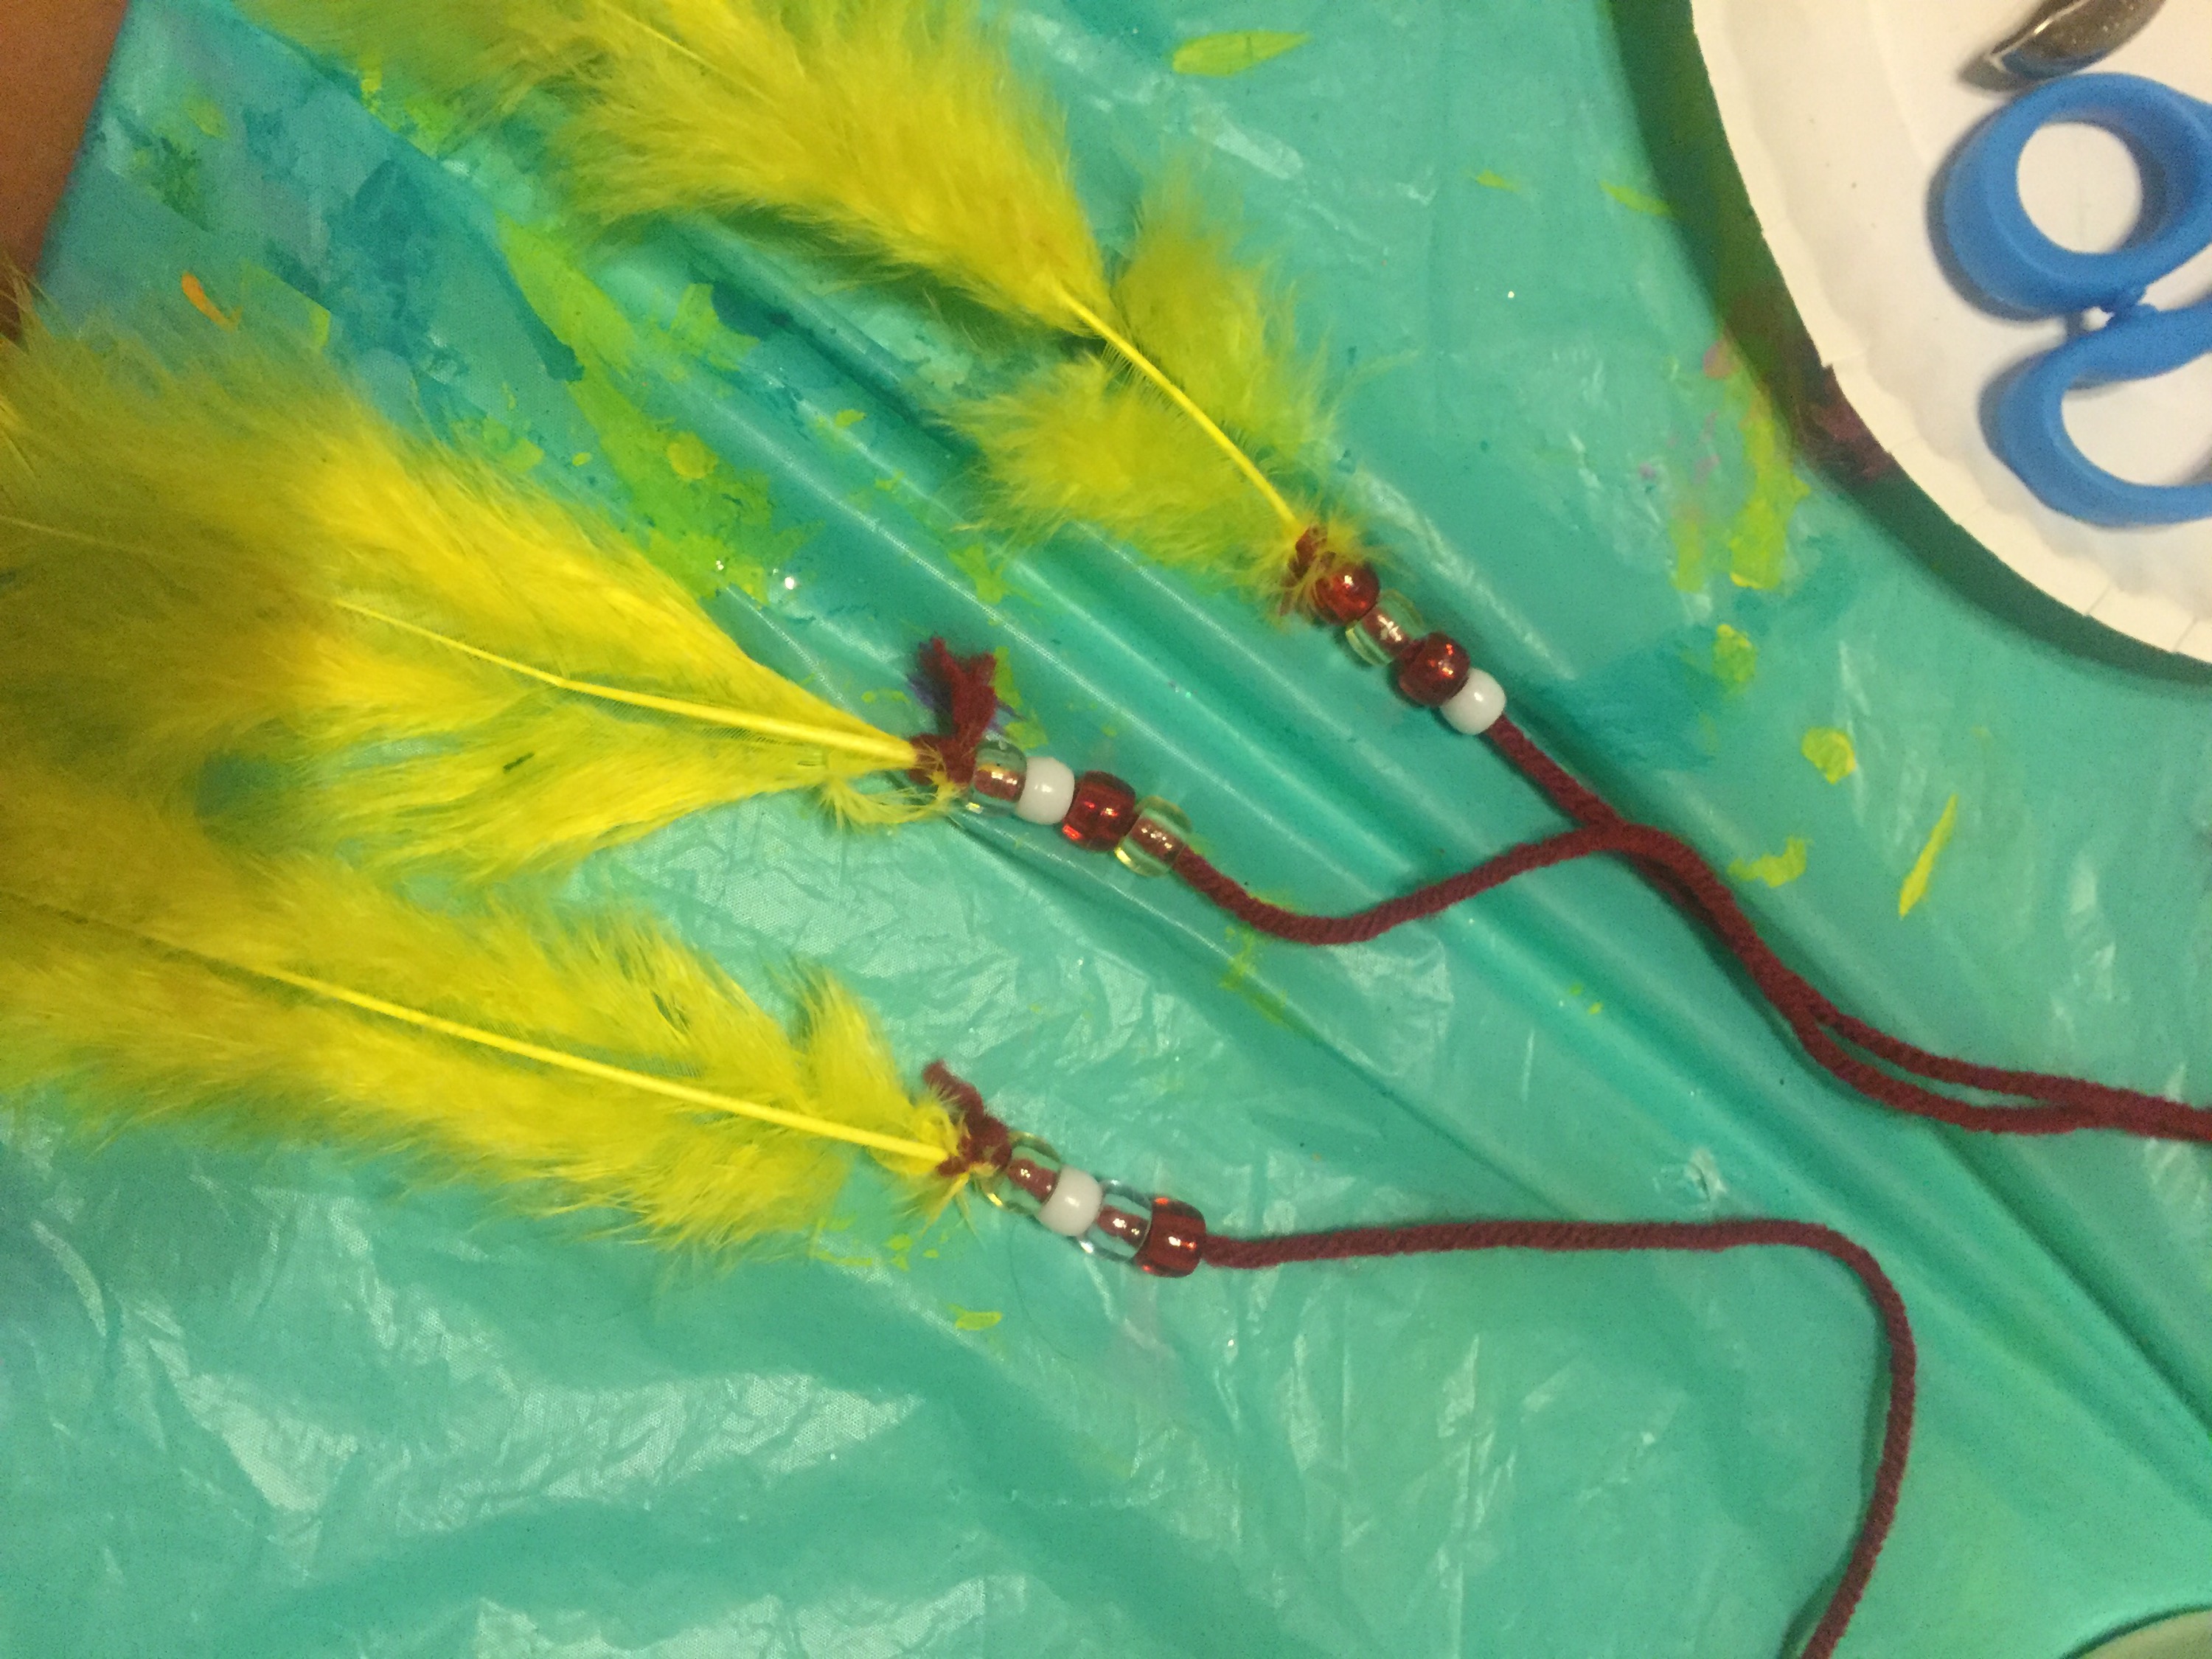
Our favorite project for D however was the dreamcatchers. The big girls begged me to wait until they got home from school for this one and everyone had a blast! I took a cheap paper plate and cut the inner circle out. Then, using this template as a guide, we used a hole punch to create 11 holes around the outer edge of the plate. While they painted their plates, I cut long pieces of yarn for them to use. I didn’t measure, but I would guess about 3 feet just to be safe. They weaved the yarn through every 4th hole as the above mentioned blog suggested and it worked well. We finished by stringing beads and tying feathers to 3 small strips of yarn and then tying them to the 3 bottom holes. They turned out so cute!


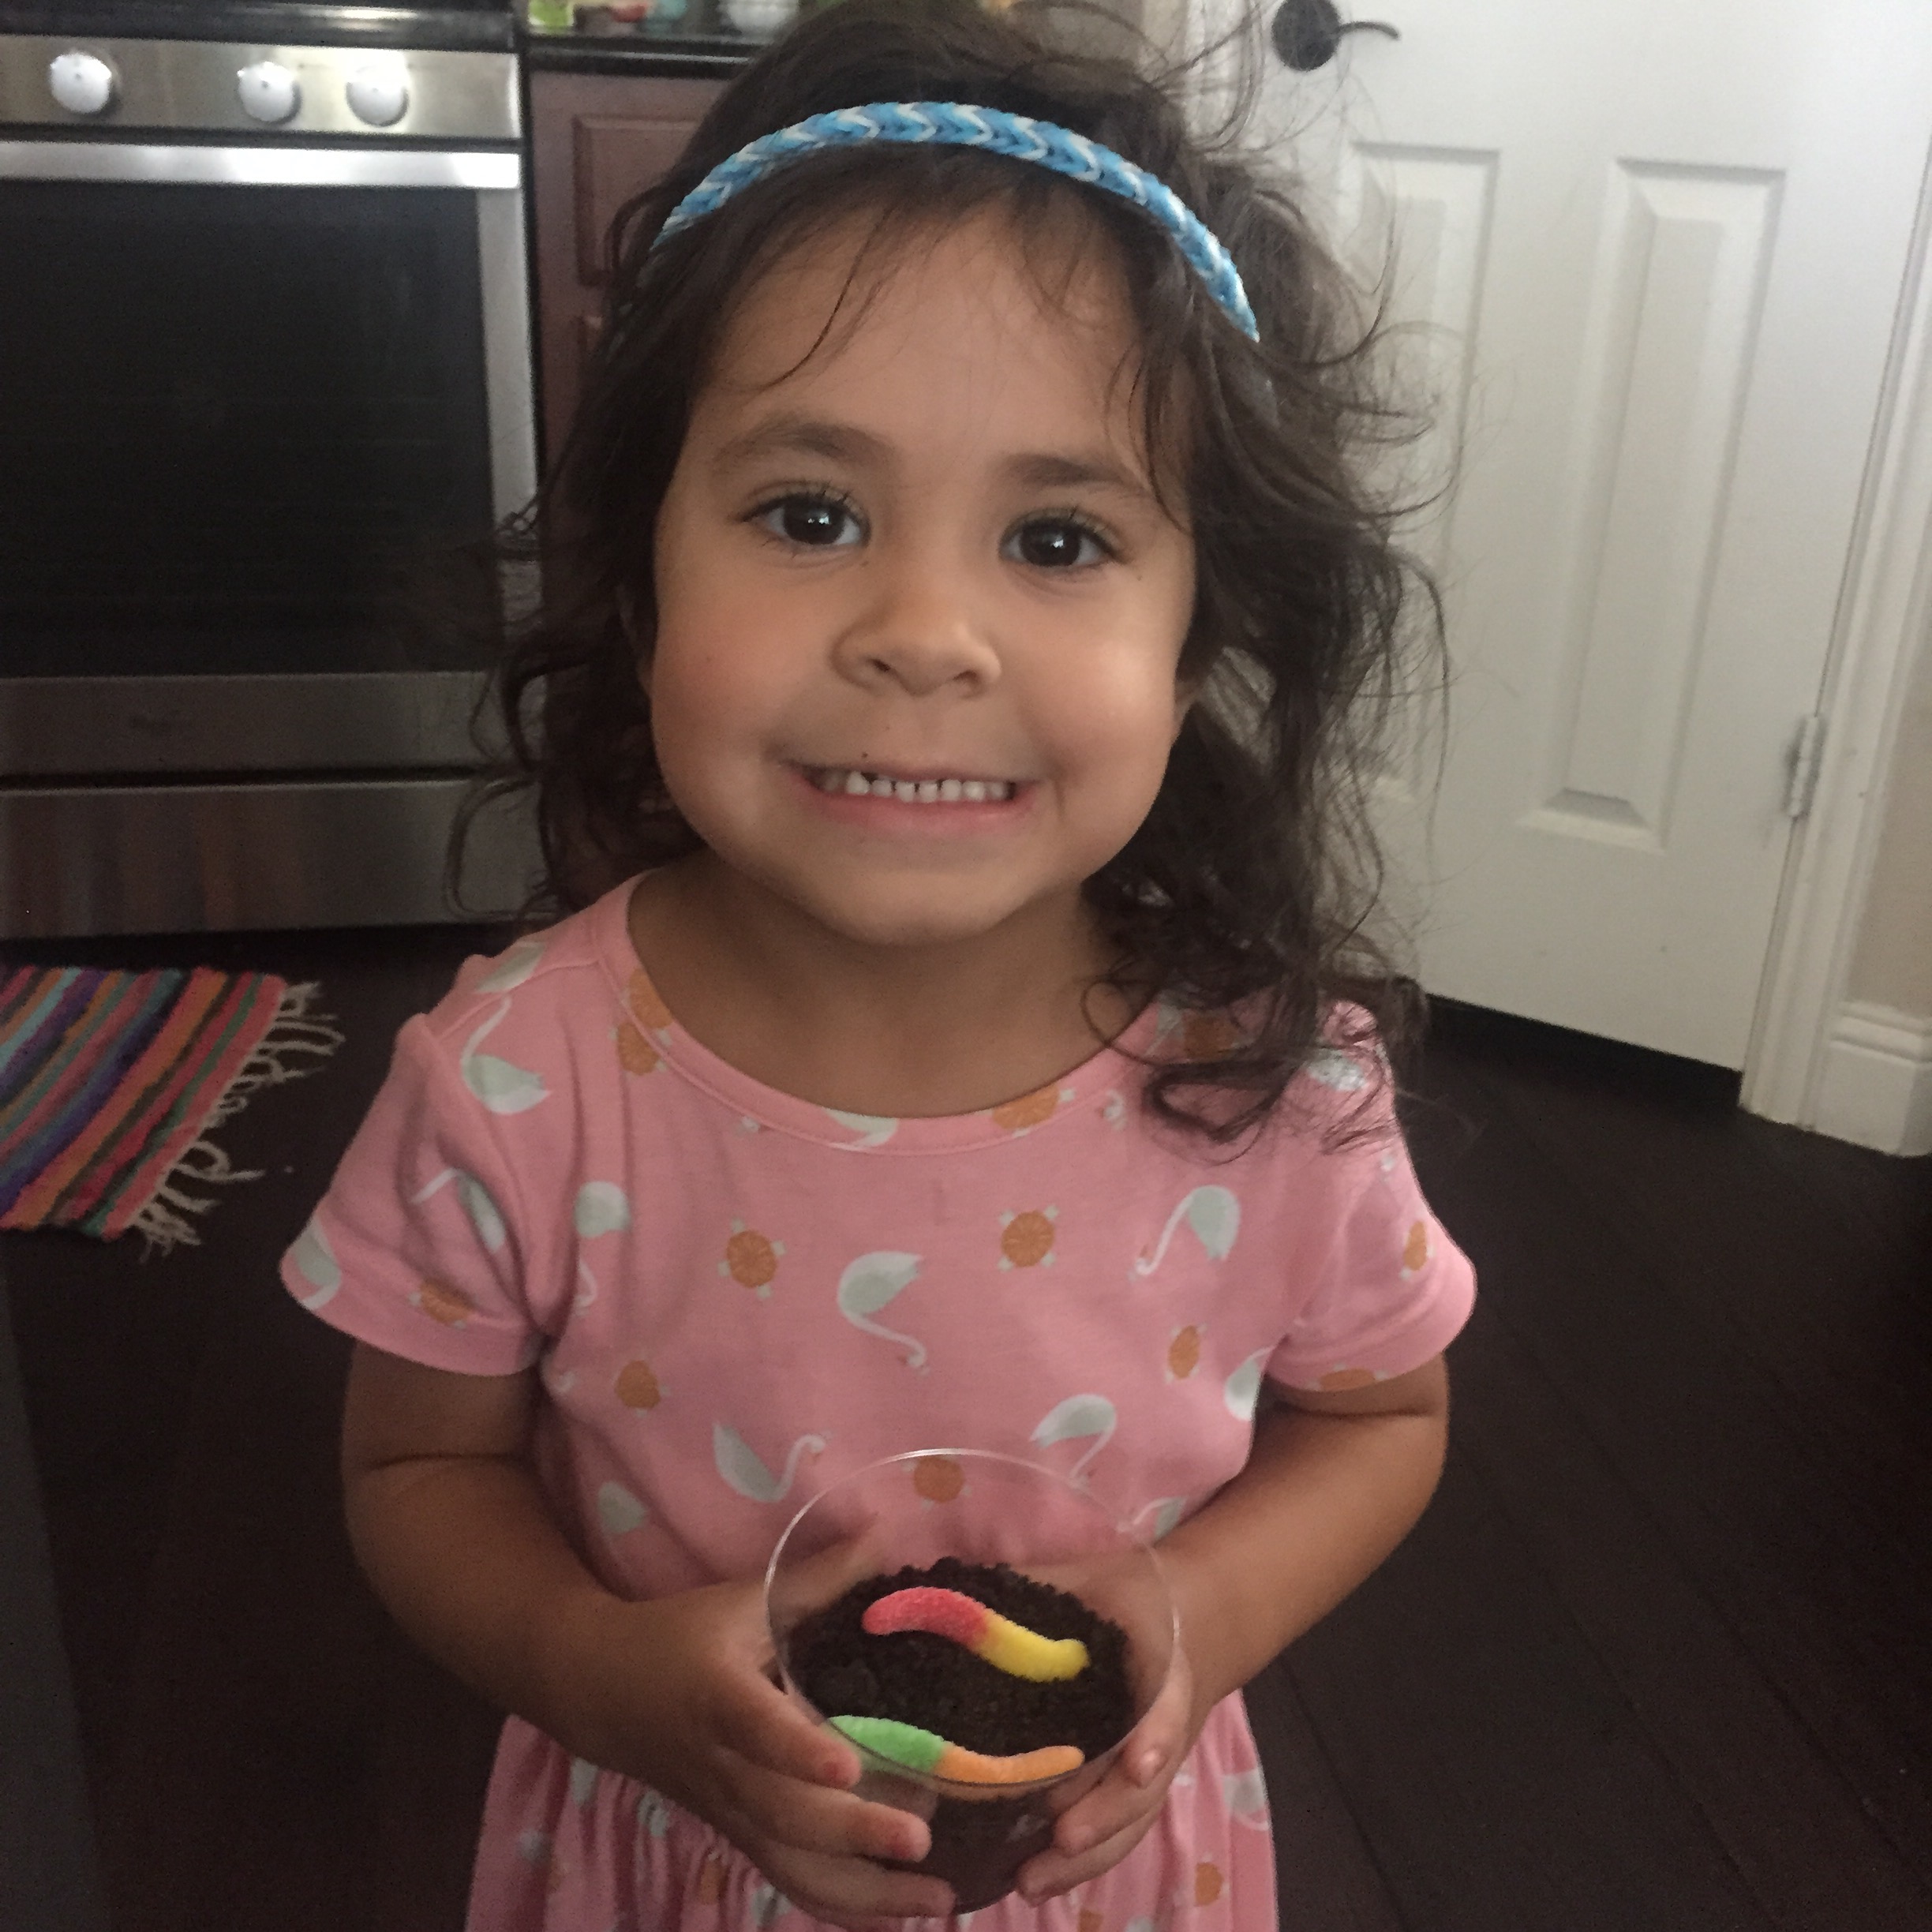
For our cooking project that week we made Dirt cups. She mixed up the chocolate pudding mix, crushed up double chocolate oreos for the “dirt” and added a gummy worm. She loved making AND eating this one! lol
Letter E:
Egg
Elephant
Ear
Earth
Eyes
Earring
Eagle
Envelope
Eskimo
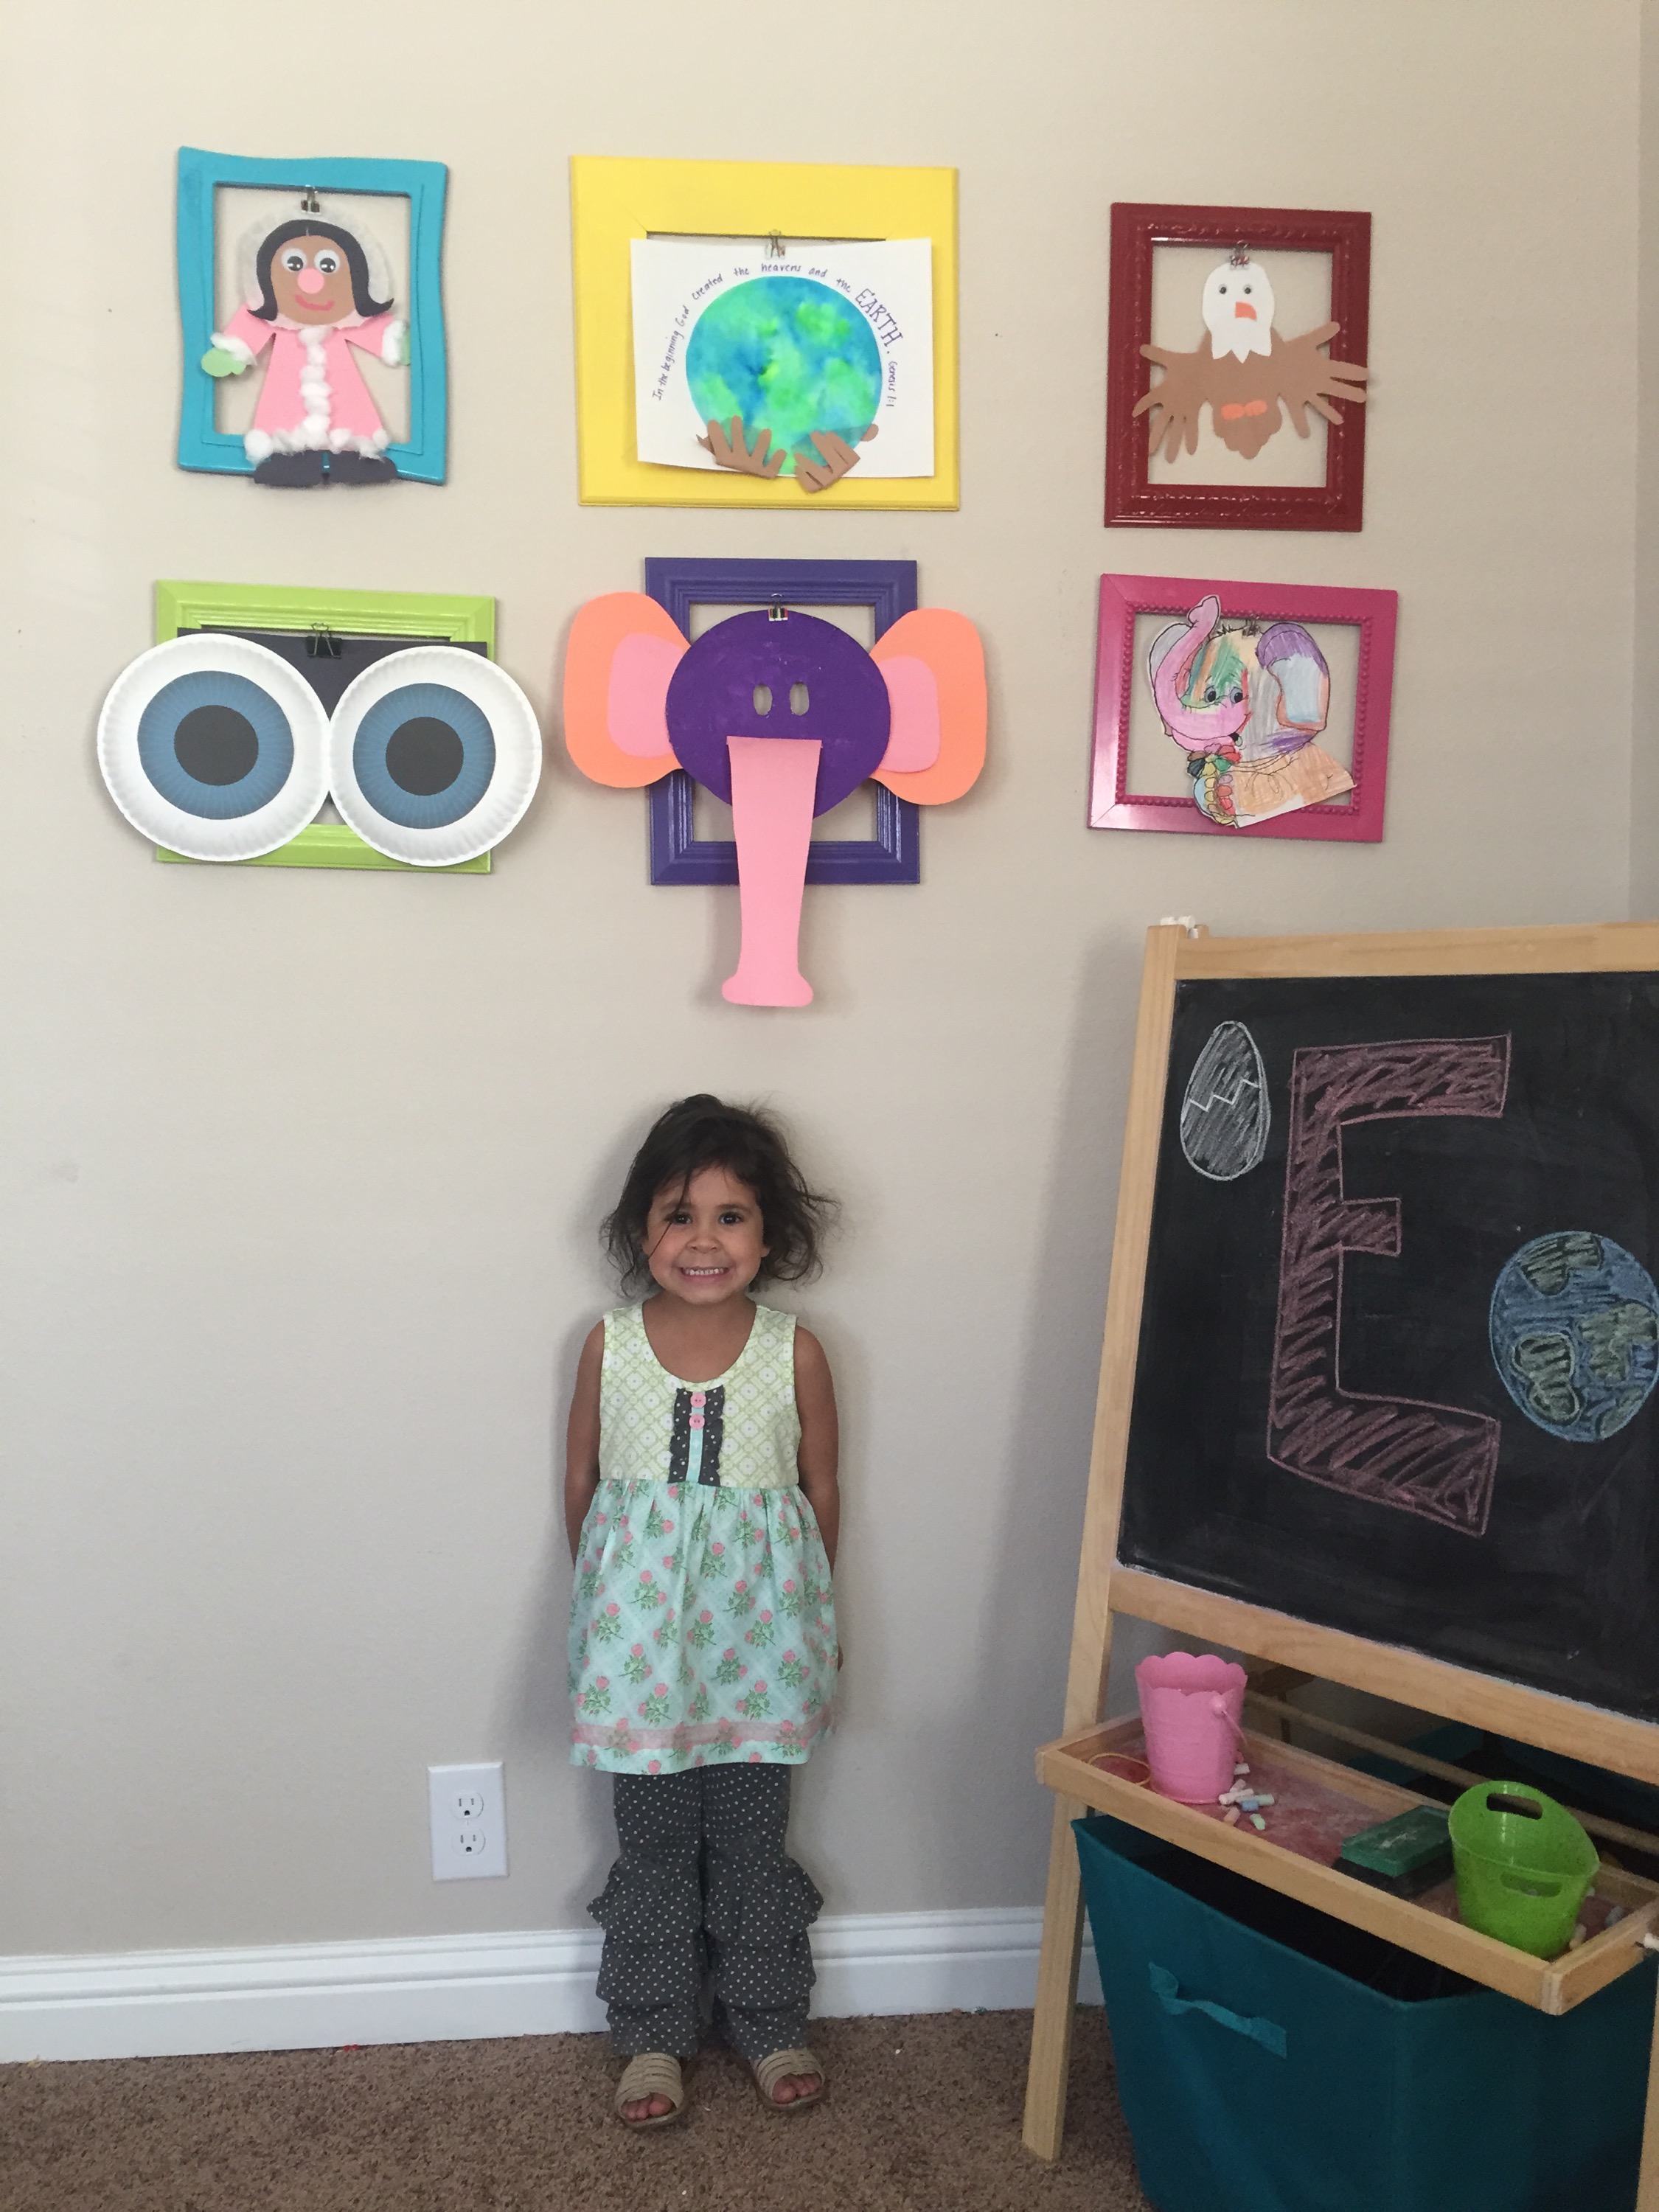
For the eskimo I sort of just free sketched the body, hair, mittens, and boots. They don’t have to be perfect. We used a coffee filter as the fur around her head, and cotton balls as fur accents on her coat.
We printed and cut out this eagle template from construction paper and then traced her hands for the wings. Simple and so cute!
For the elephant mask, she painted a paper plate and I cut out eye holes. I cut the ears and trunk out of construction paper and she glued them on. We also added a large craft stick (can be seen by lifting the trunk) so that she could hold it up to her face. The giant eye balls were printed from here and then glued onto paper plates. We then glued the eyes onto a strip of construction paper so they would stay together and hang easily.
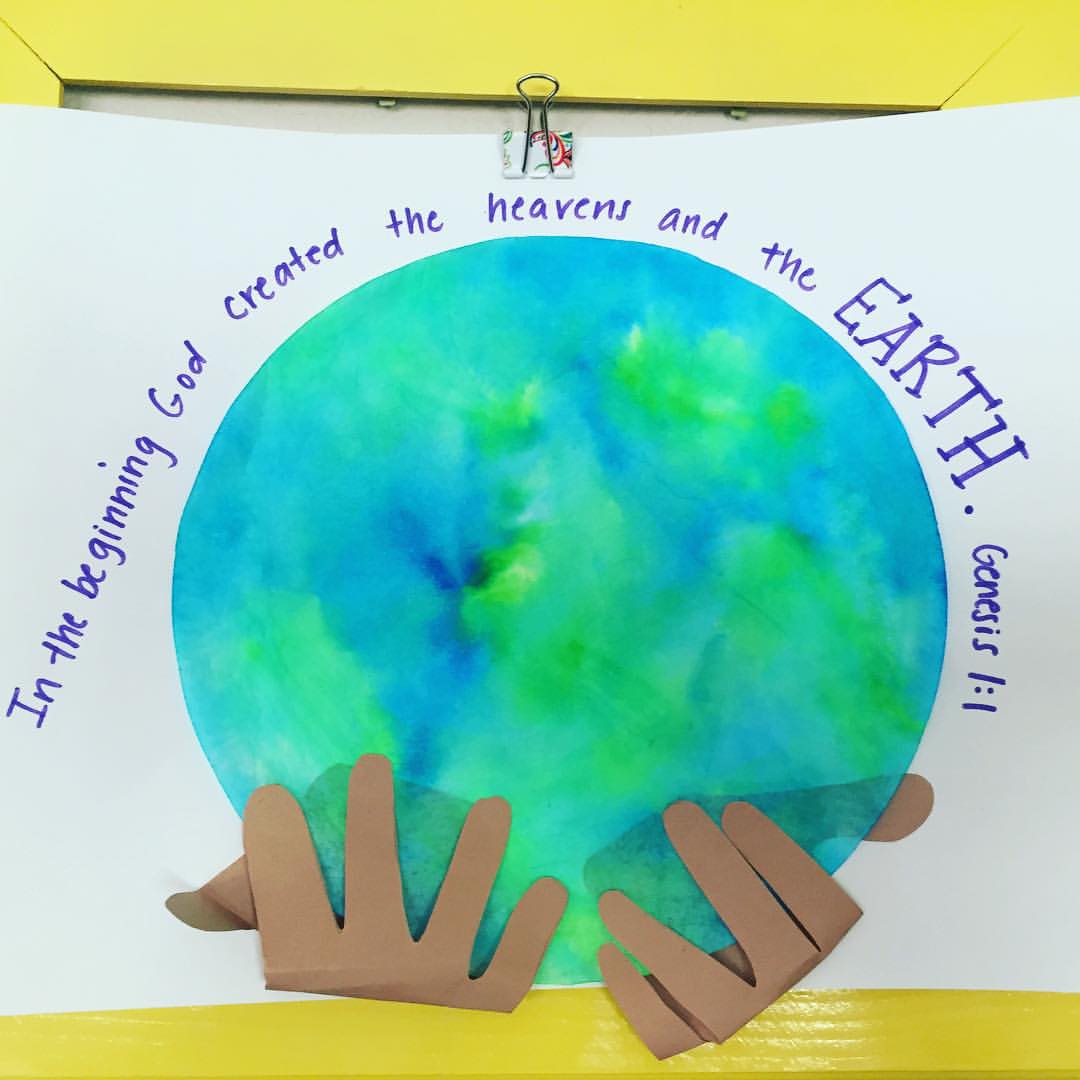
My favorite E project though was the earth. We made this by coloring random patches on a coffee filter in green and blue. A then took a water spray bottle and sprayed it over the filter (I set an old towel under the filter so it didn’t wet the table). Within seconds the colors started merging together with a sort of tie dye effect. We traced her hands to hold the Earth and then read the creation story to tie in the scripture “In the beginning God created the heavens and the Earth” Genesis 1:1
We dyed eggs with a kit I had leftover from Easter as our cooking craft.
Letter F:
Frog
Fish
Flamingo
Flag
Football
Feather
Flower
Fox
Food
Fly
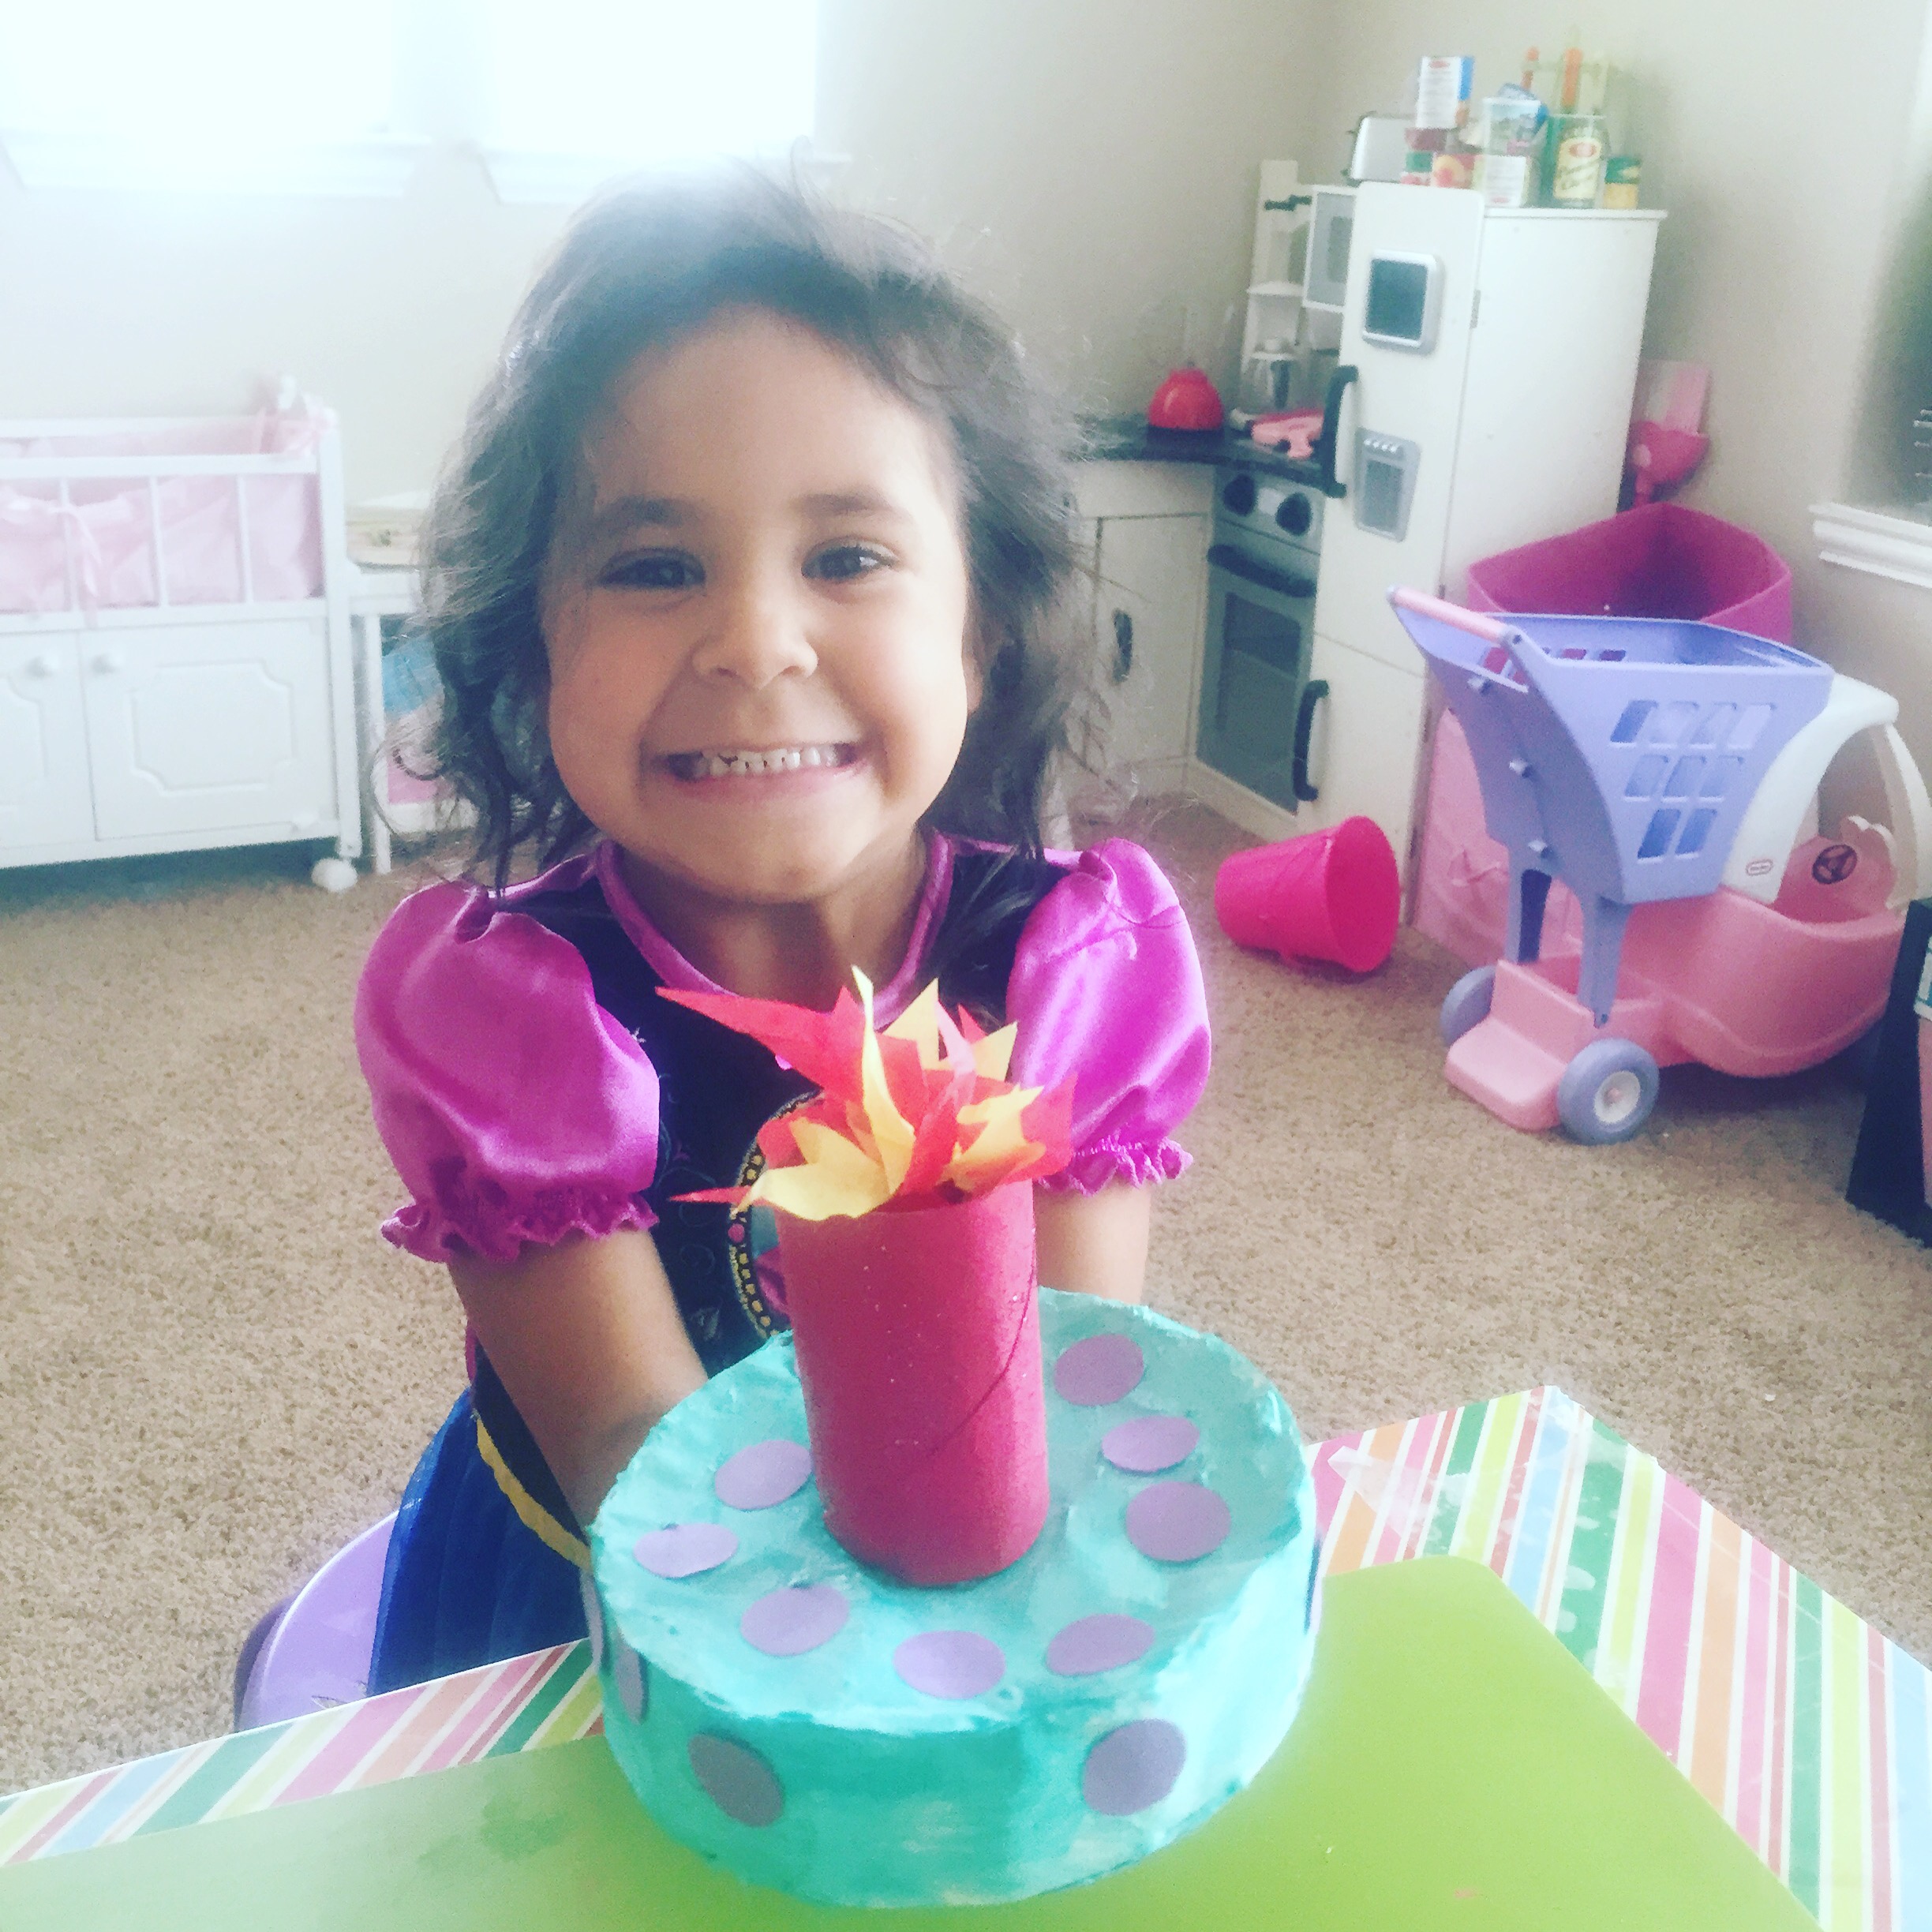
Fireman
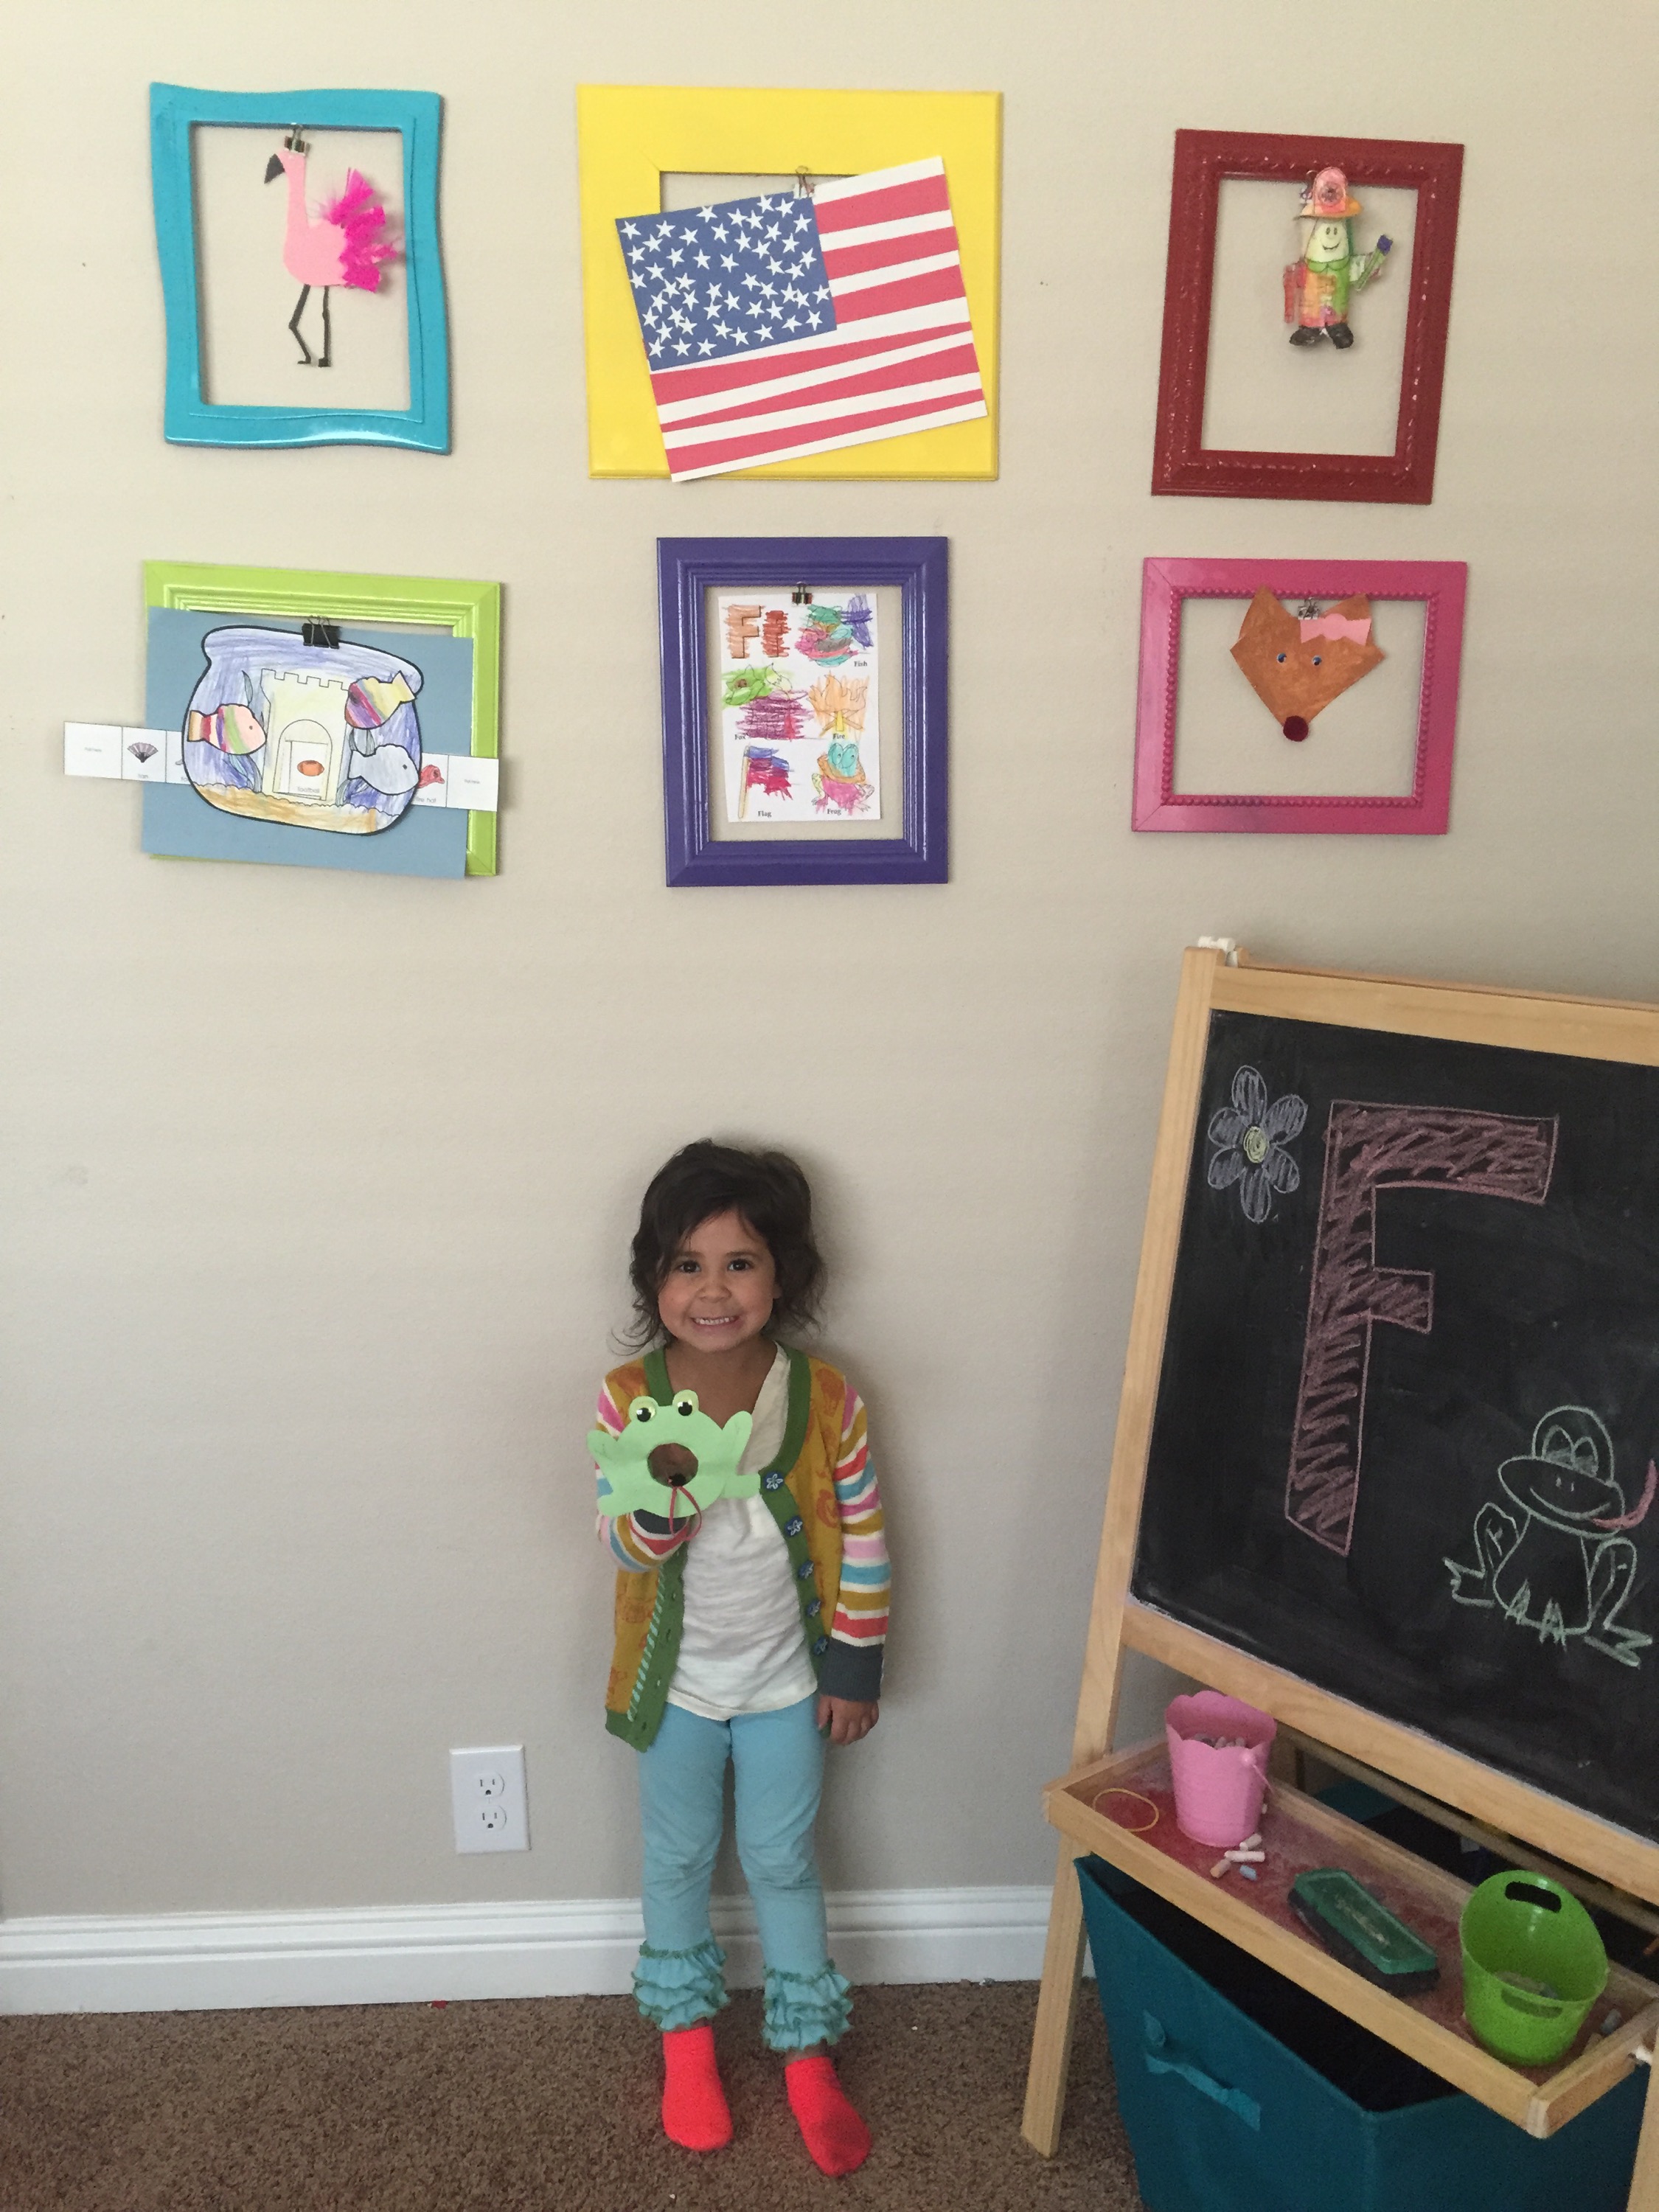
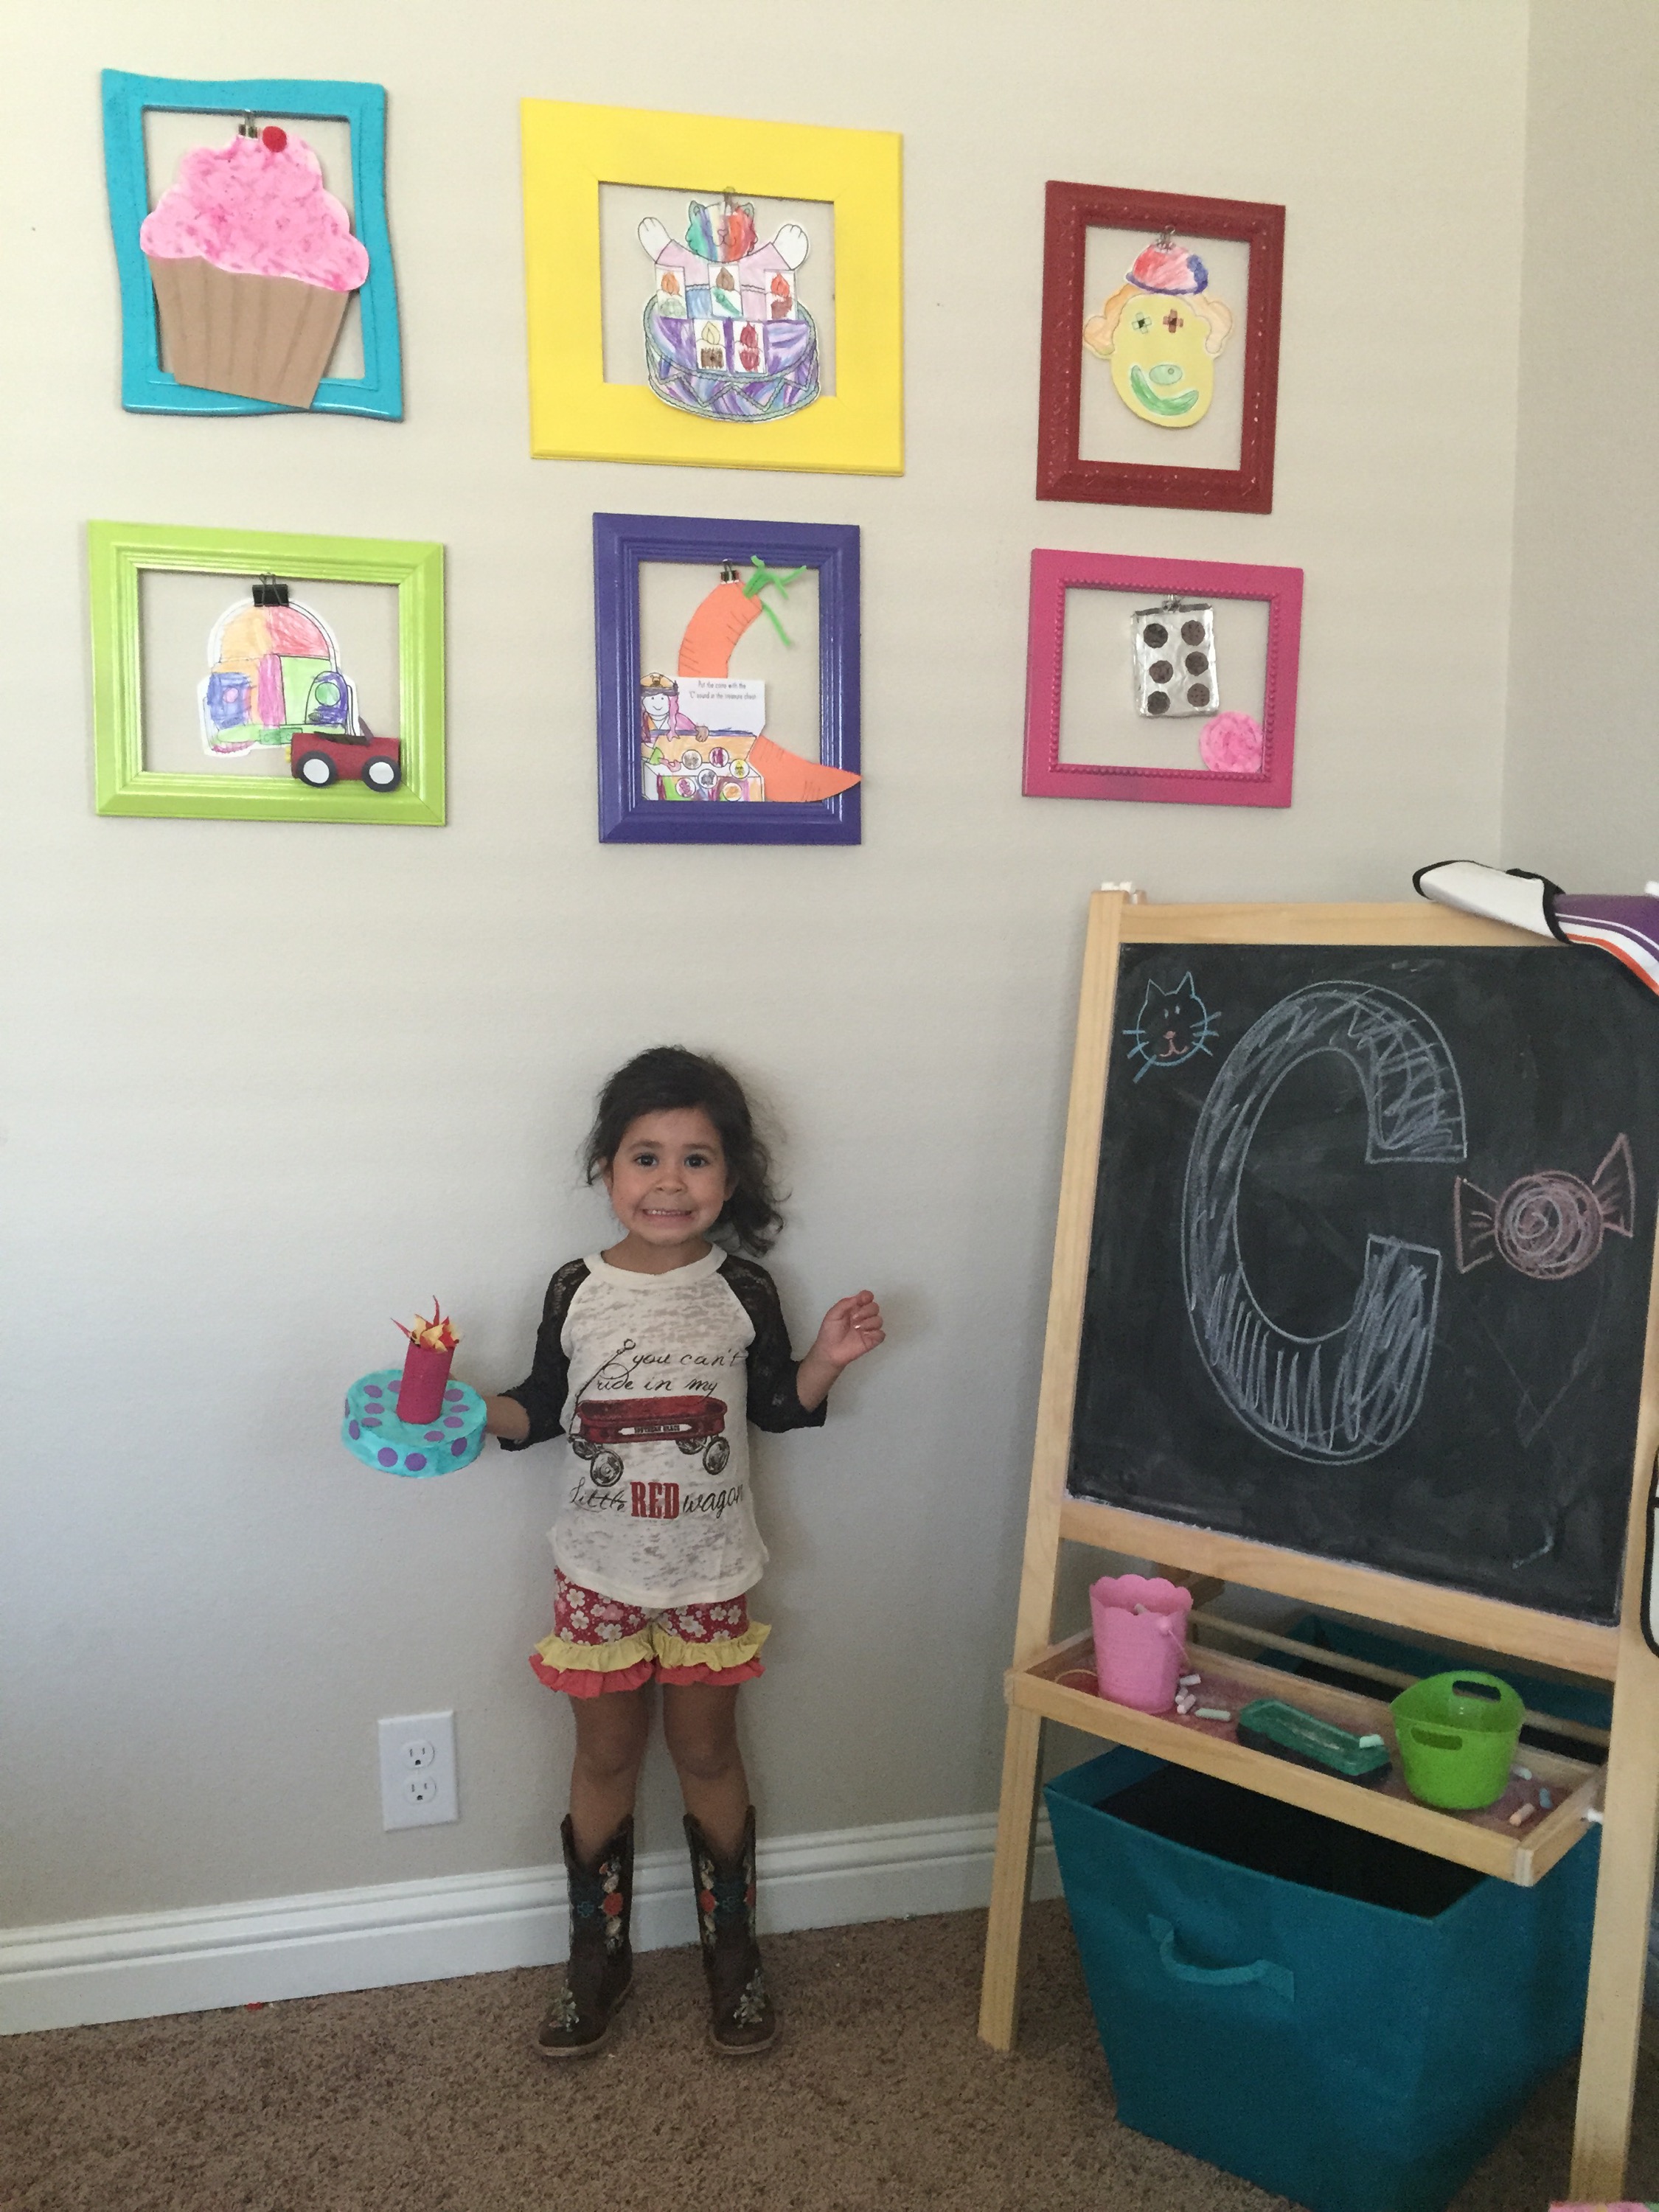
We used a few F worksheets we had in our file so I don’t have links for those. We made the fox by folding a paper plate into fourths. She then painted it and glued on the eyes and a puff ball nose. She wanted a girl fox so I cut 2 small triangles and a circle and let her make a bow out of them. We cut triangle ears from construction paper and glued them inside the folds of the plate then glued the whole thing shut.
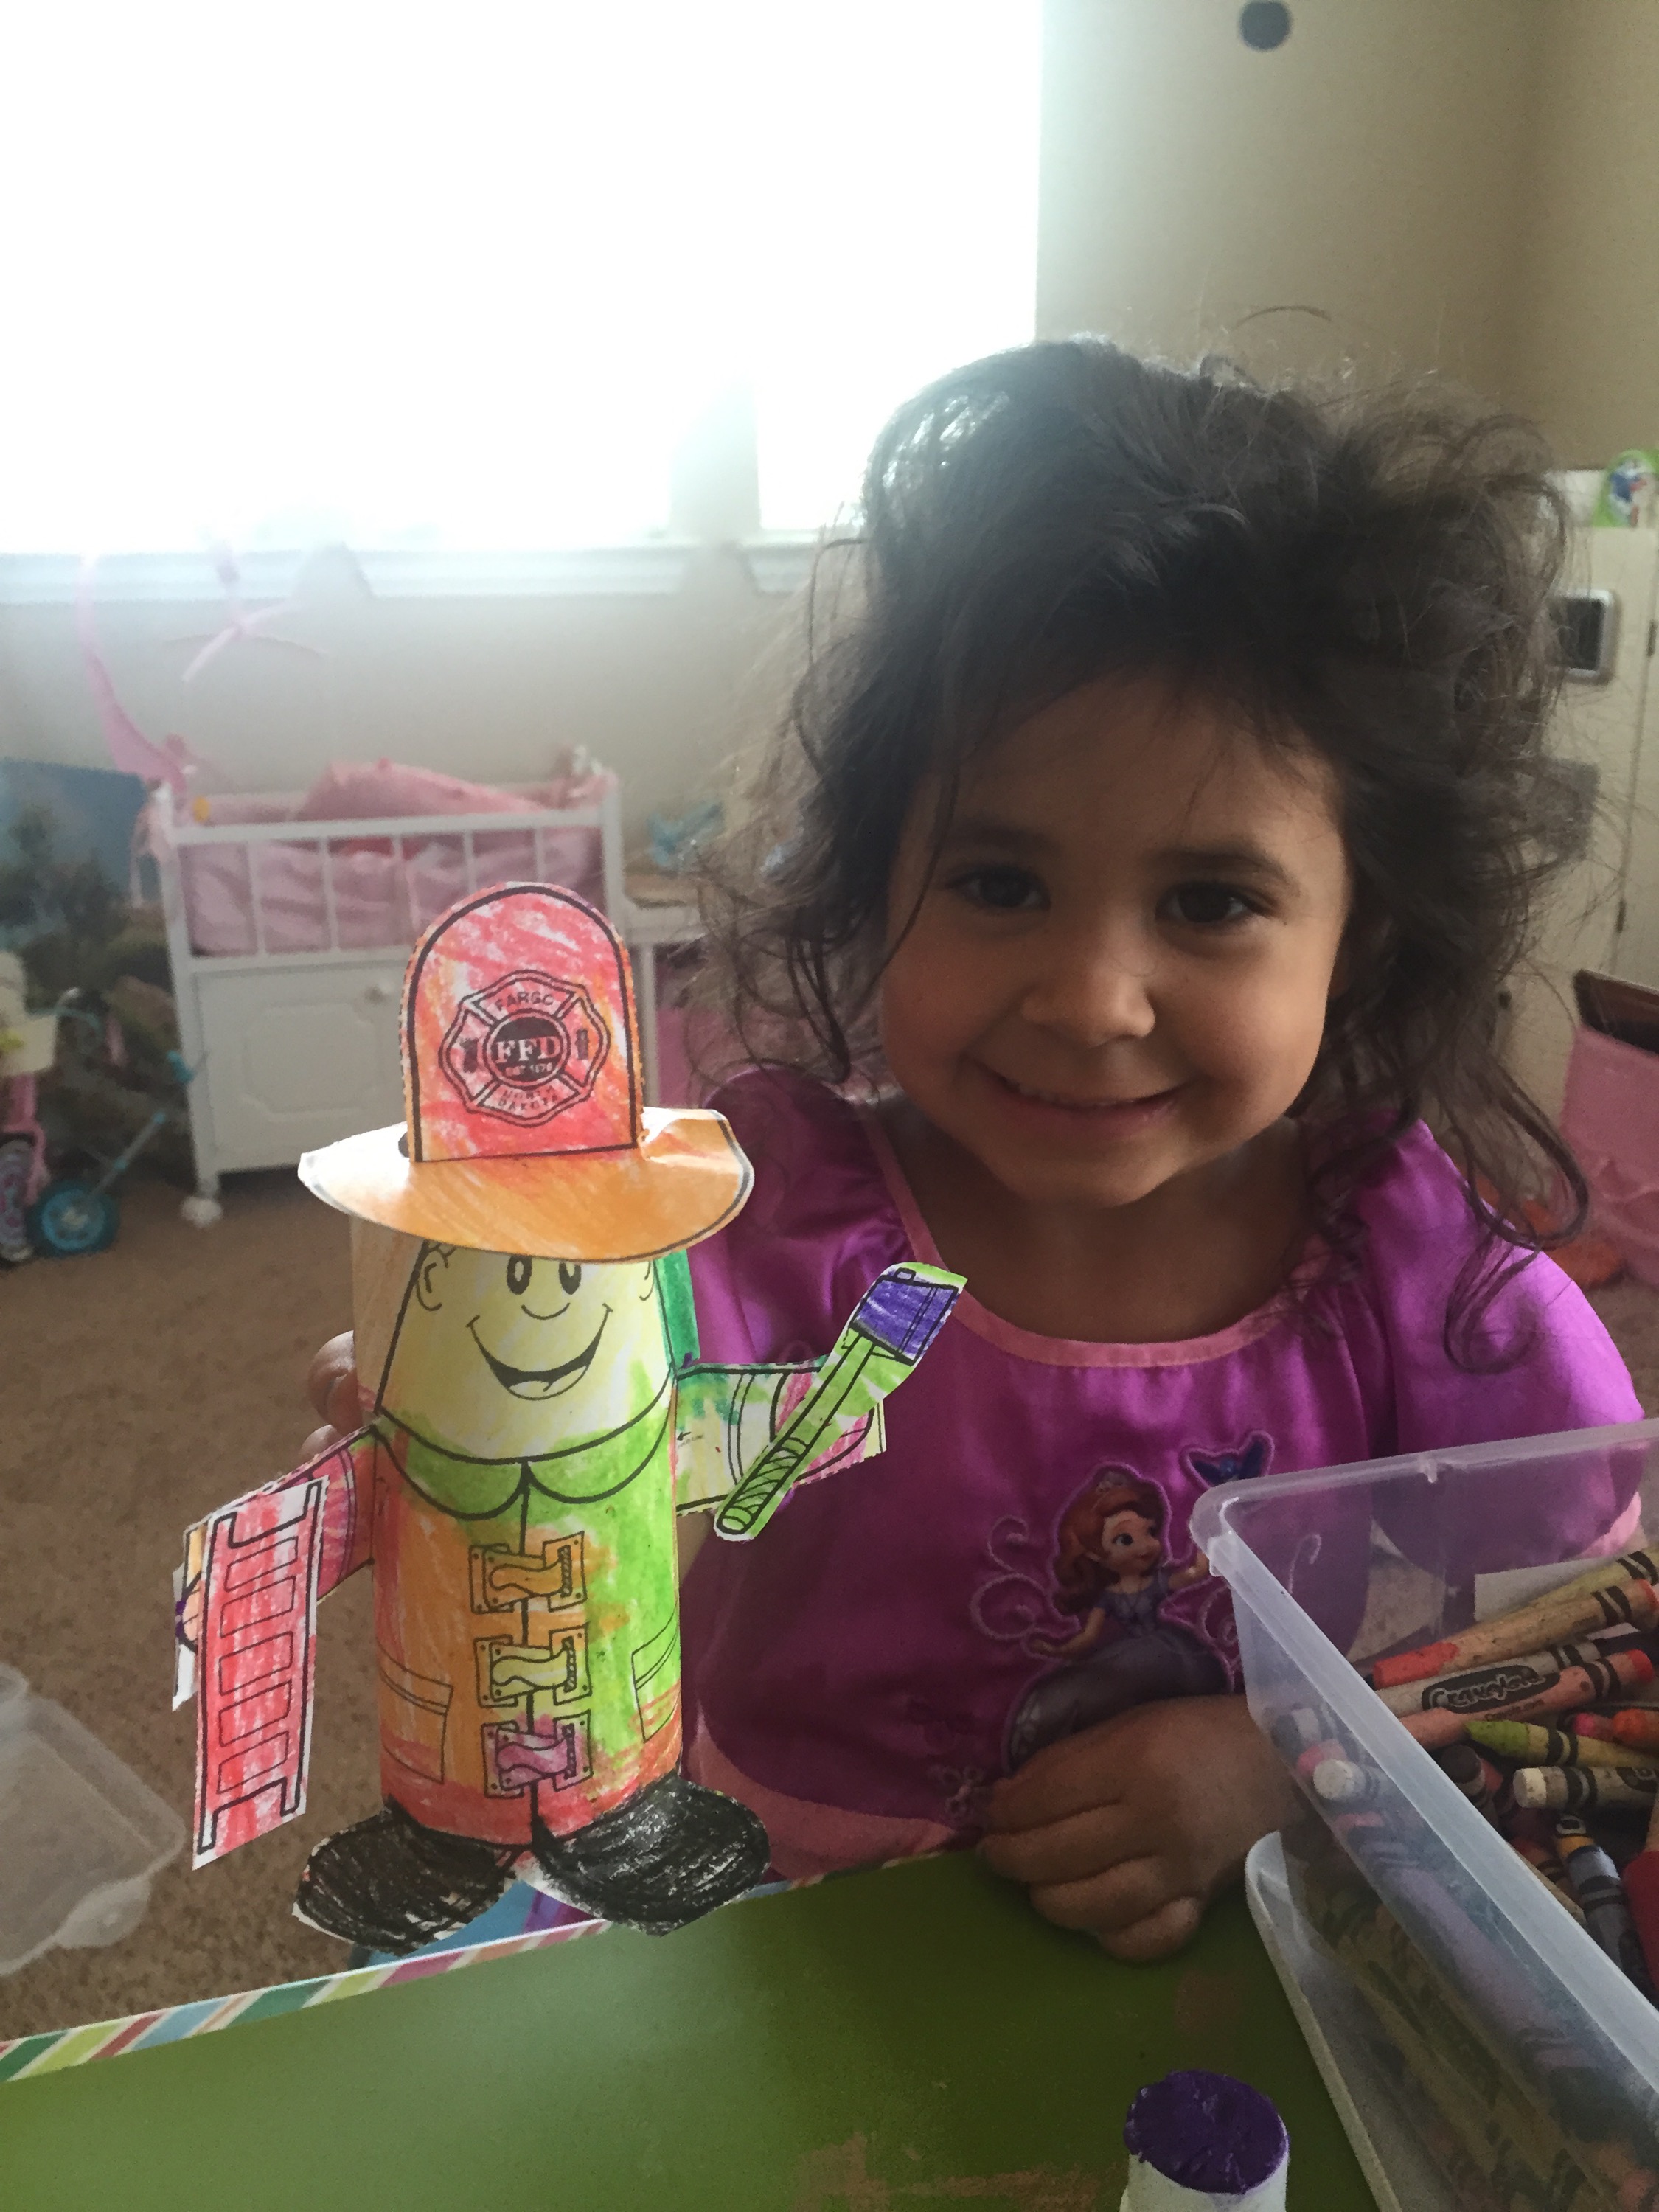
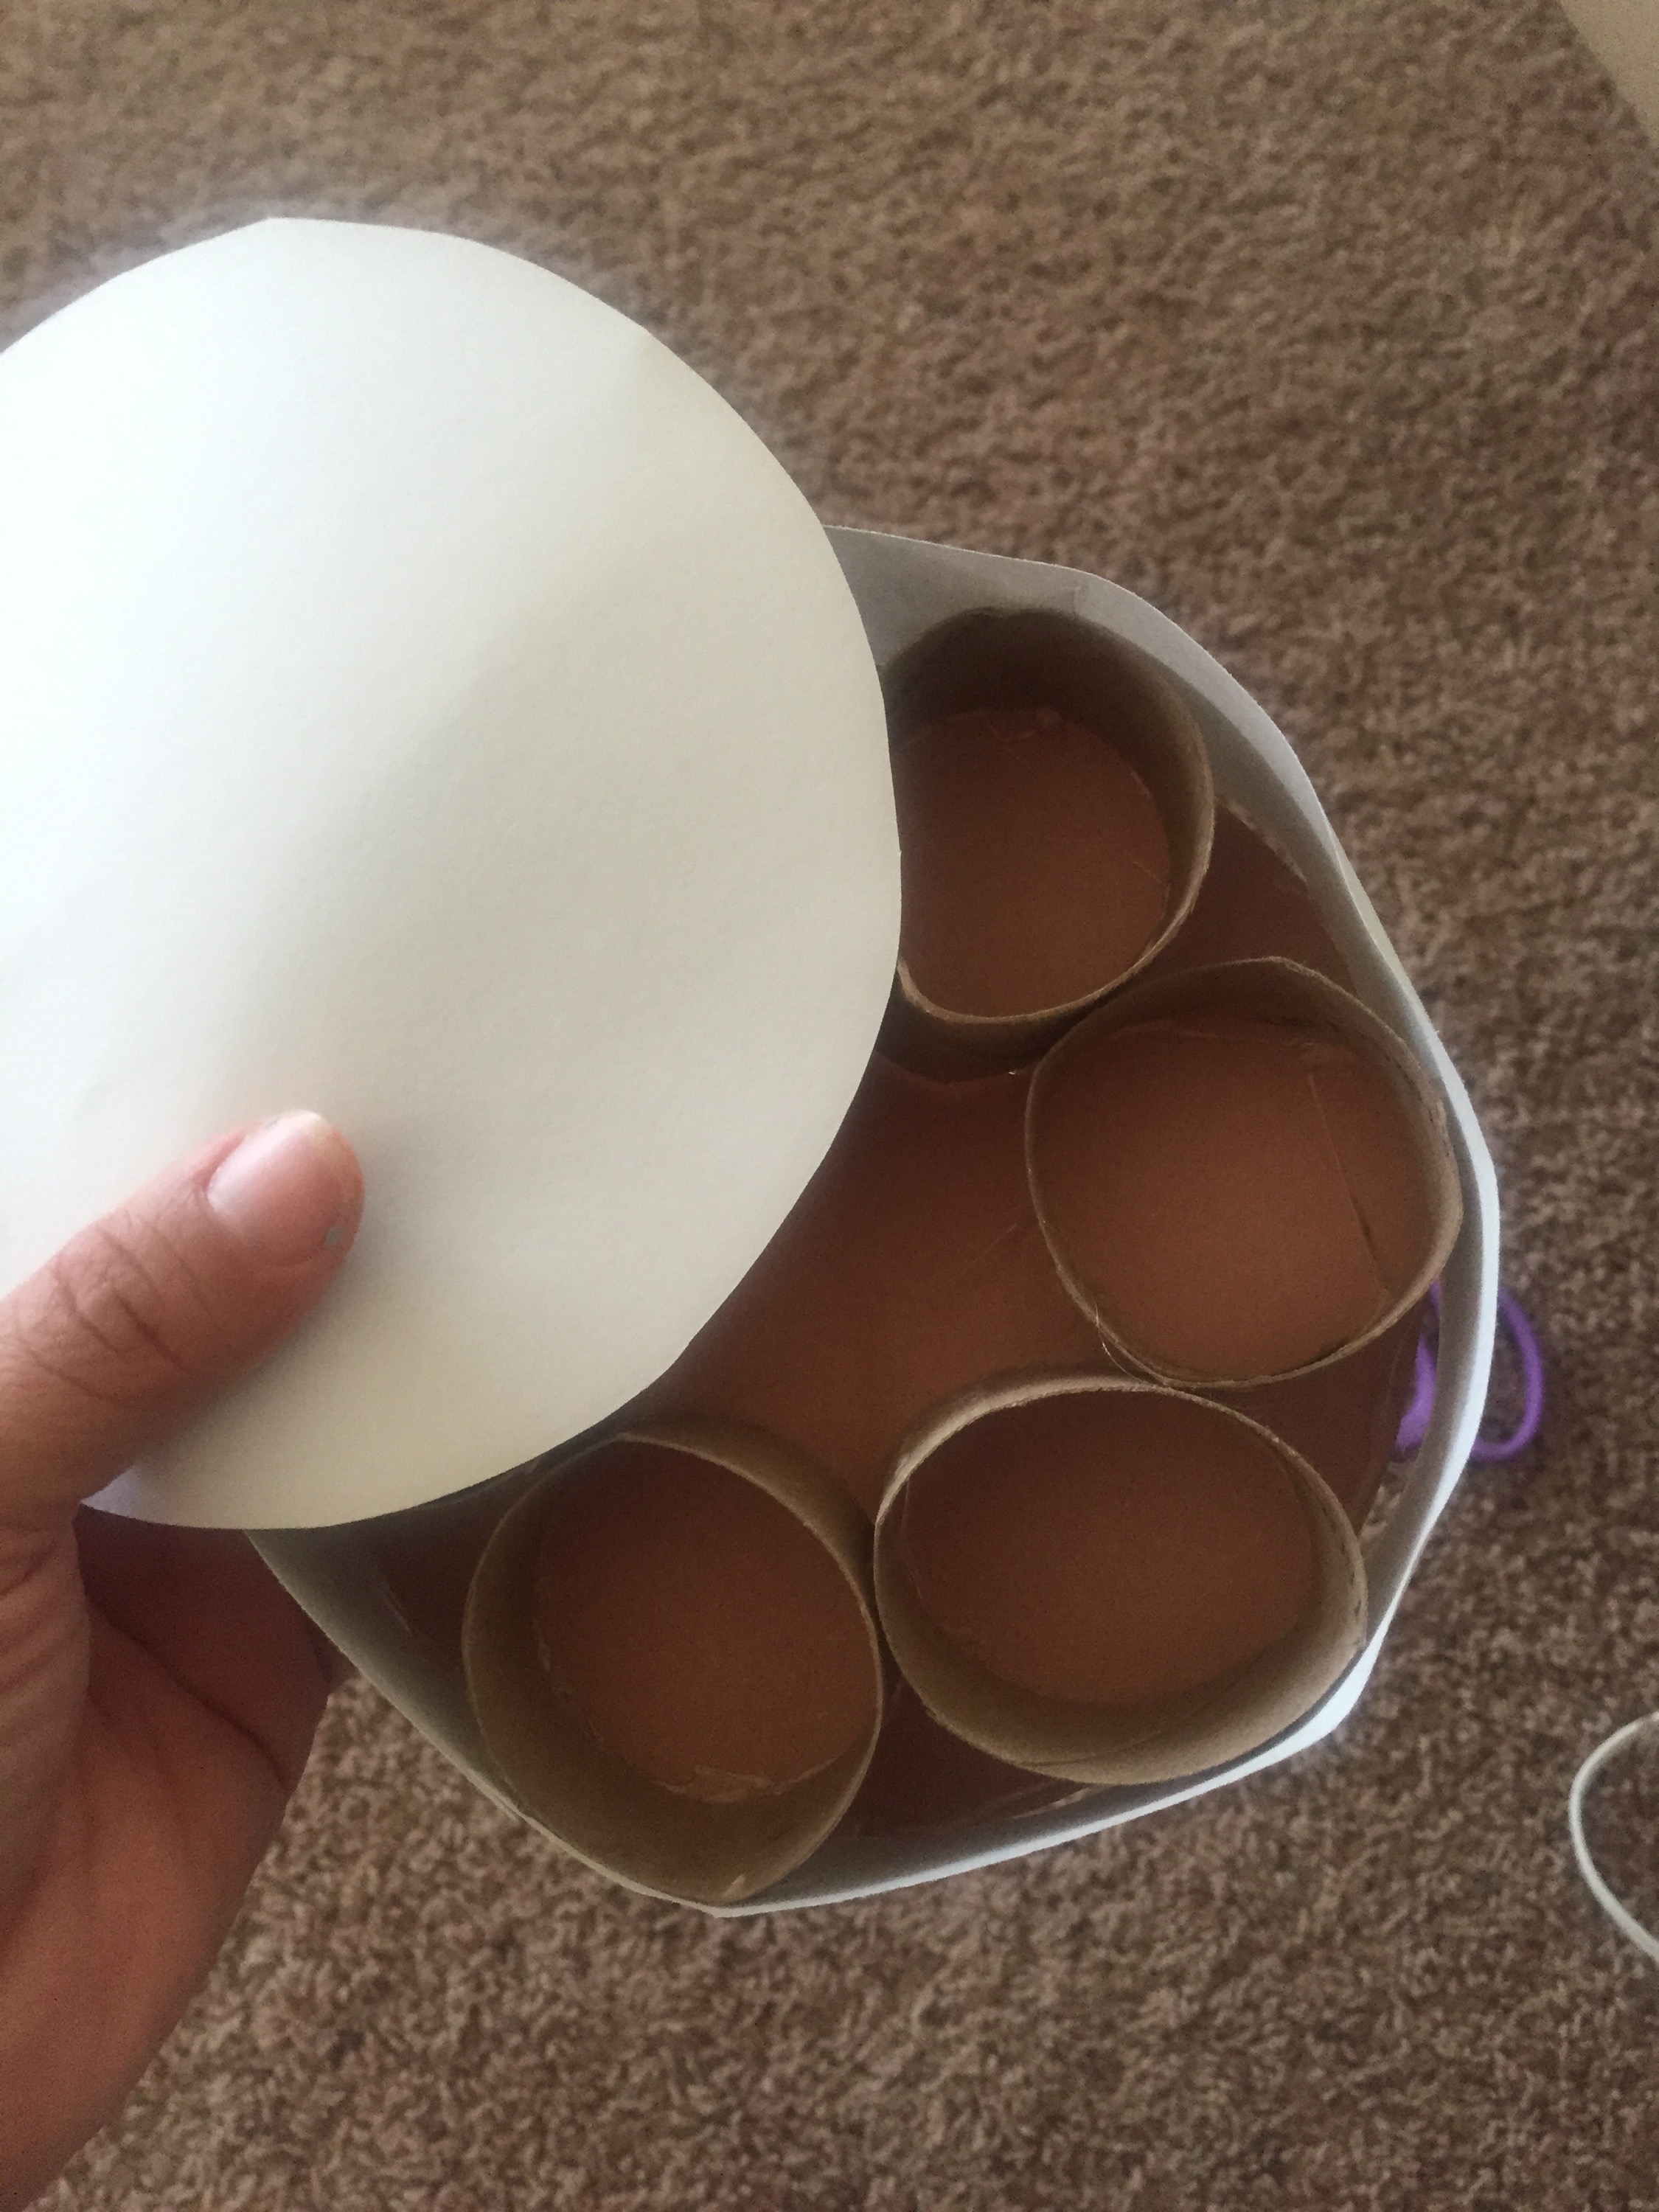
We printed and cut this fireman template and then A colored it (rainbow of course, it’s always rainbow lol). We then glued it onto a toilet paper roll.
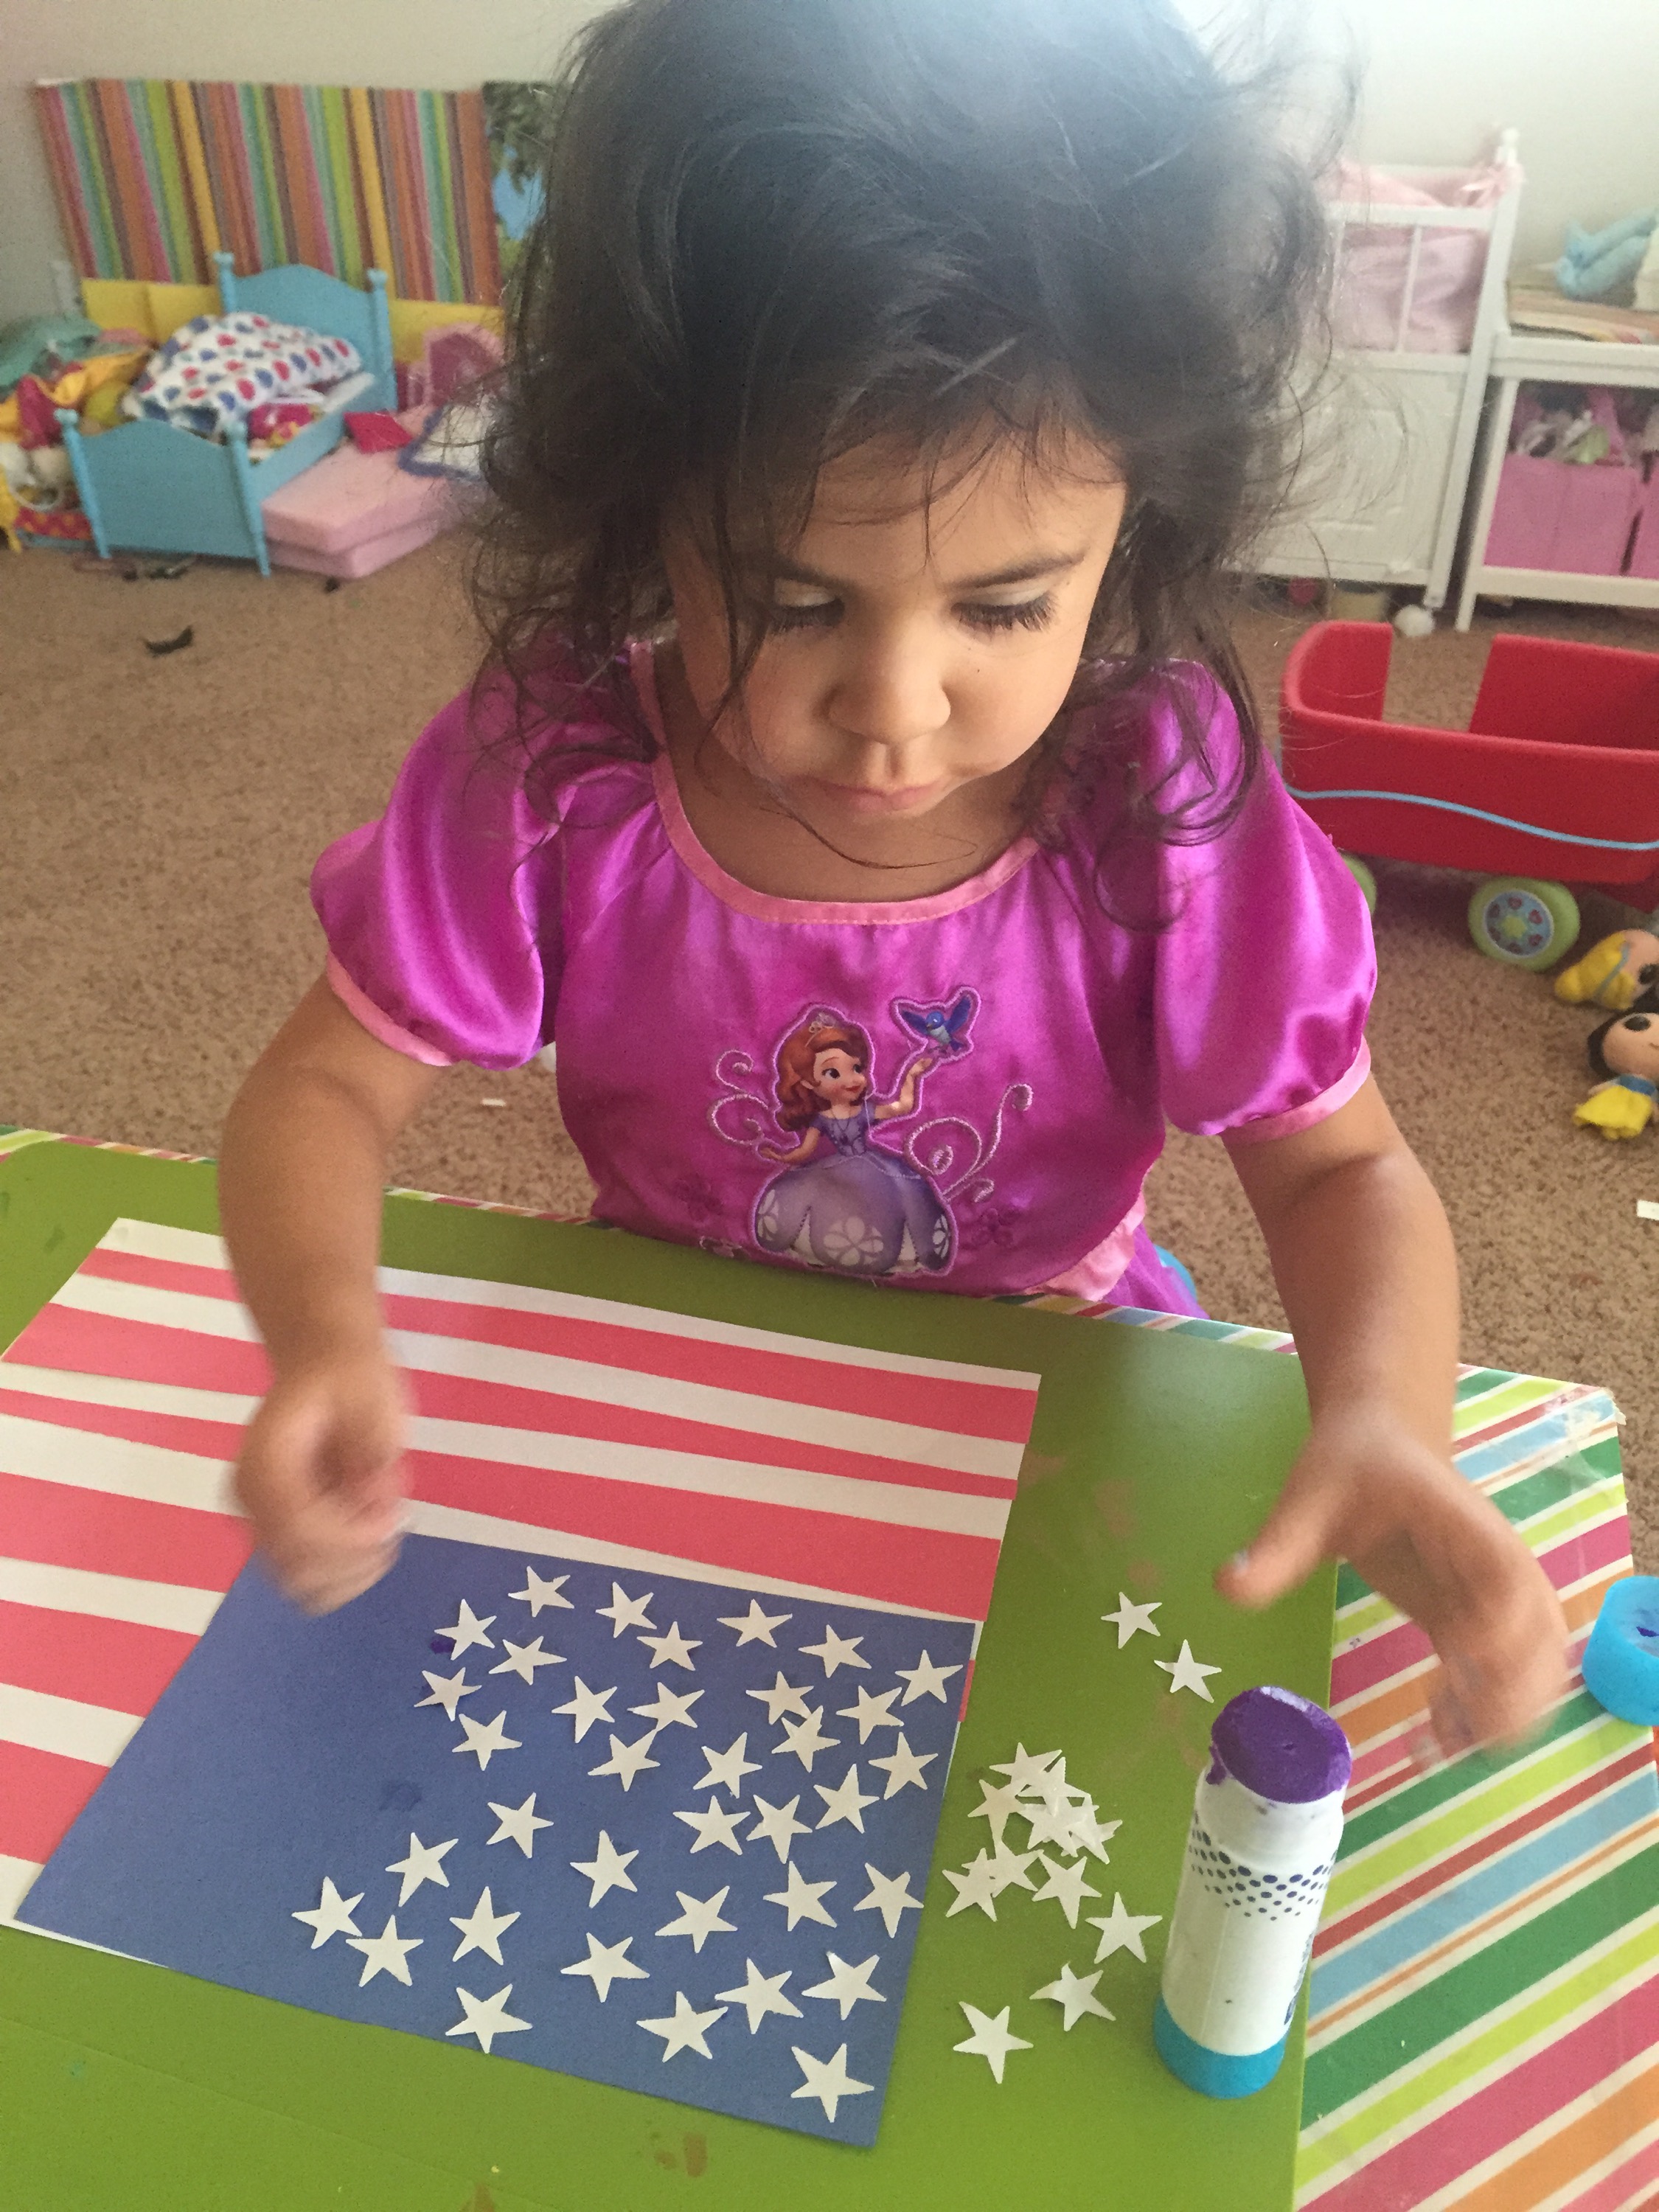
I cut the stars and stripes from construction paper and let her glue them on. I used a scrapbooking shape cutter for the stars and it was super quick!
I cut the flamingo’s body for a free hand sketch then we traced her hand for the tail feathers. She glued it all together with a goggly eye and some real pink feathers. Super cute! Her favorite project was the frog though. I just cut a toilet paper roll in half and then traced one end on a piece of construction paper for the mouth. I then cut out a larger green circle for the face. I let her select her eyes and then cut circles a little larger than the eyes for the top. I free sketched and cut the legs. We grabbed a pink rubber band and cut it so that it was one long strip. We tied a black puff ball to the tip and glued it inside the mouth. We glued a strip of green construction paper over the body as well to cover the cardboard. When the glue was dry, she was able to move the “tongue” in and out of the frogs mouth to eat the fly. 🙂


