
It’s happened. I tried to fight it for a long time but I’ve finally succumbed to it. The shopkins craze has hit our house. For about a year now, T has asked me for shopkins every time we leave the house. If you don’t know what shopkins are, they are tiny gumball machine prize sized collectibles which unfortunately do not have the gumball machine price tag. They most often come in “blind baskets” so you have no idea what you’re getting. It’s a surprise! All my nieces in the 6-8 year age range love them and thus my 6 (almost 7) year old has jumped on the bandwagon. This year when making Christmas wish lists, that’s all T said she wanted. Seriously. Anywho, if we’re going to do this shopkins thing, we’re going to do it right. She’s my little collector so I knew I wanted to find a way to display her shopkins so that she could easily reach them to play with but see what she has at all times. This year, we’re doing Christmas a little differently and we have gift categories to be checked off. 1 category is “made by mom”. So for T’s gift, I decided I wanted to make a shopkins display. I purused Pinterest for ideas but couldn’t decide then yesterday, while strolling Michael’s, I hatched a design plan! Thought I would share it here in case you’ve got a shopkins crazed collector too!
What you’ll need:
-An acrylic box frame (any size you choose) I went big with a 16×20
-foam core or sturdy cardboard
-box cutter
-wrapping paper
-hot glue gun
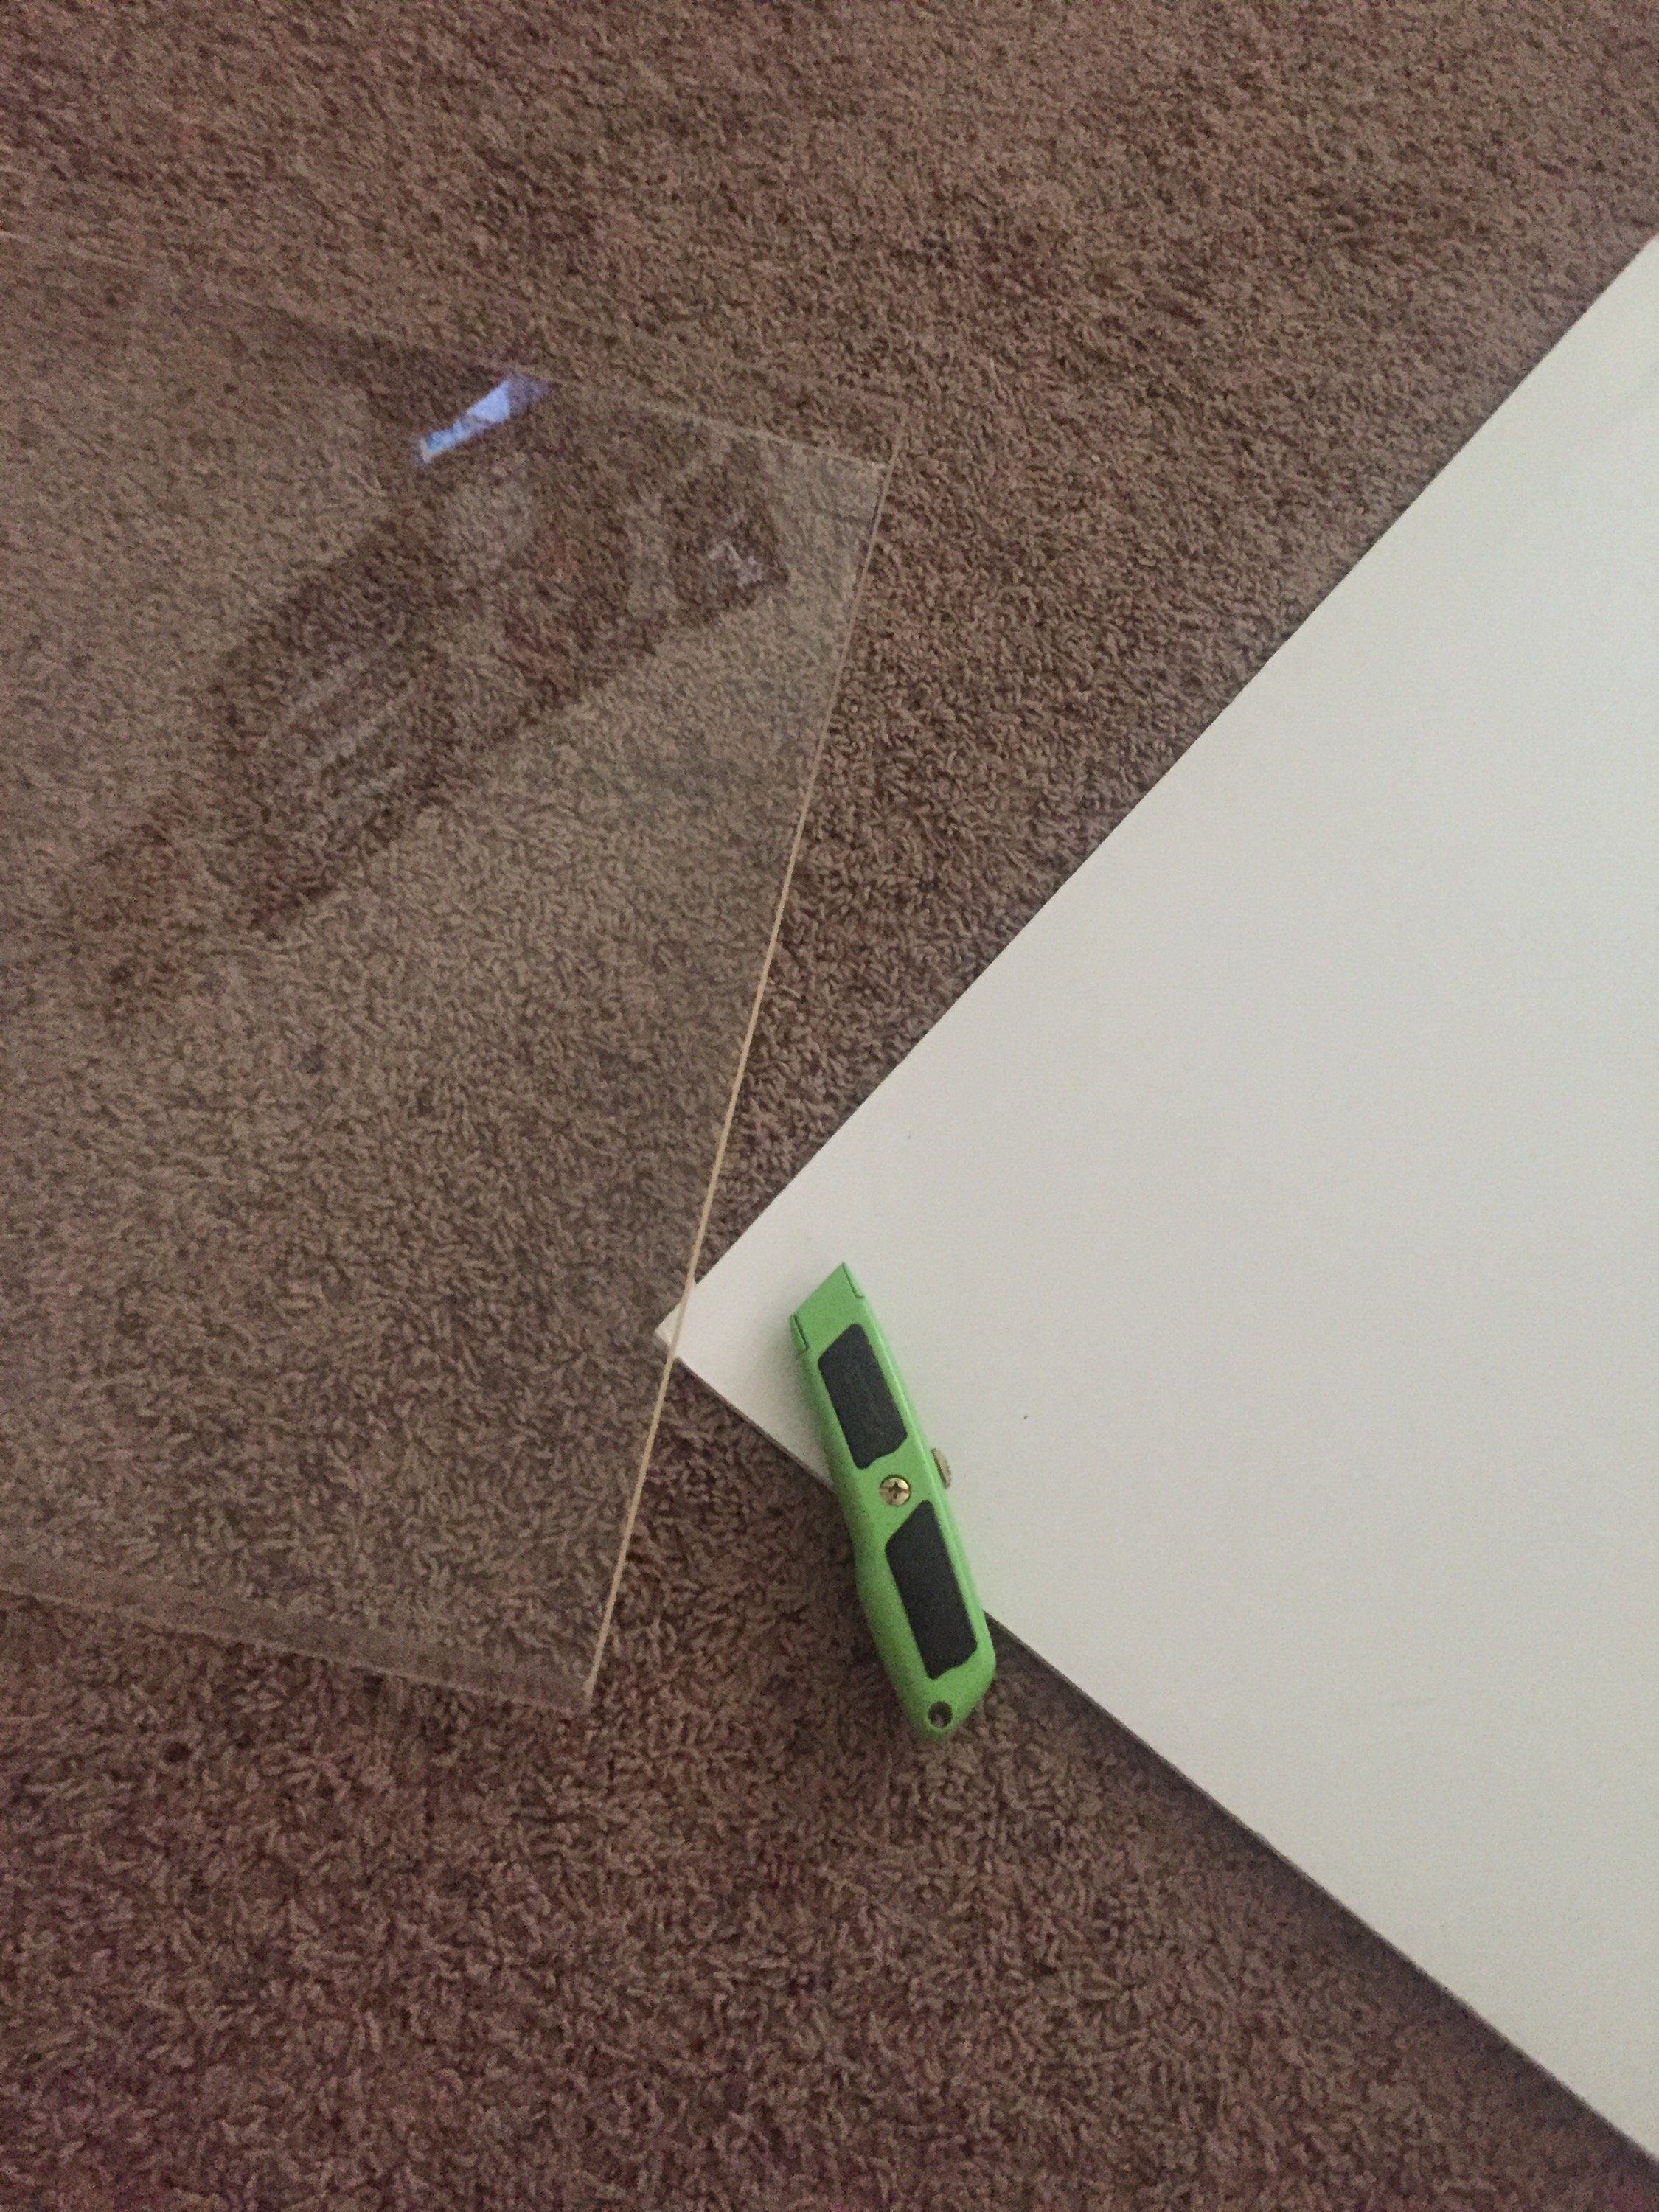
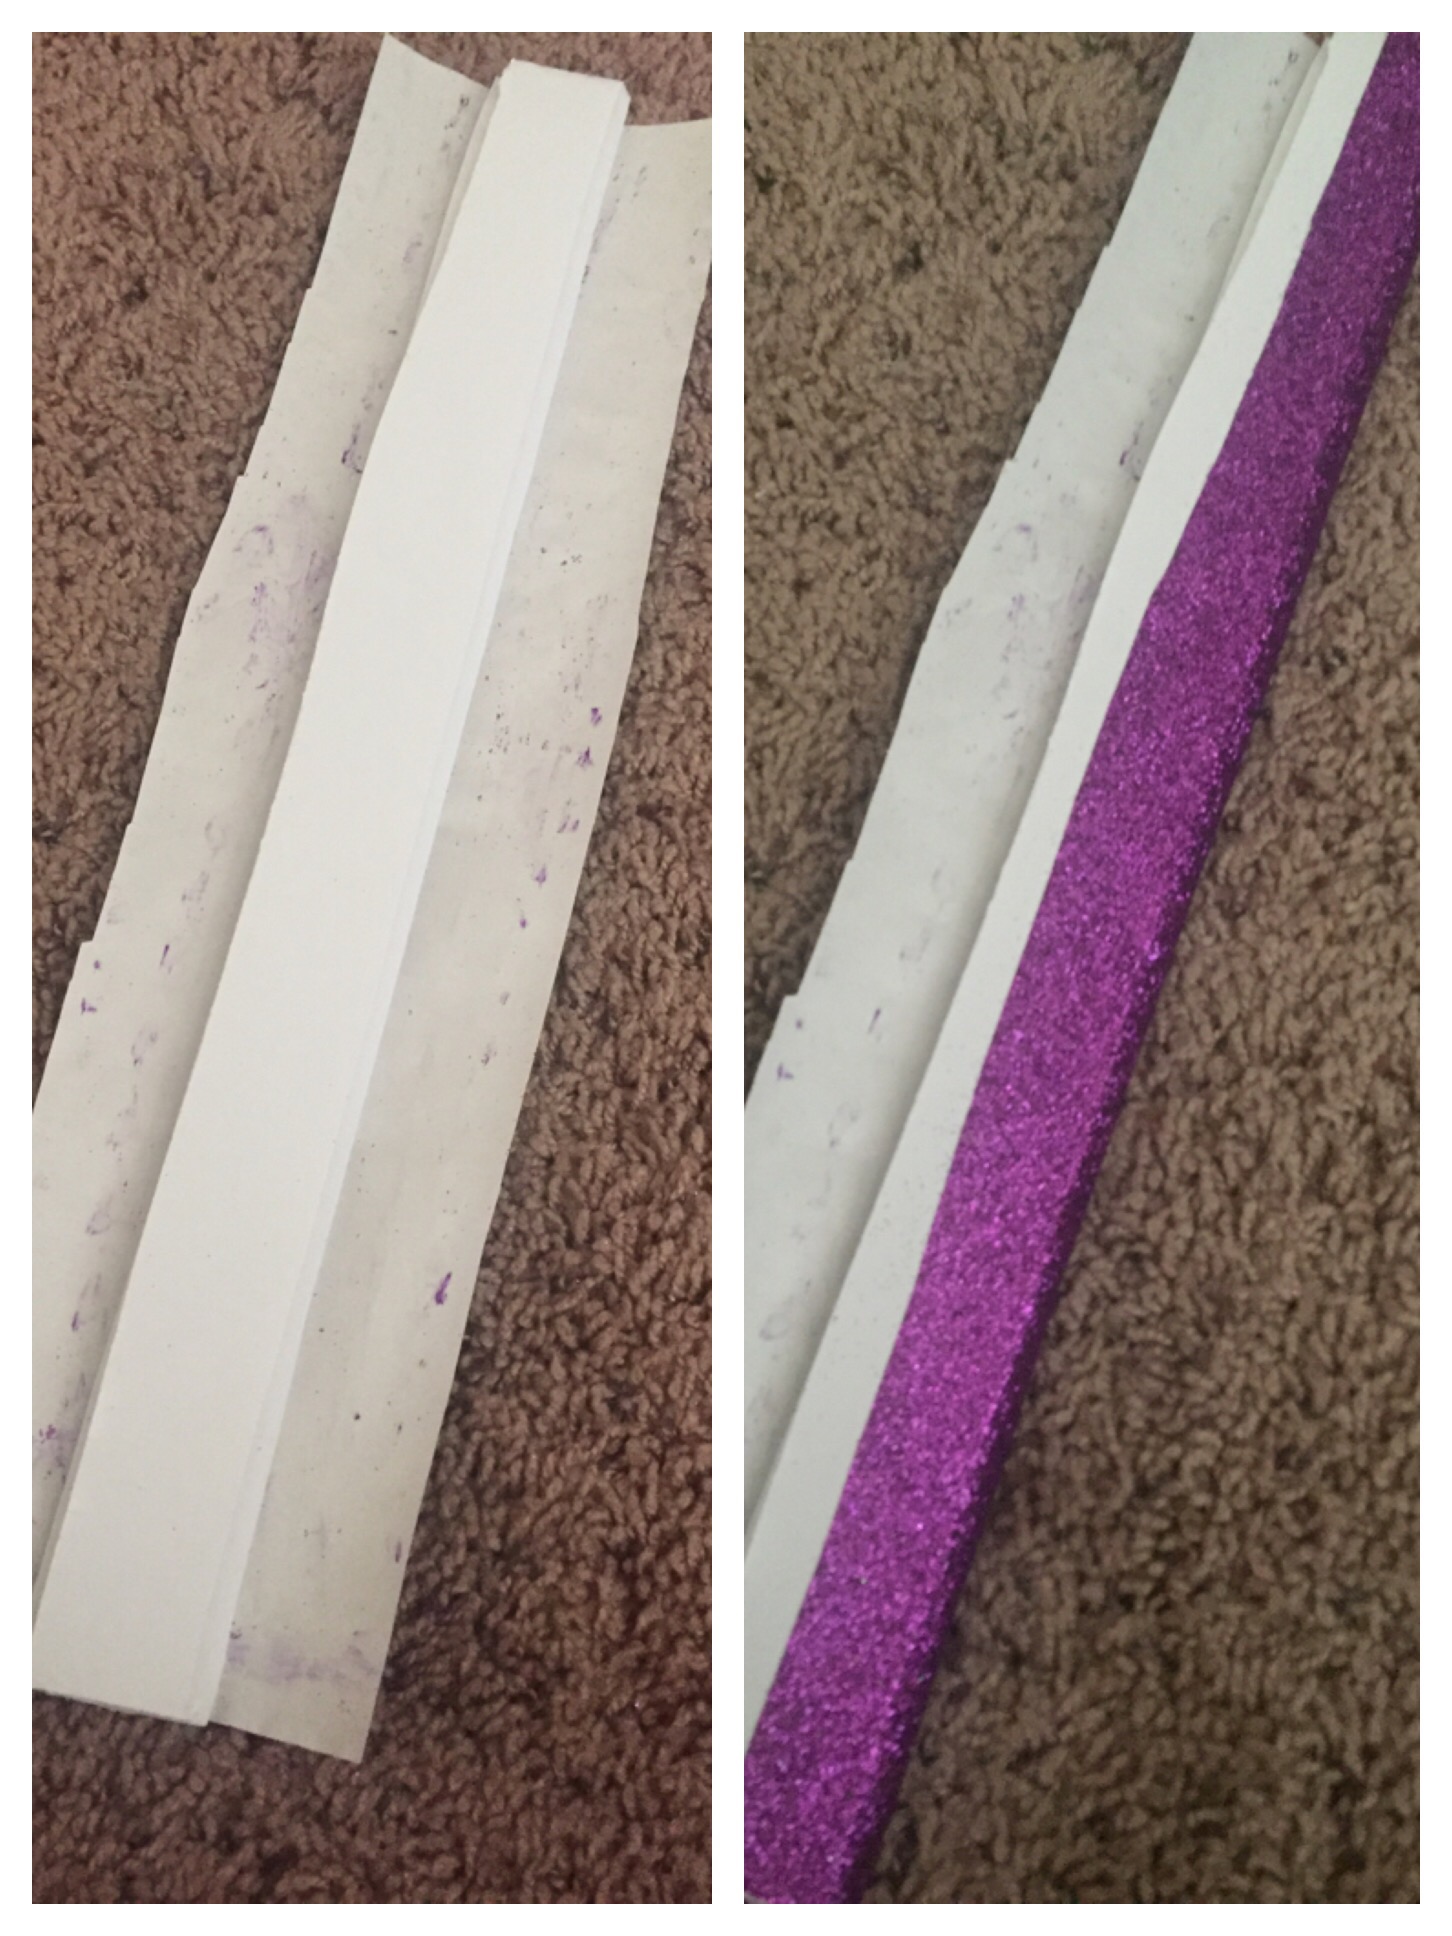
You can use your frame as a template and a straight edge to cut your shelves out of foam or cardboard. I wanted 8 shelves on my display and each shelf needs to be doubled up. So total, I cut 16 strips. Leave them a little longer than necessary (about half an inch. You can trim with scissors later.
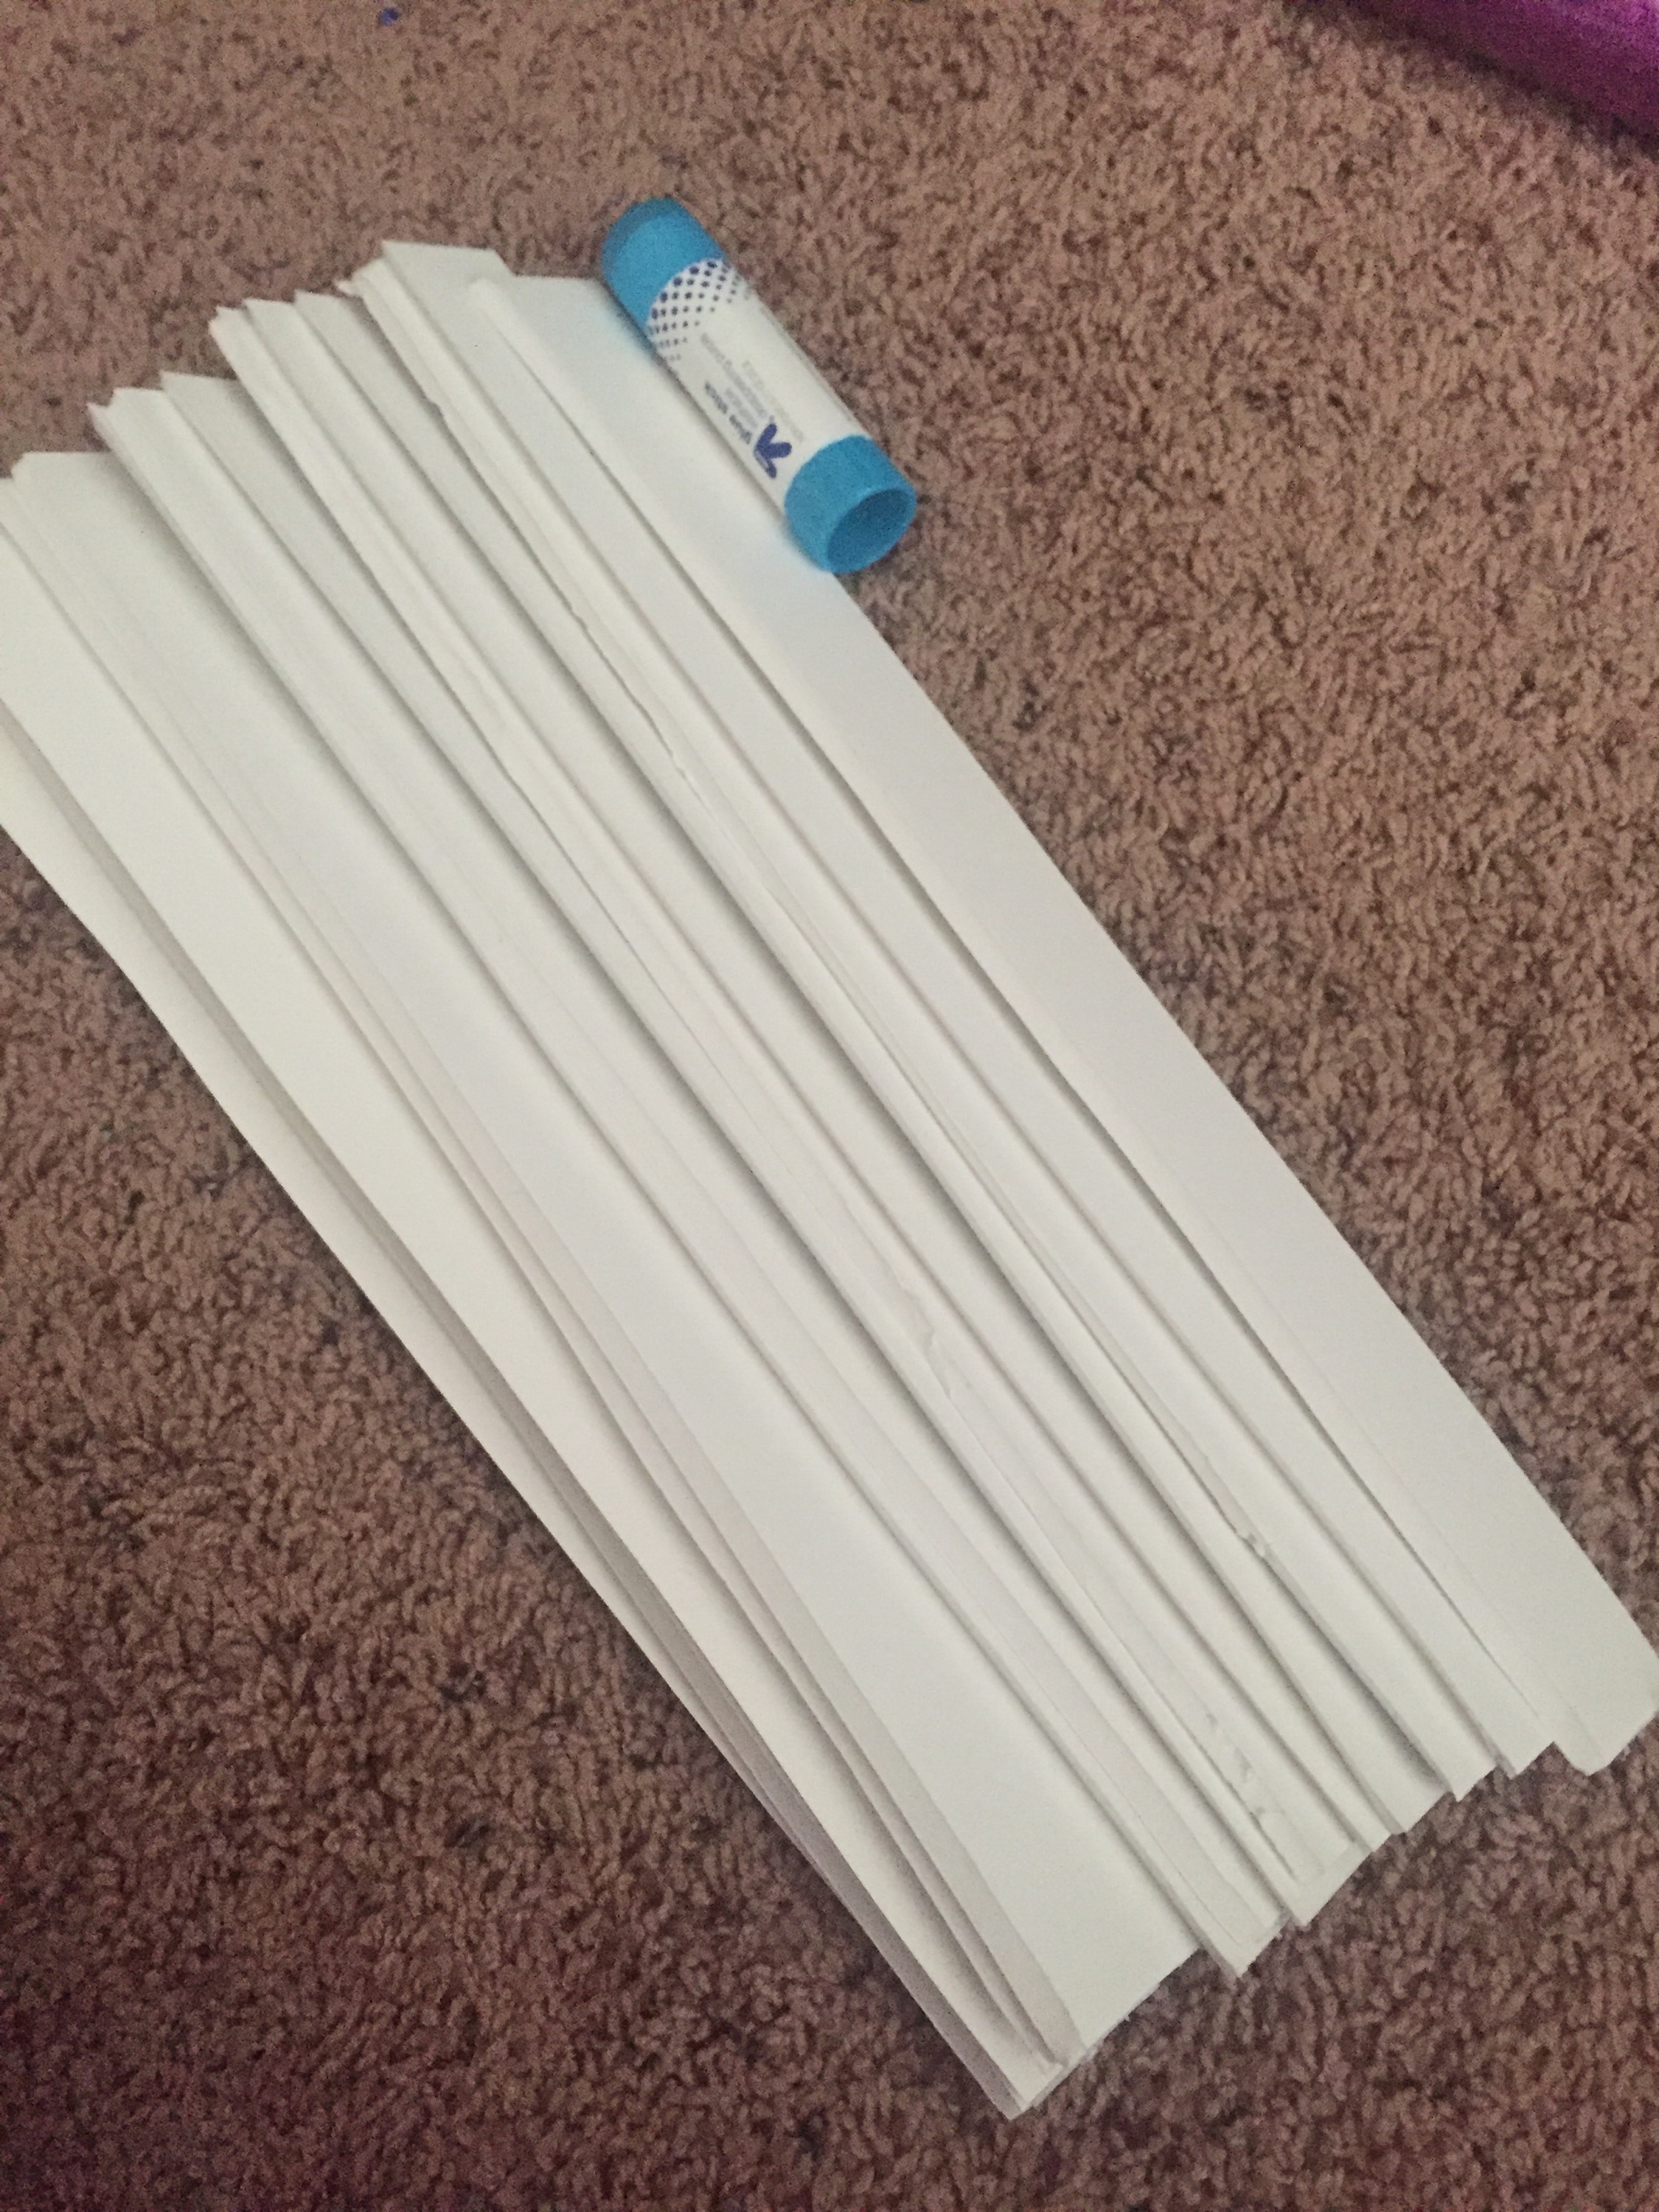
After cutting them, I grabbed a glue stick and began sticking them together in pairs.
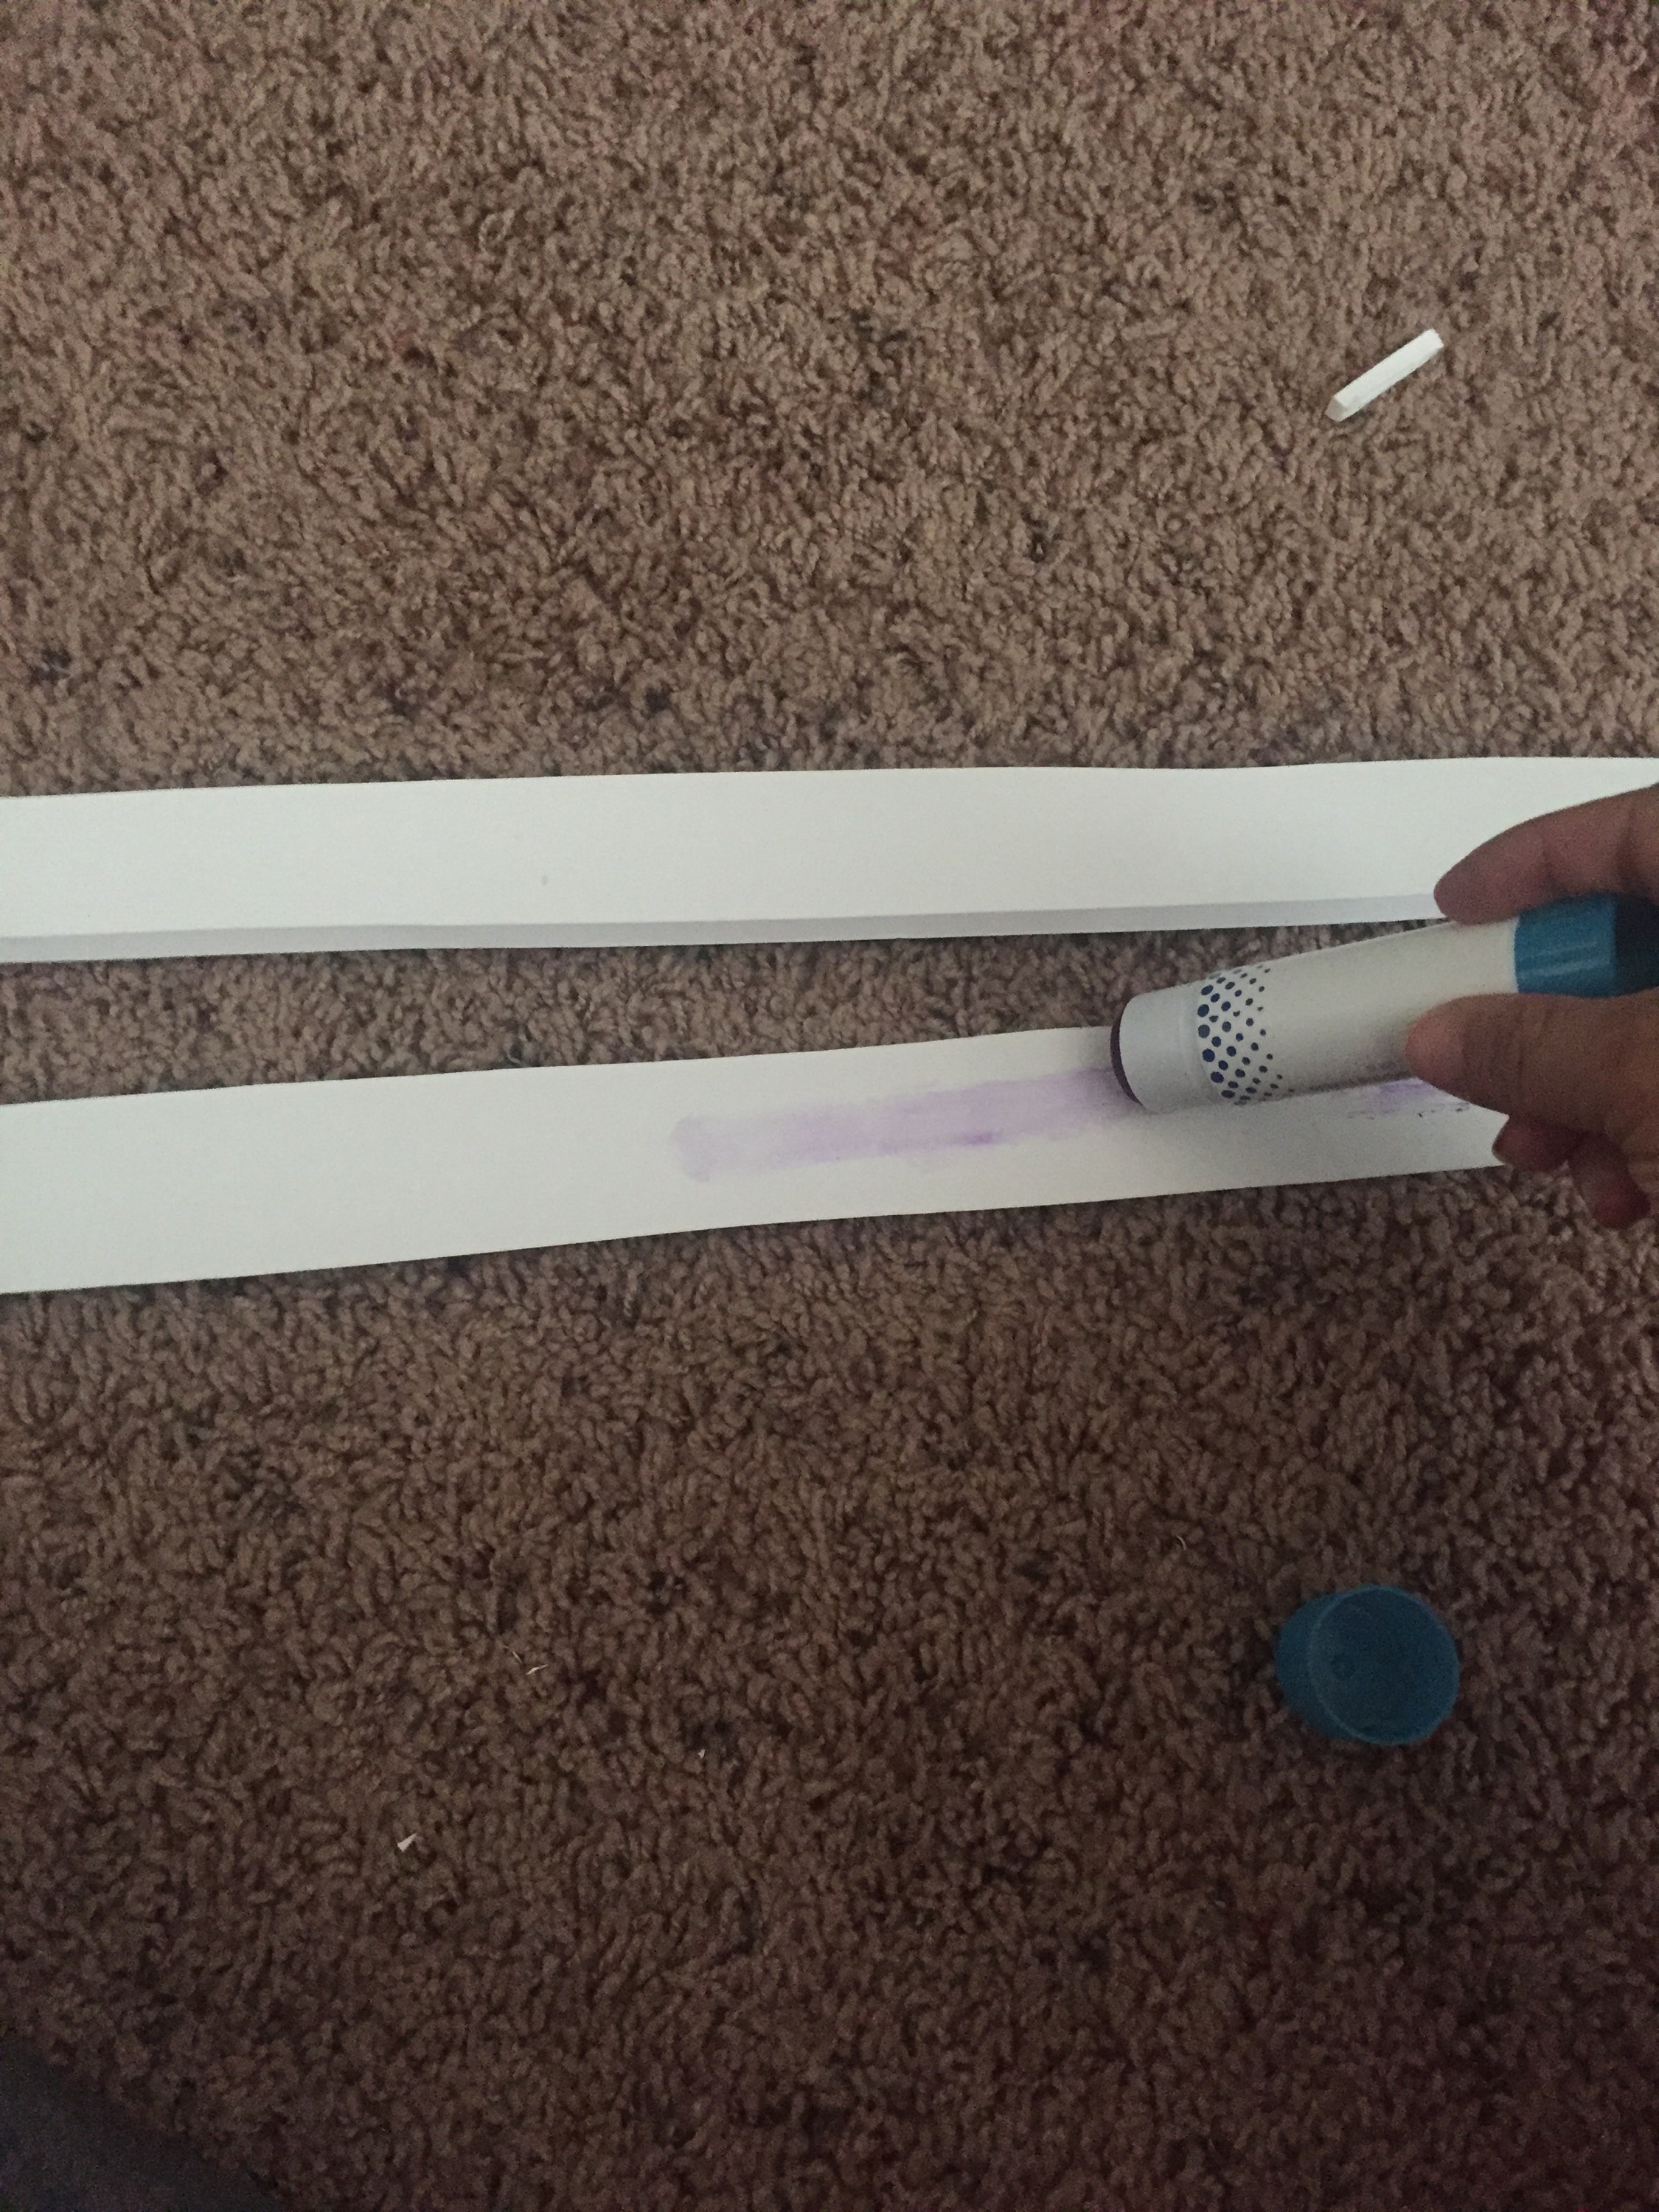
Next, I cut 8 strips of wrapping paper to wrap around each shelf. I had this fabulous glitter paper that worked perfectly because it won’t scratch easily, it was thicker than my others, and it seamlessly matched up when I wrapped it around without being noticeable. You’ll want to use something similar or solid color for best match up. You could even use printed contact paper! I used my glue stick to secure it to each “shelf”.
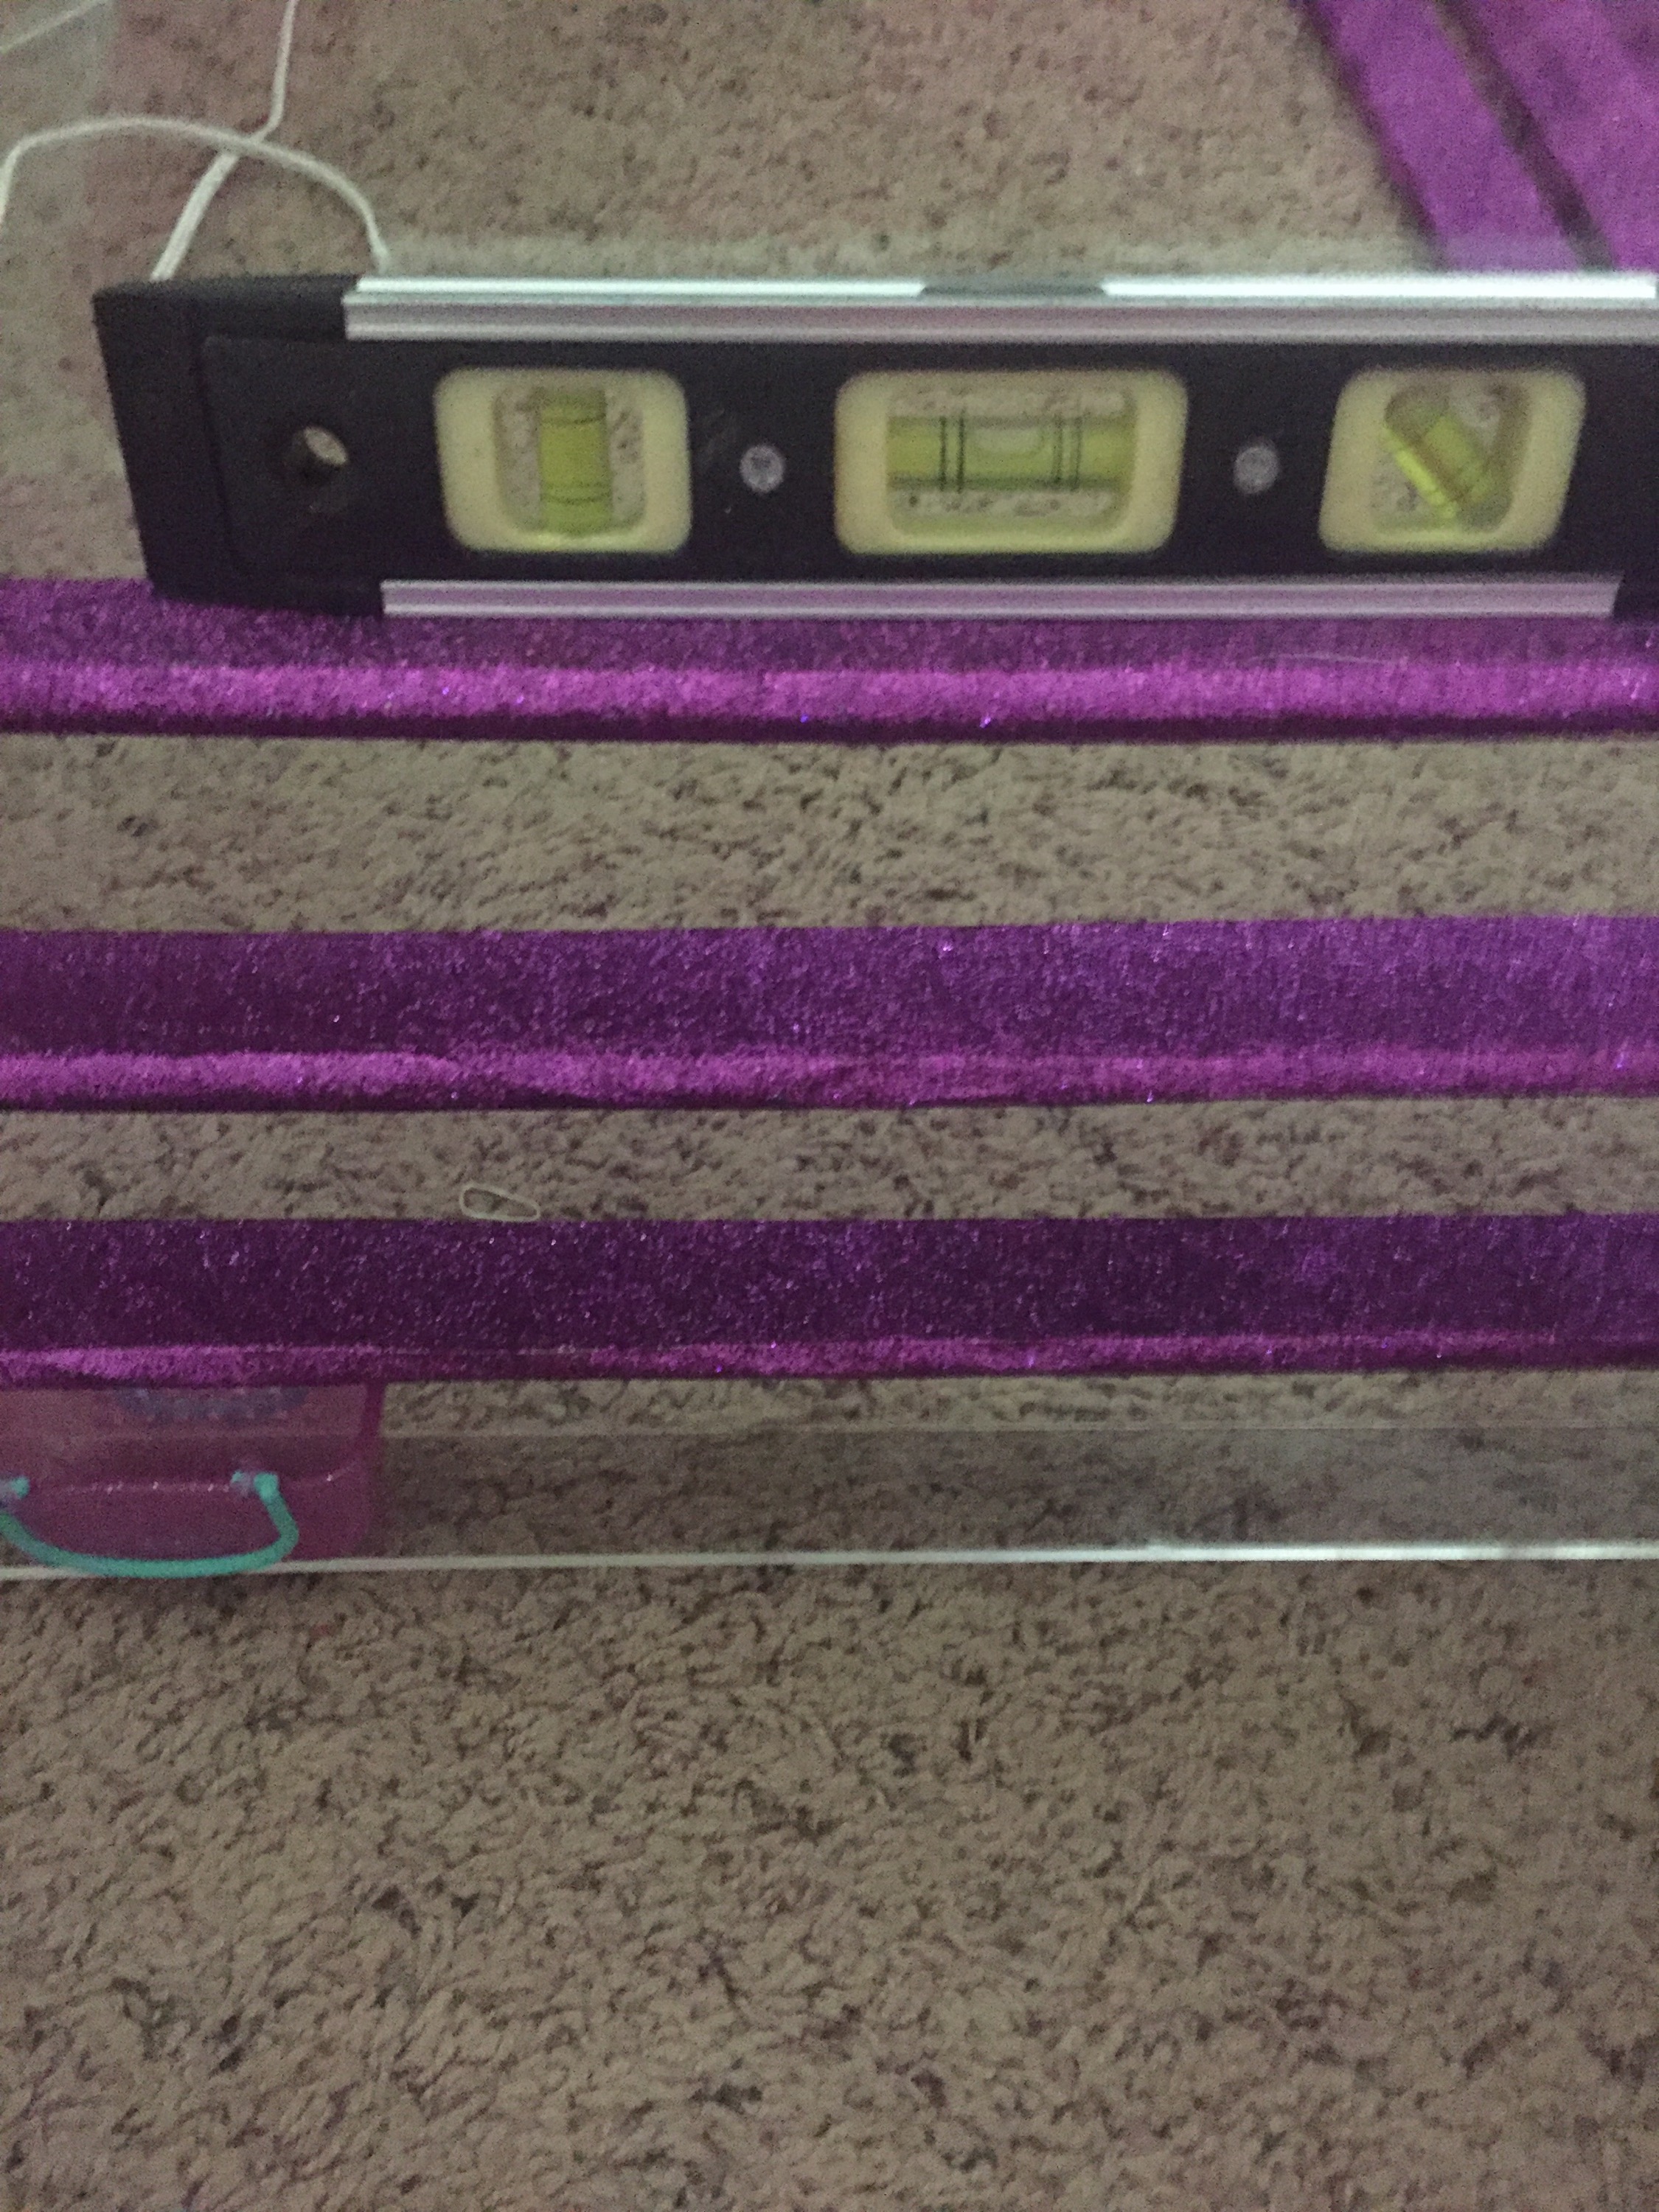
Next, you’ll need to find a box or a book that will match your desired thickness. I wanted her to be able to store those little baskets and bags on it too so I found a box that was the perfect width in the closet and used that as a guide. I then used hot glue all along the back and sides of the “shelf” to secure it to the frame.

Moving the box up with each shelf kept them perfectly spaced and I used a small level to double check my work.
I plan to cover the outside trim in ribbon that way I can hang it on her wall as well but I haven’t picked that out yet. Next, stick your shelves with shopkins and you’re ready to go!
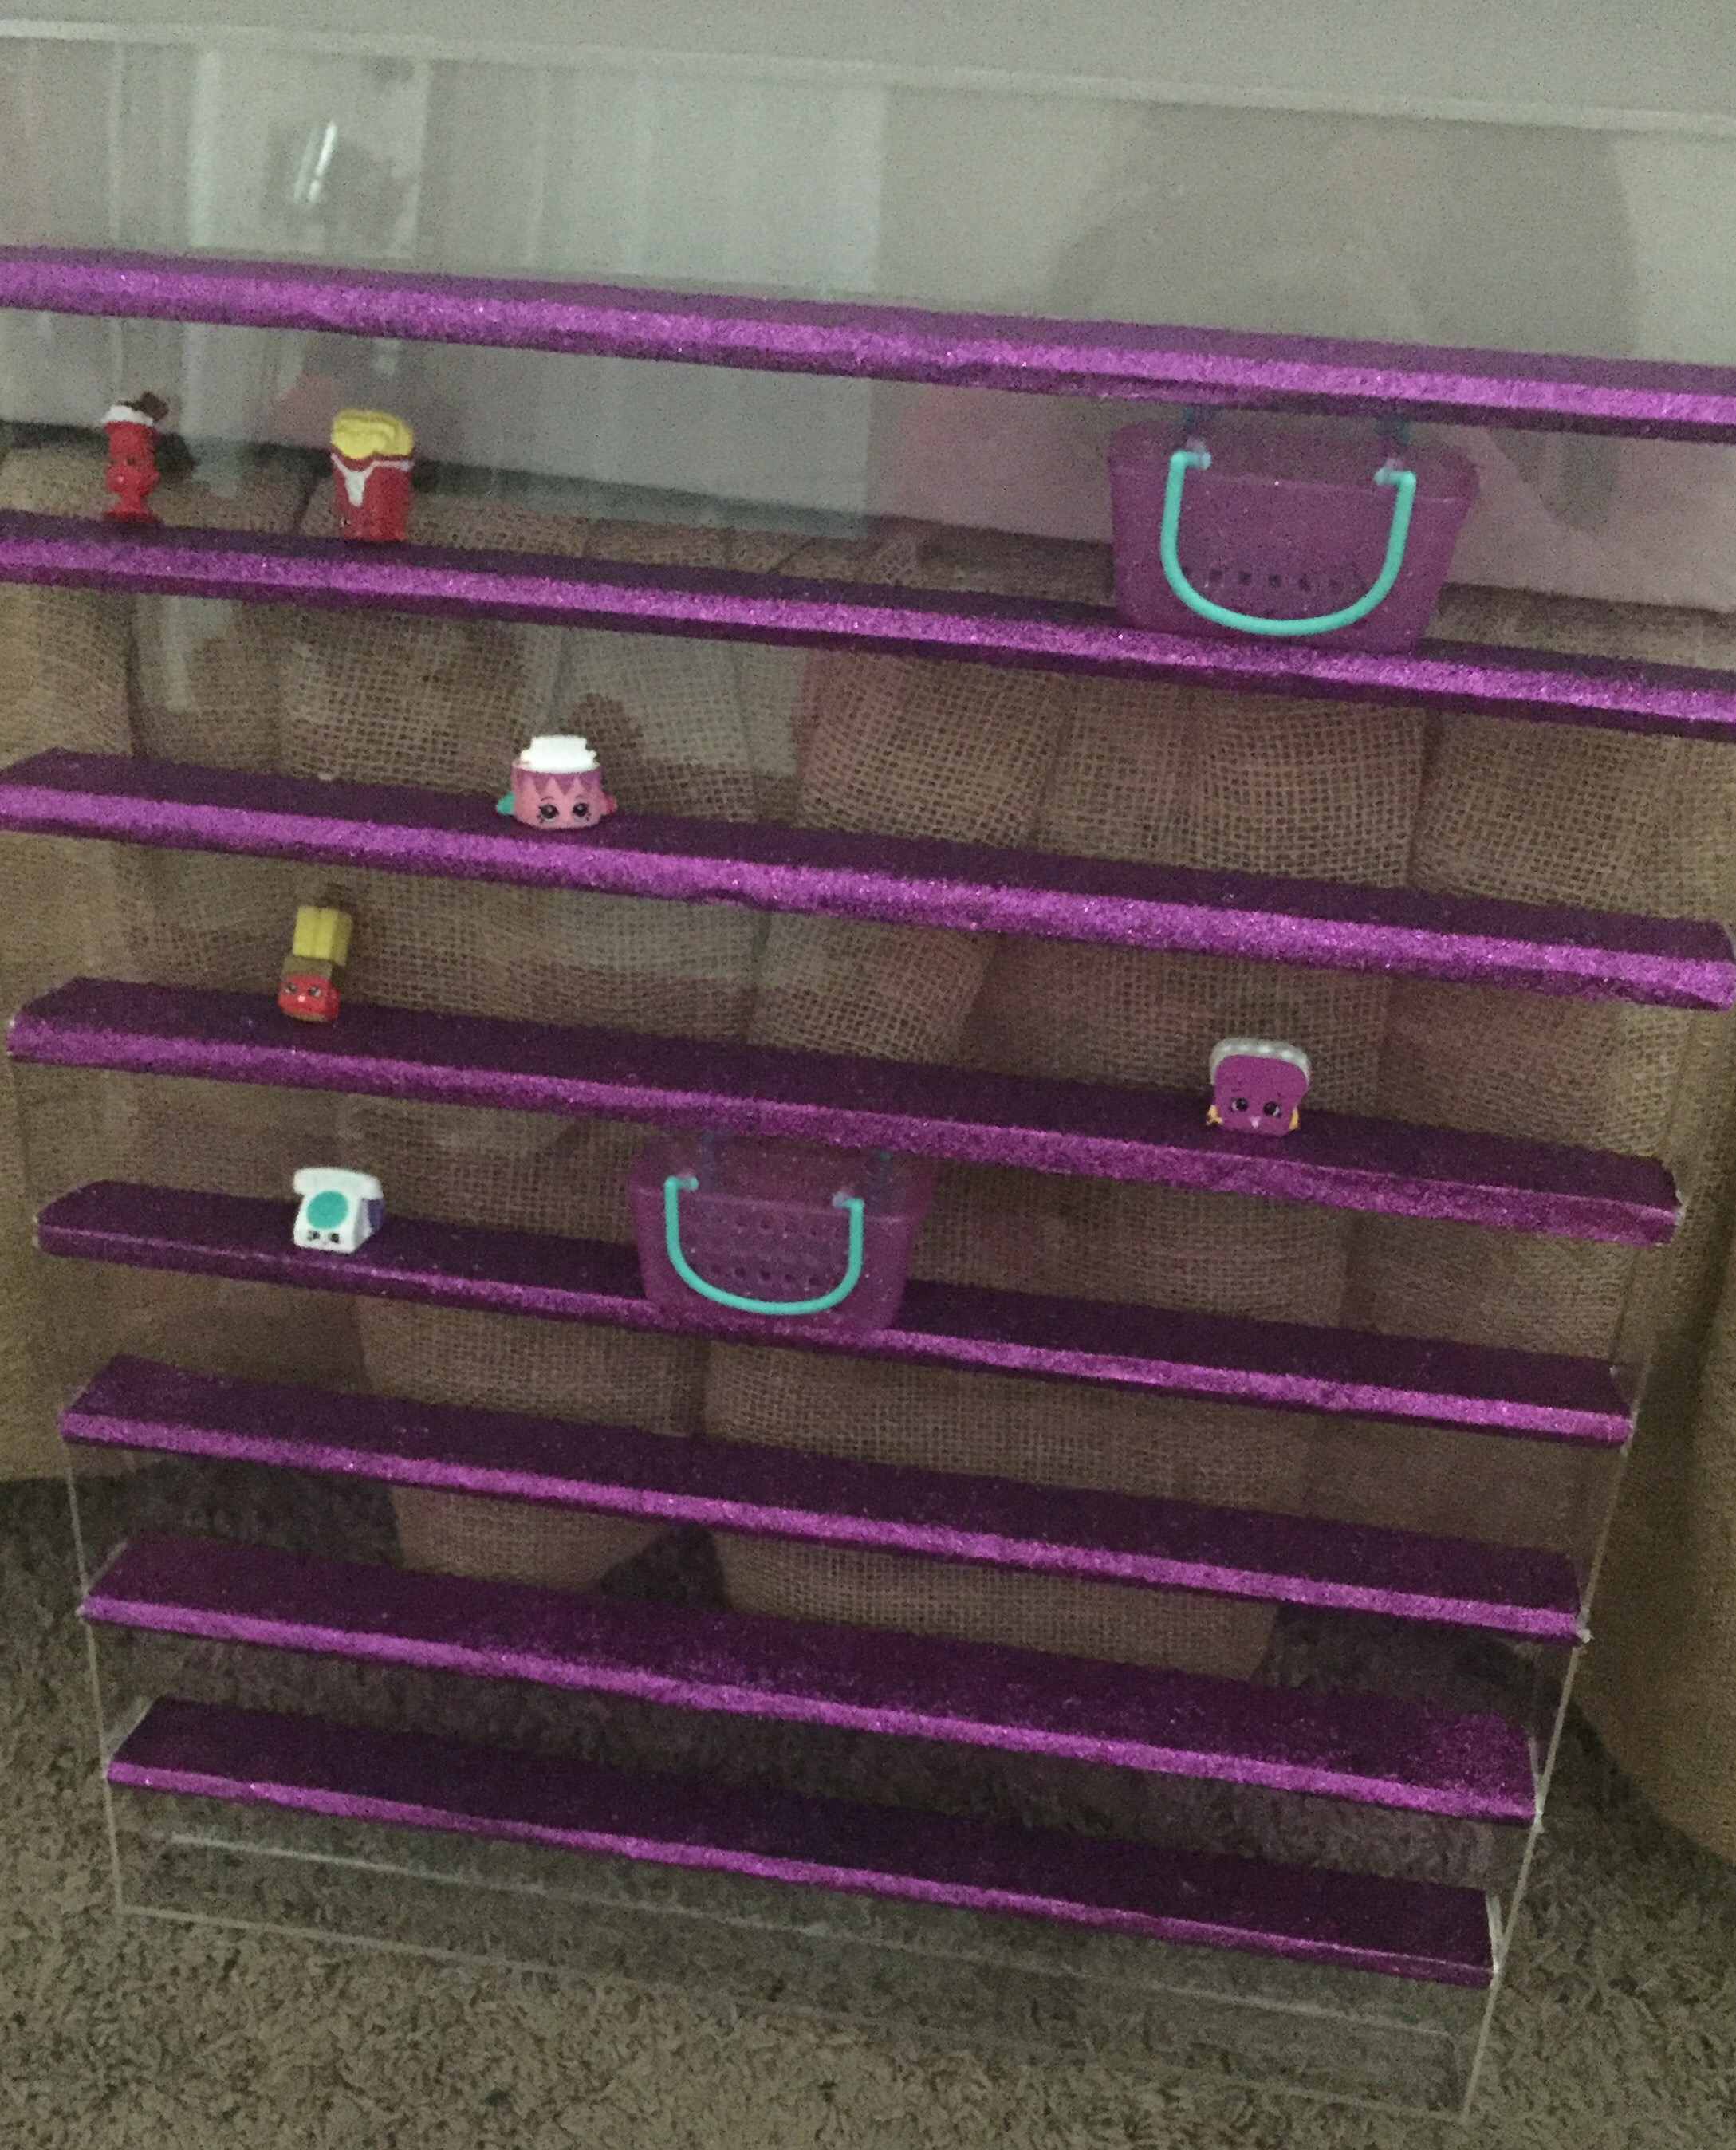 This week, Michael’s has a 50% off coupon so I used that for the frame which brought it down to about $7.50! They also are now carrying shopkins in the store so we used to coupon again to score a 12pk set half off!
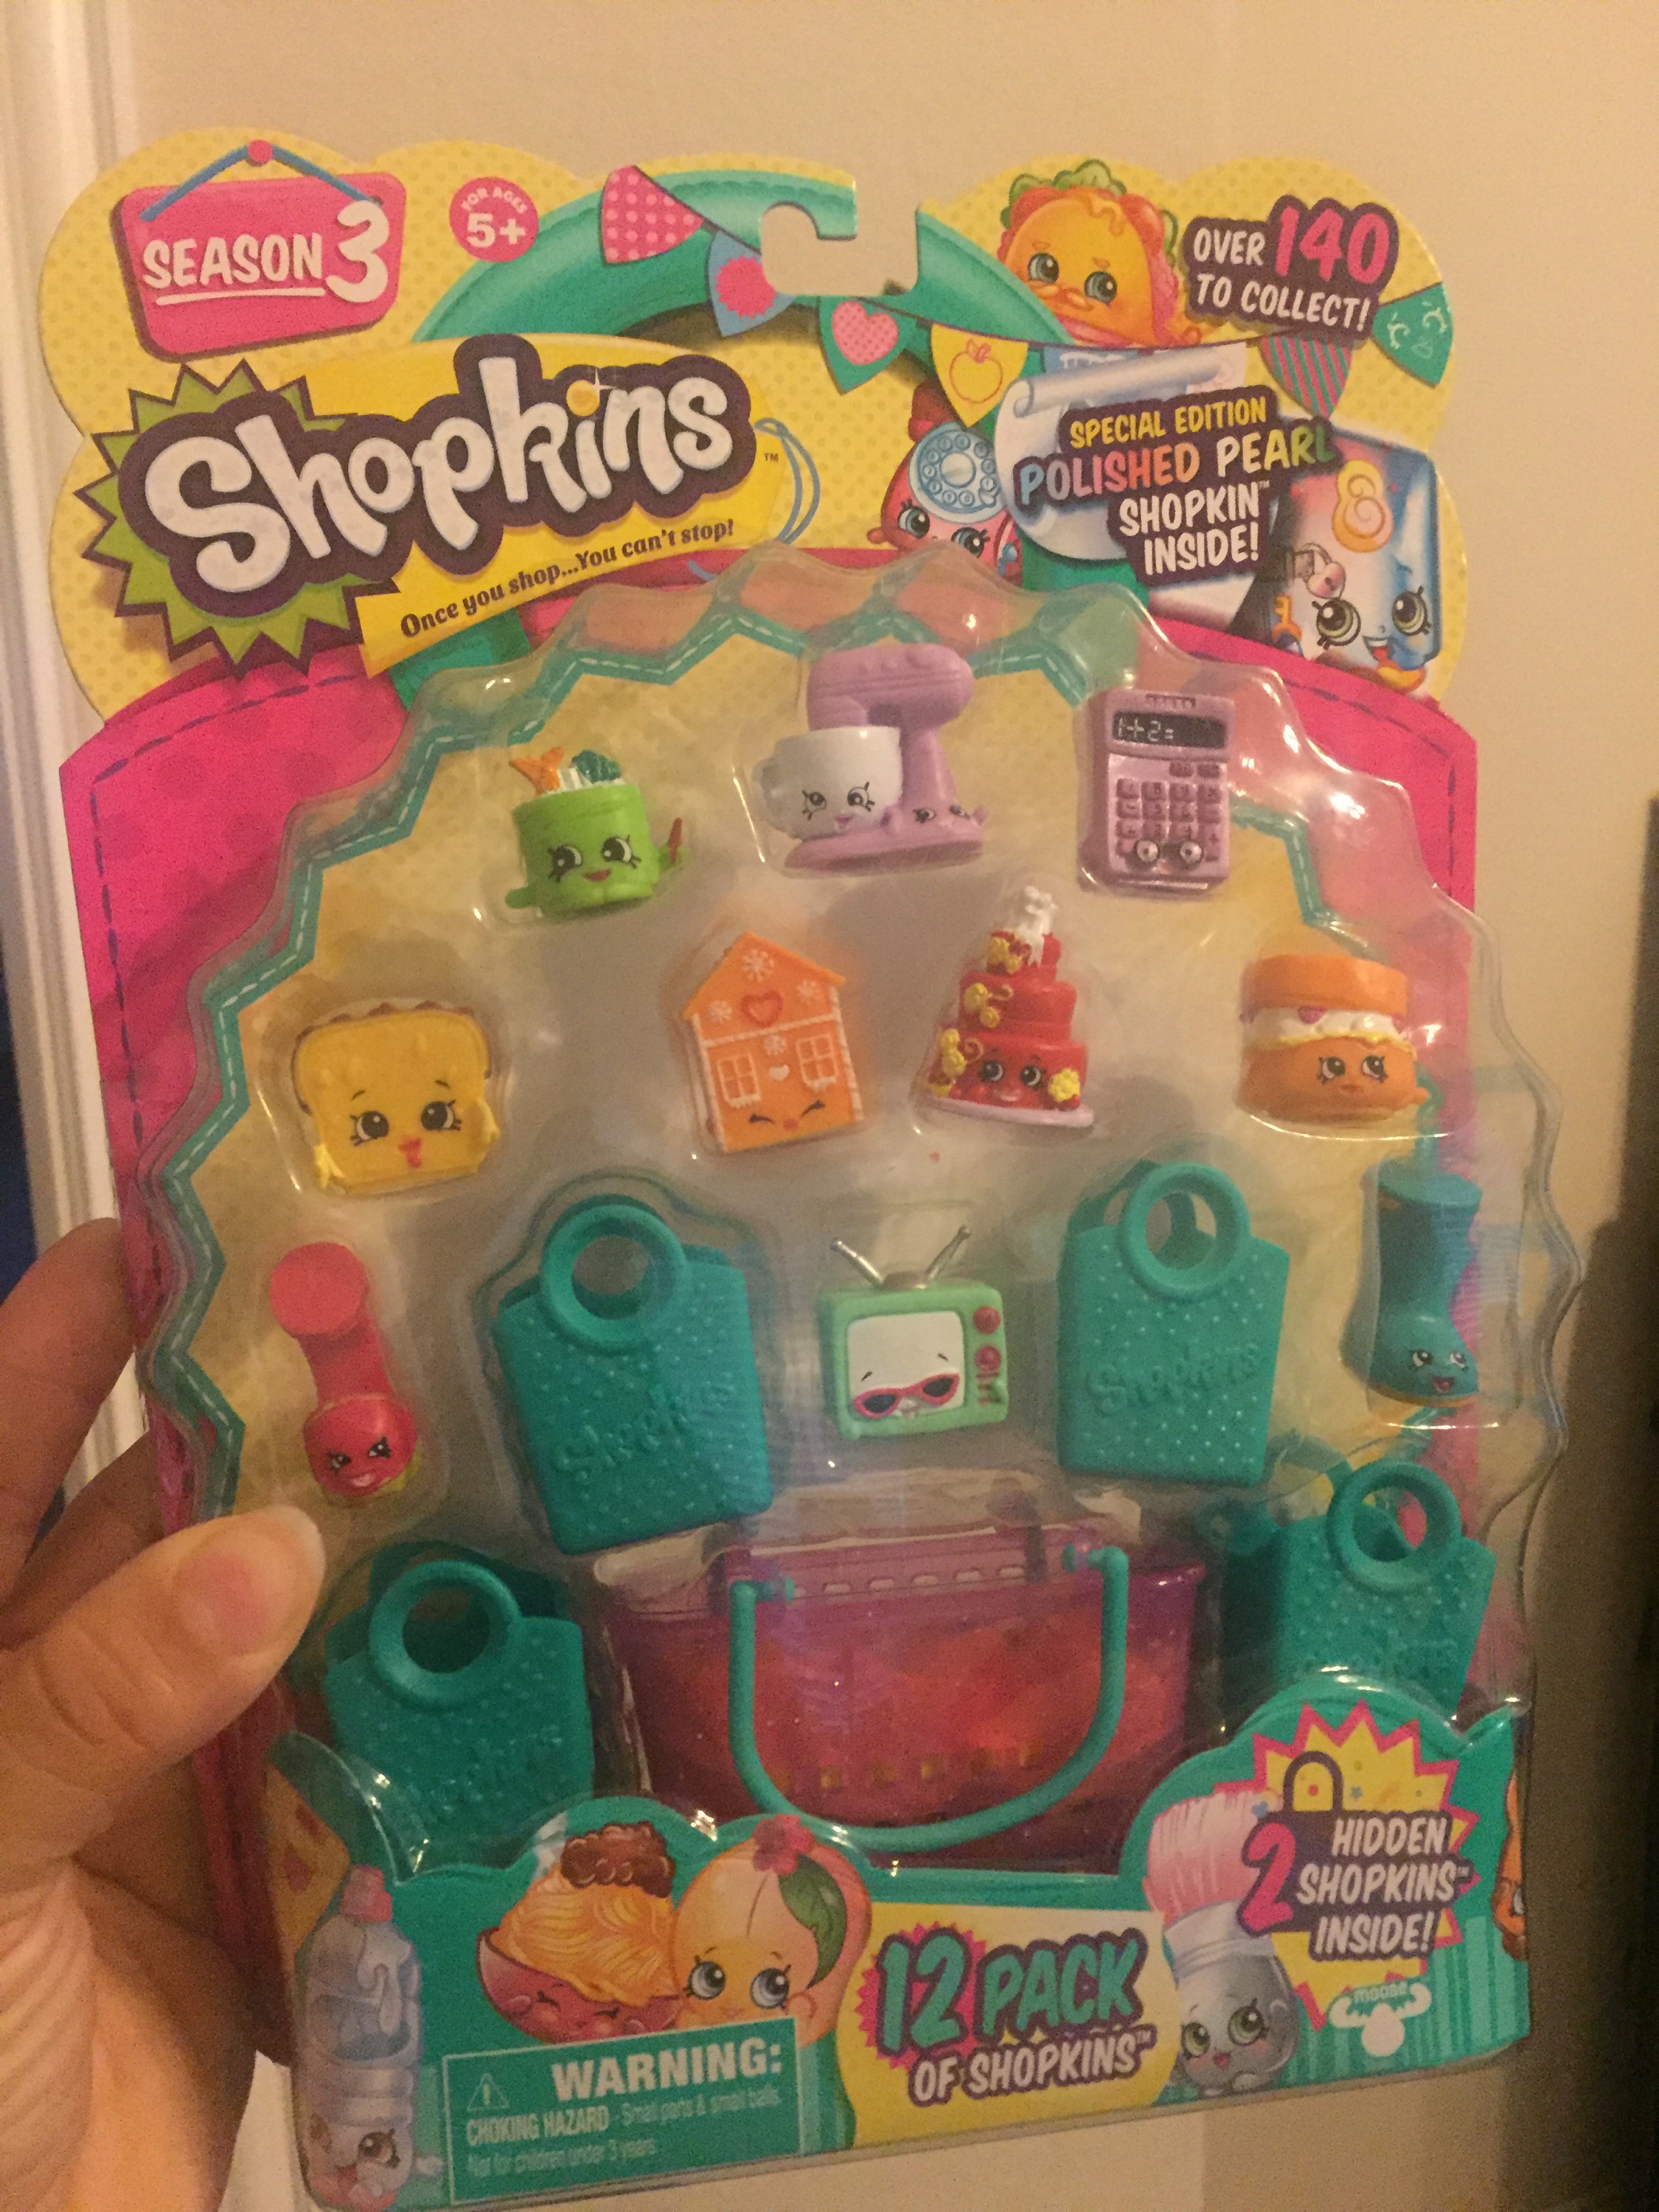
Hope this is helpful Mamas! I know I’m going to have a pretty happy girl come Christmas morning. 😃

[…] ← A very shopkins Christmas […]
Super great idea!
Thank you! It was such an easy project and I know she’ll be excited to stock those shelves come Christmas day! ❤
[…] Source: A very shopkins Christmas […]