
If you know me personally, you know I am simultaneously the most organized and the most unorganized person you will ever meet. lol Let me explain, I love my label maker, organizing bins, color coding, and labels that all face the same direction but I can never remember what time to take what kid to what sporting event or party. I’m always losing papers and I have a stack of mail on my kitchen countertop that I’m confident will reach the ceiling soon if I don’t deal with it. Unfortunately, 3 kids haven’t always allowed me to be as organized as I would like. I was so tired of being late, missing events, and forgetting where I put things that I vowed to get more organized in 2015. I had been toying with the idea of putting A in a mother’s day out program 2 days a week for a while but she’s my last baby and I was hesitant. When they called in December to tell me they had an opening for her, I decided to take the leap and enroll her. Figured it would be good for both of us and i’m so glad I did. She’s still adjusting to not being with me 24 hours a day but the extra time I’ve had to get organized has done wonders for my sanity. It’s definitely a work in progress. I’ll share in a later blog how I organized every nook and cranny of my house but today I’m going to share how I’m organizing my life.
I’ve always been a fan of planners, organizers, and journals but my problem is, I’ve never really committed to them or carried them around with me at all times to fully utilize them. I would write something down on a post it, toss it in my purse, and forget to transfer it to my planner when I got home. Rather than my usual pick up a planner at Target bit, I decided to jump on the Erin Condren Life Planner bandwagon as recommended by many friends. I’ll be honest, my main appeal was (and still is) the interchangeable covers. On the inside it’s much like any other ole’ planner but the cover switching helps keep it fresh in my head I think. You always like to use new things so switching them out every so often should help with that in my head. haha
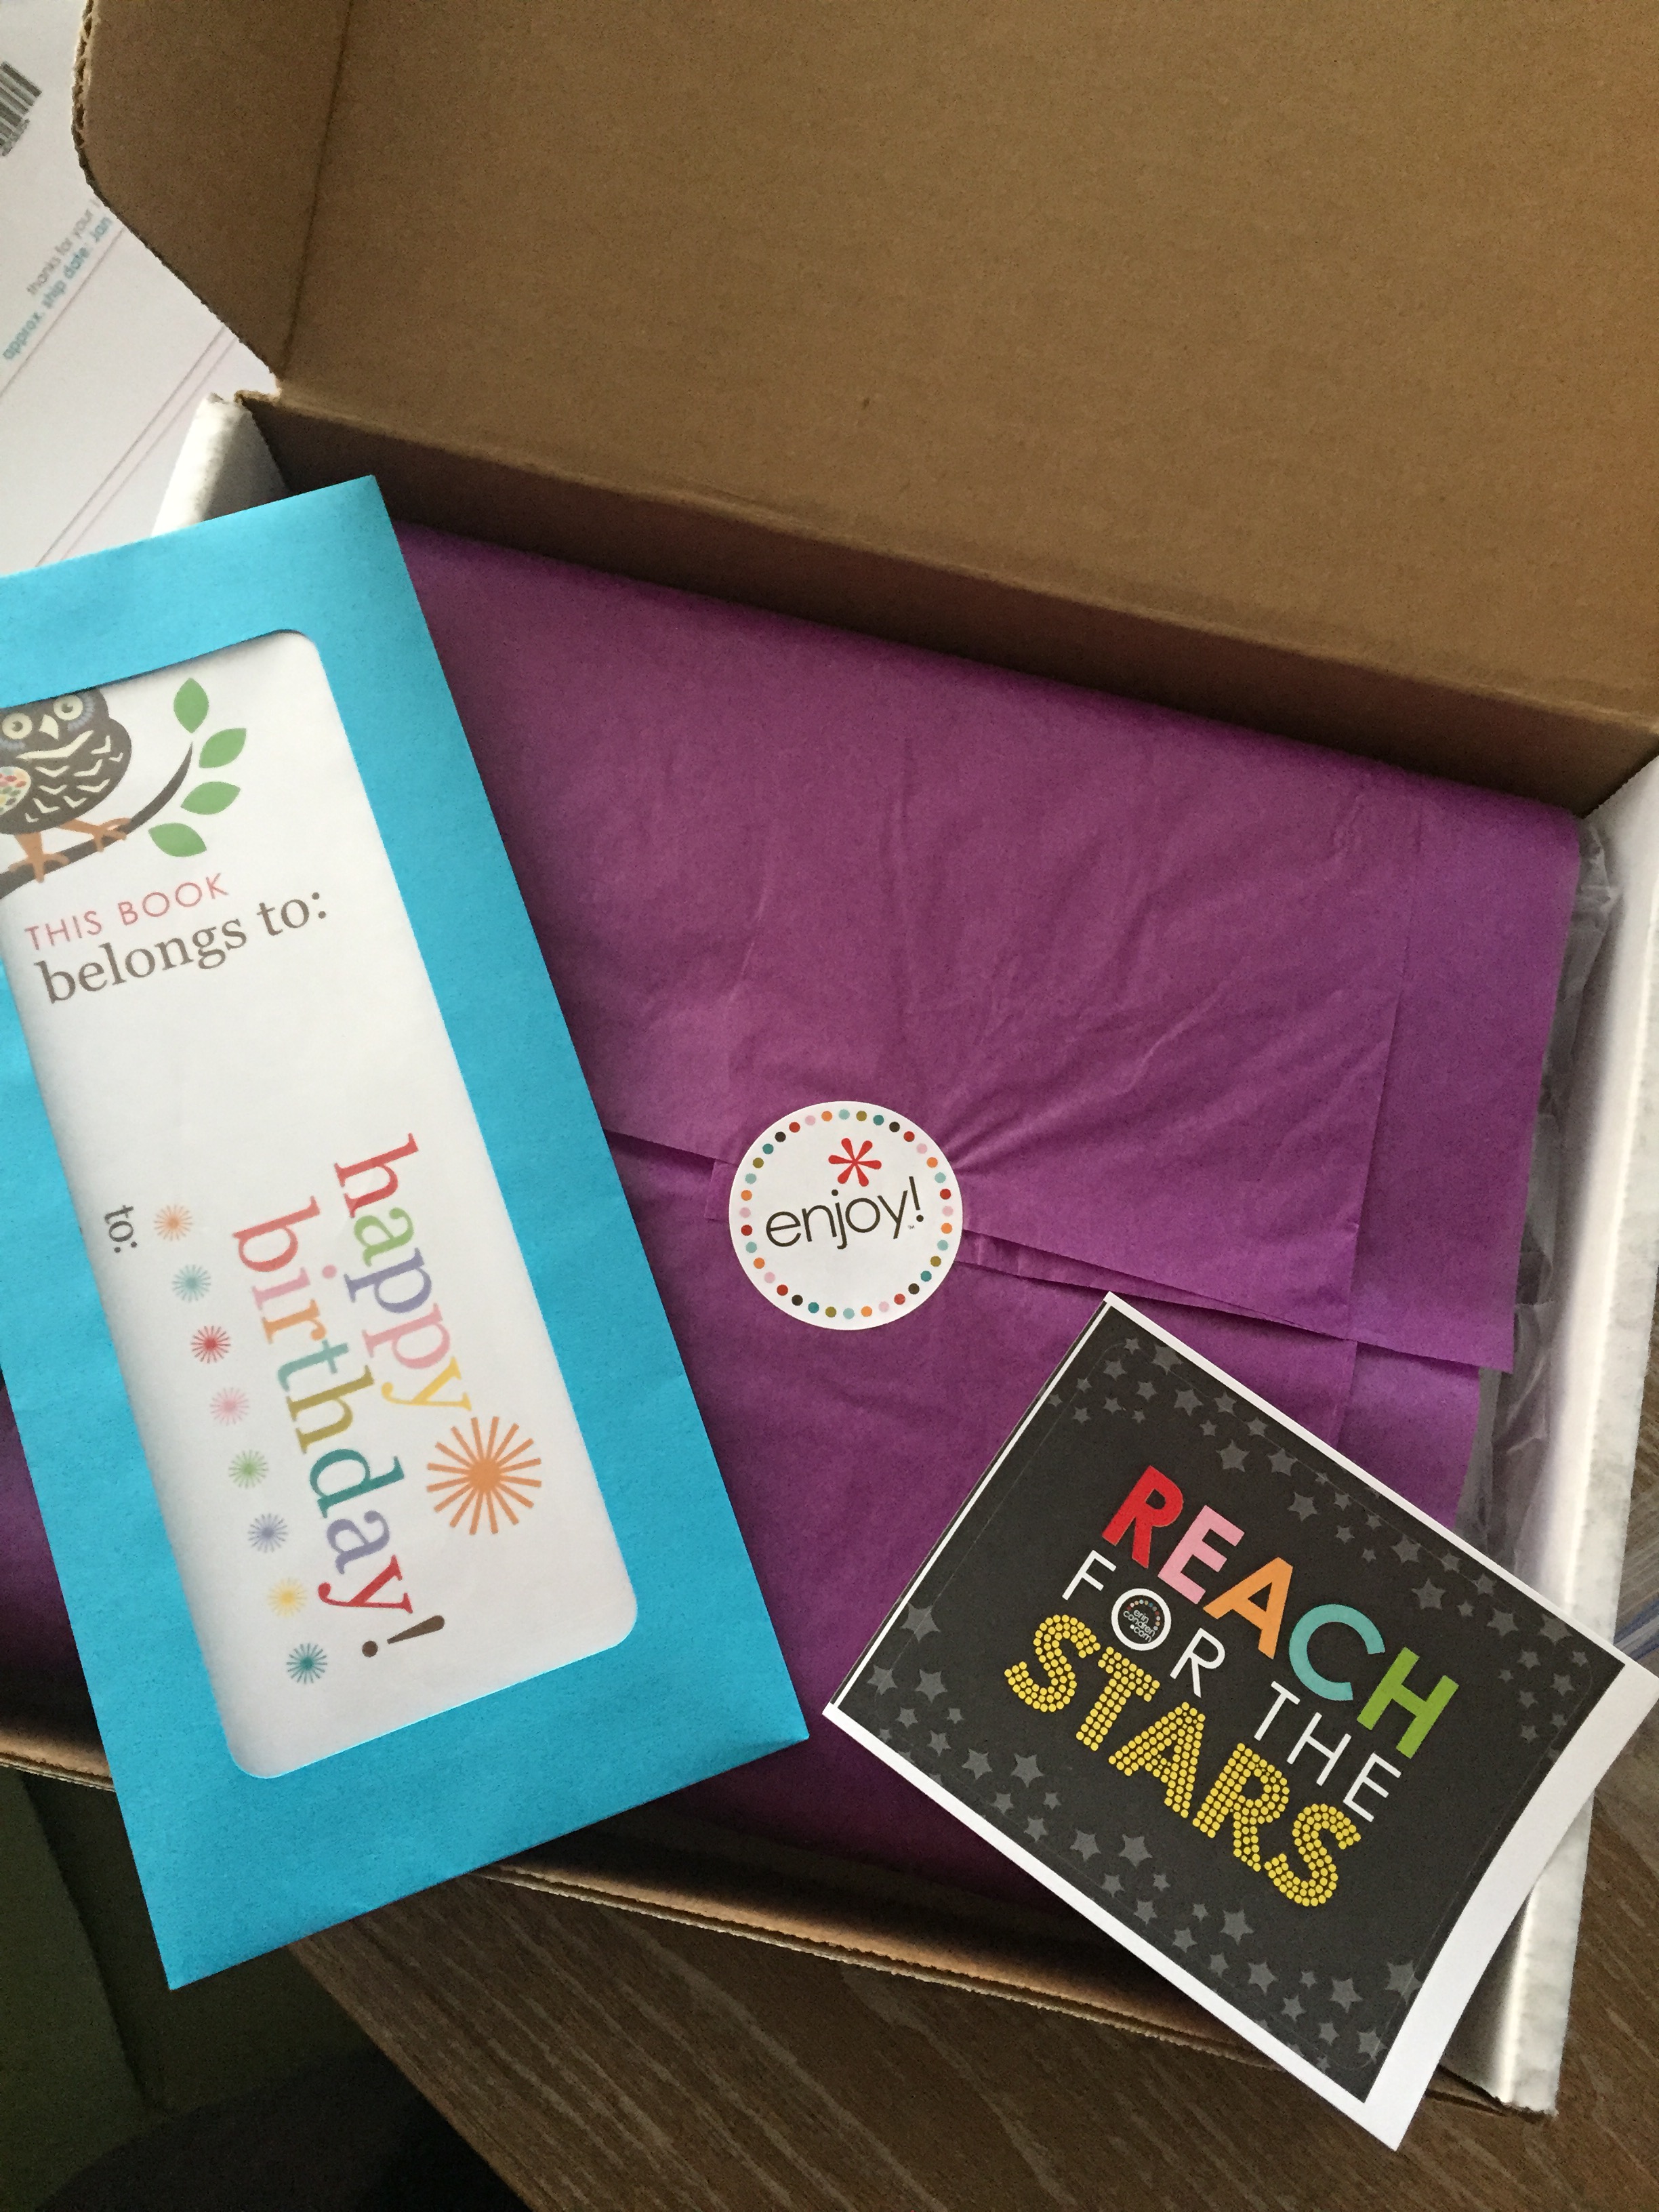
When it arrived, I was immediately impressed with the packaging. It was colorful, fun, and welcoming. It included a little envelope of bonus stickers and gift labels. Who doesn’t love freebies! 🙂
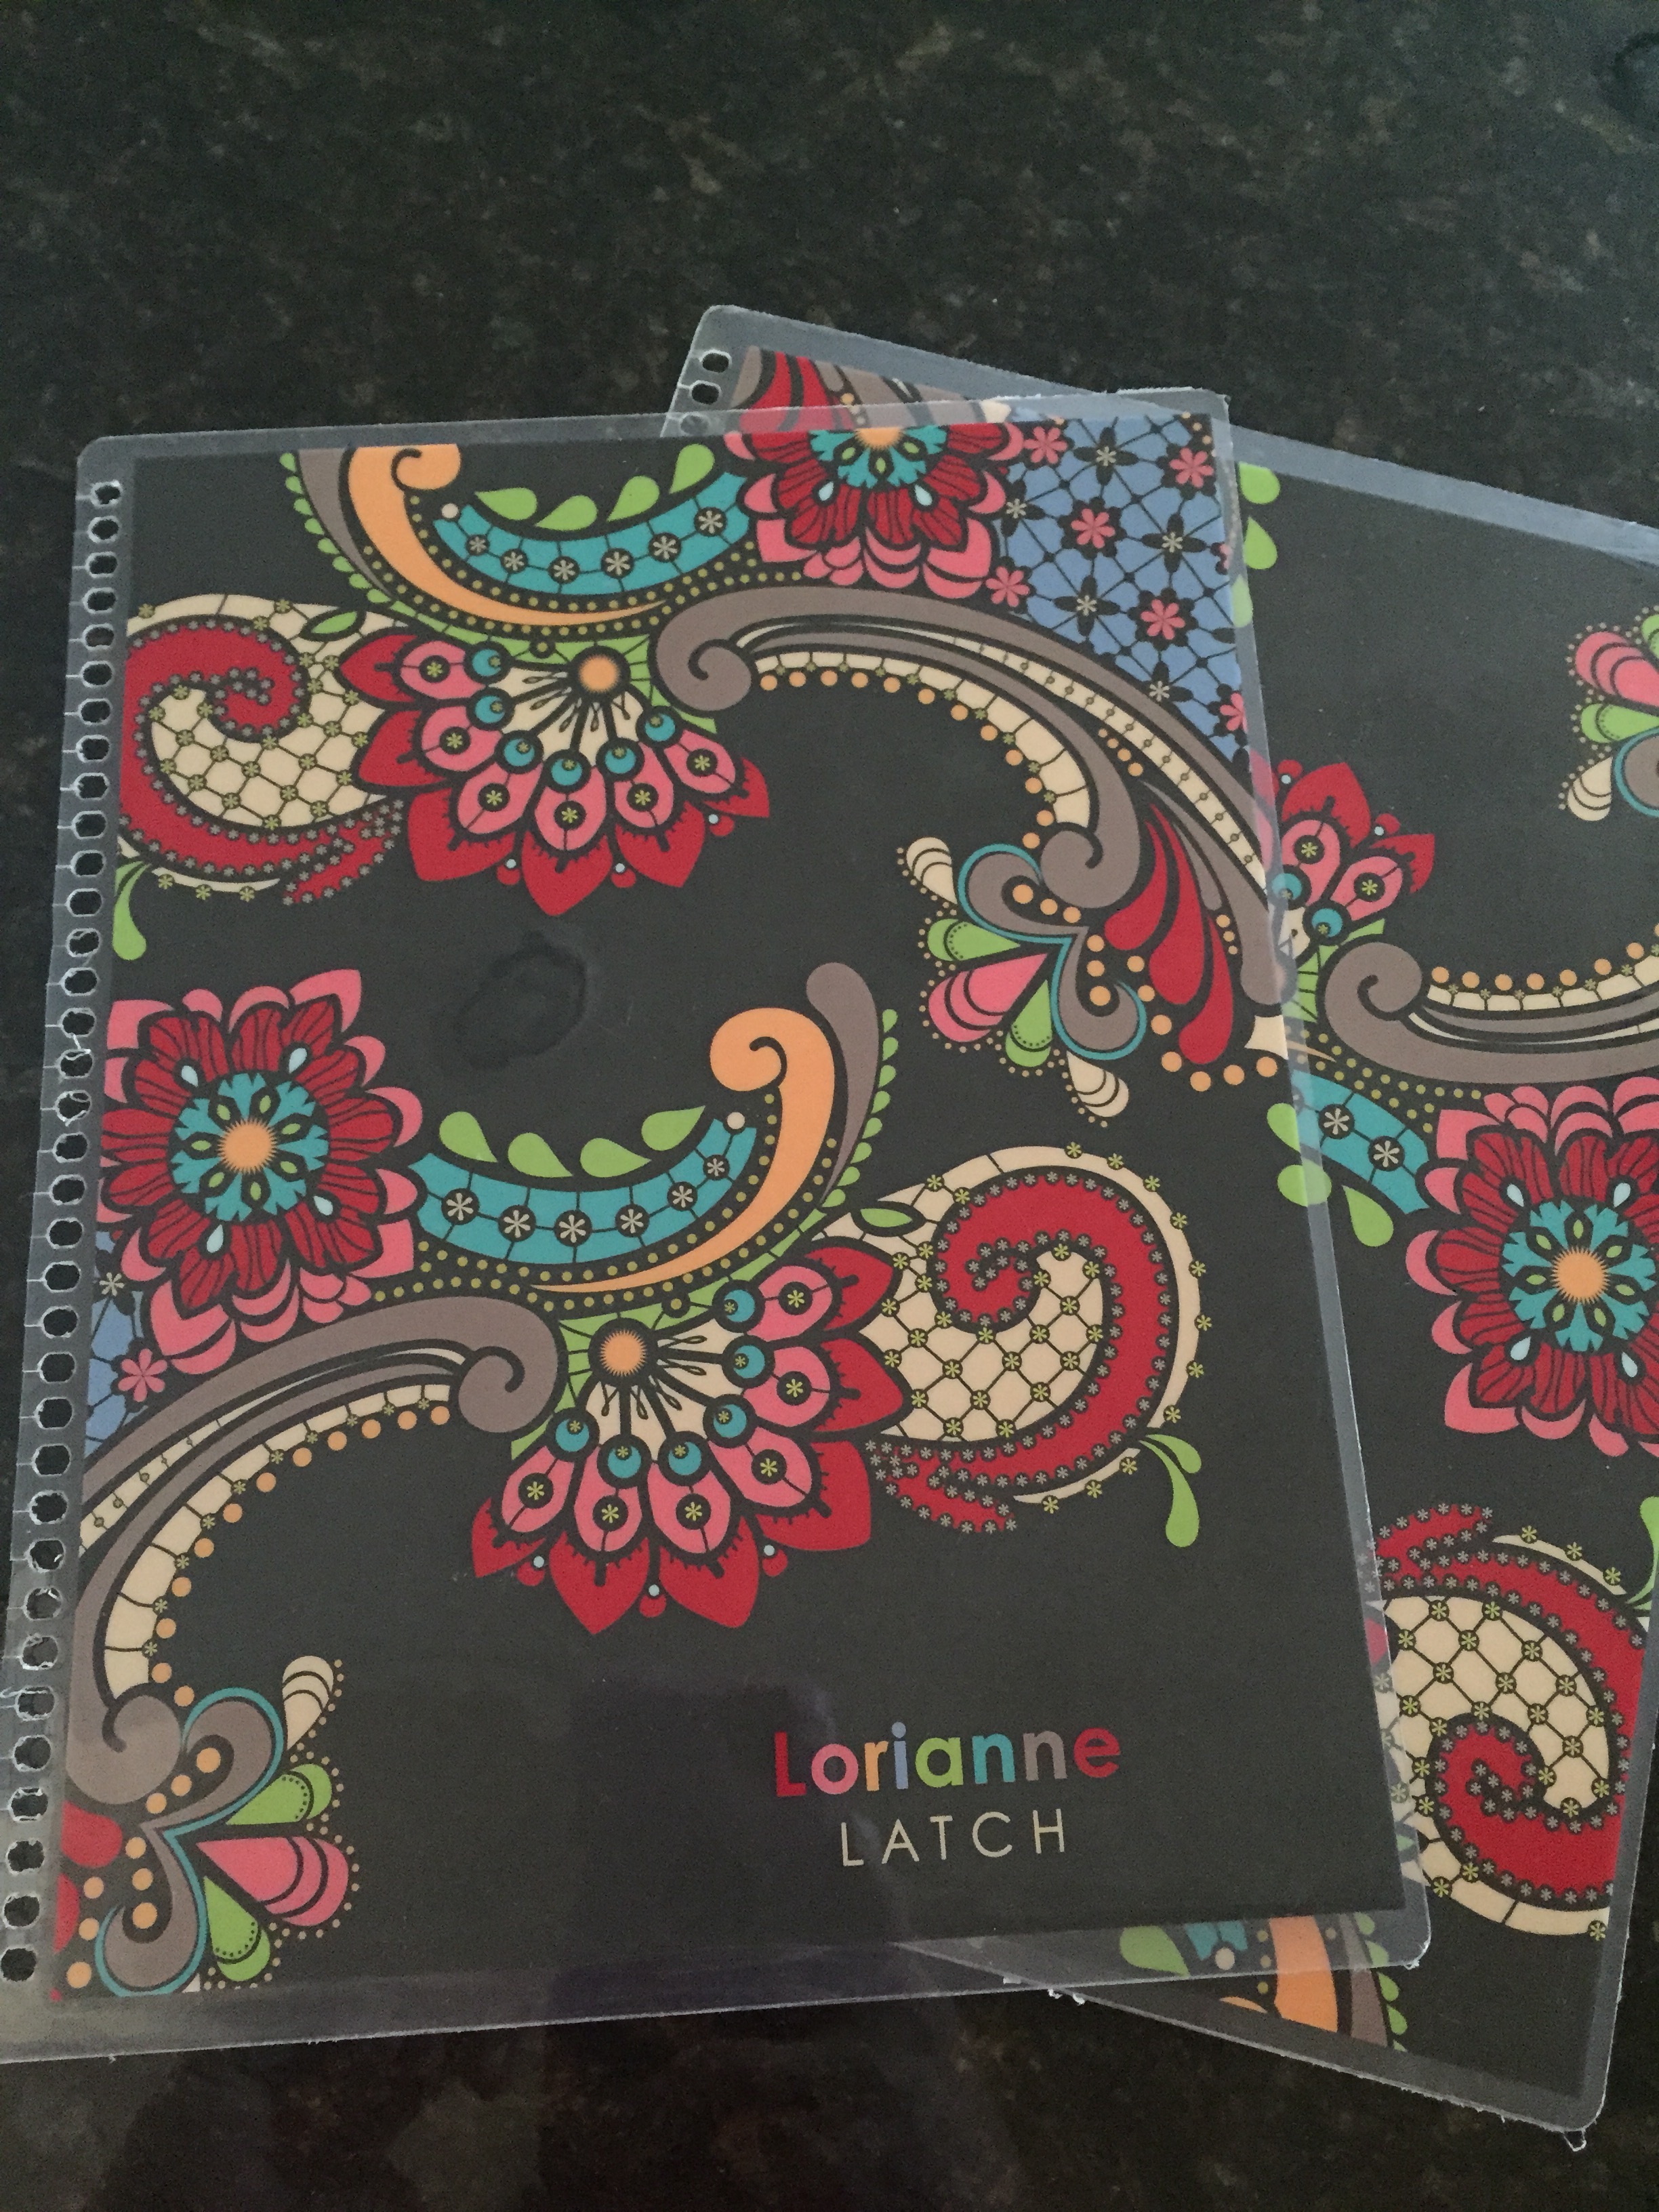
I selected a cute and colorful paisley-ish cover. I didn’t put too much time into customizing it because I knew I would work my own magic with it later.
The tabs and all the pages are very colorful and cheery and I love that!

I picked up several goodies to help me make my planner manageable including a cute little bag (probably meant to be a cosmetics case) at Michael’s for $4, China markers for the laminated inserts (stays better than a dry erase marker in my opinion), and washi tape in assorted colors and prints. The EC planner came with several sheets of these cute colorful stickers and I opted to customize a few extra sheets for an additional $5. The weekly menu insert was an additional purchase from EC and the errands tab I added myself. I’ll show you how and attach a printable you can use too later.
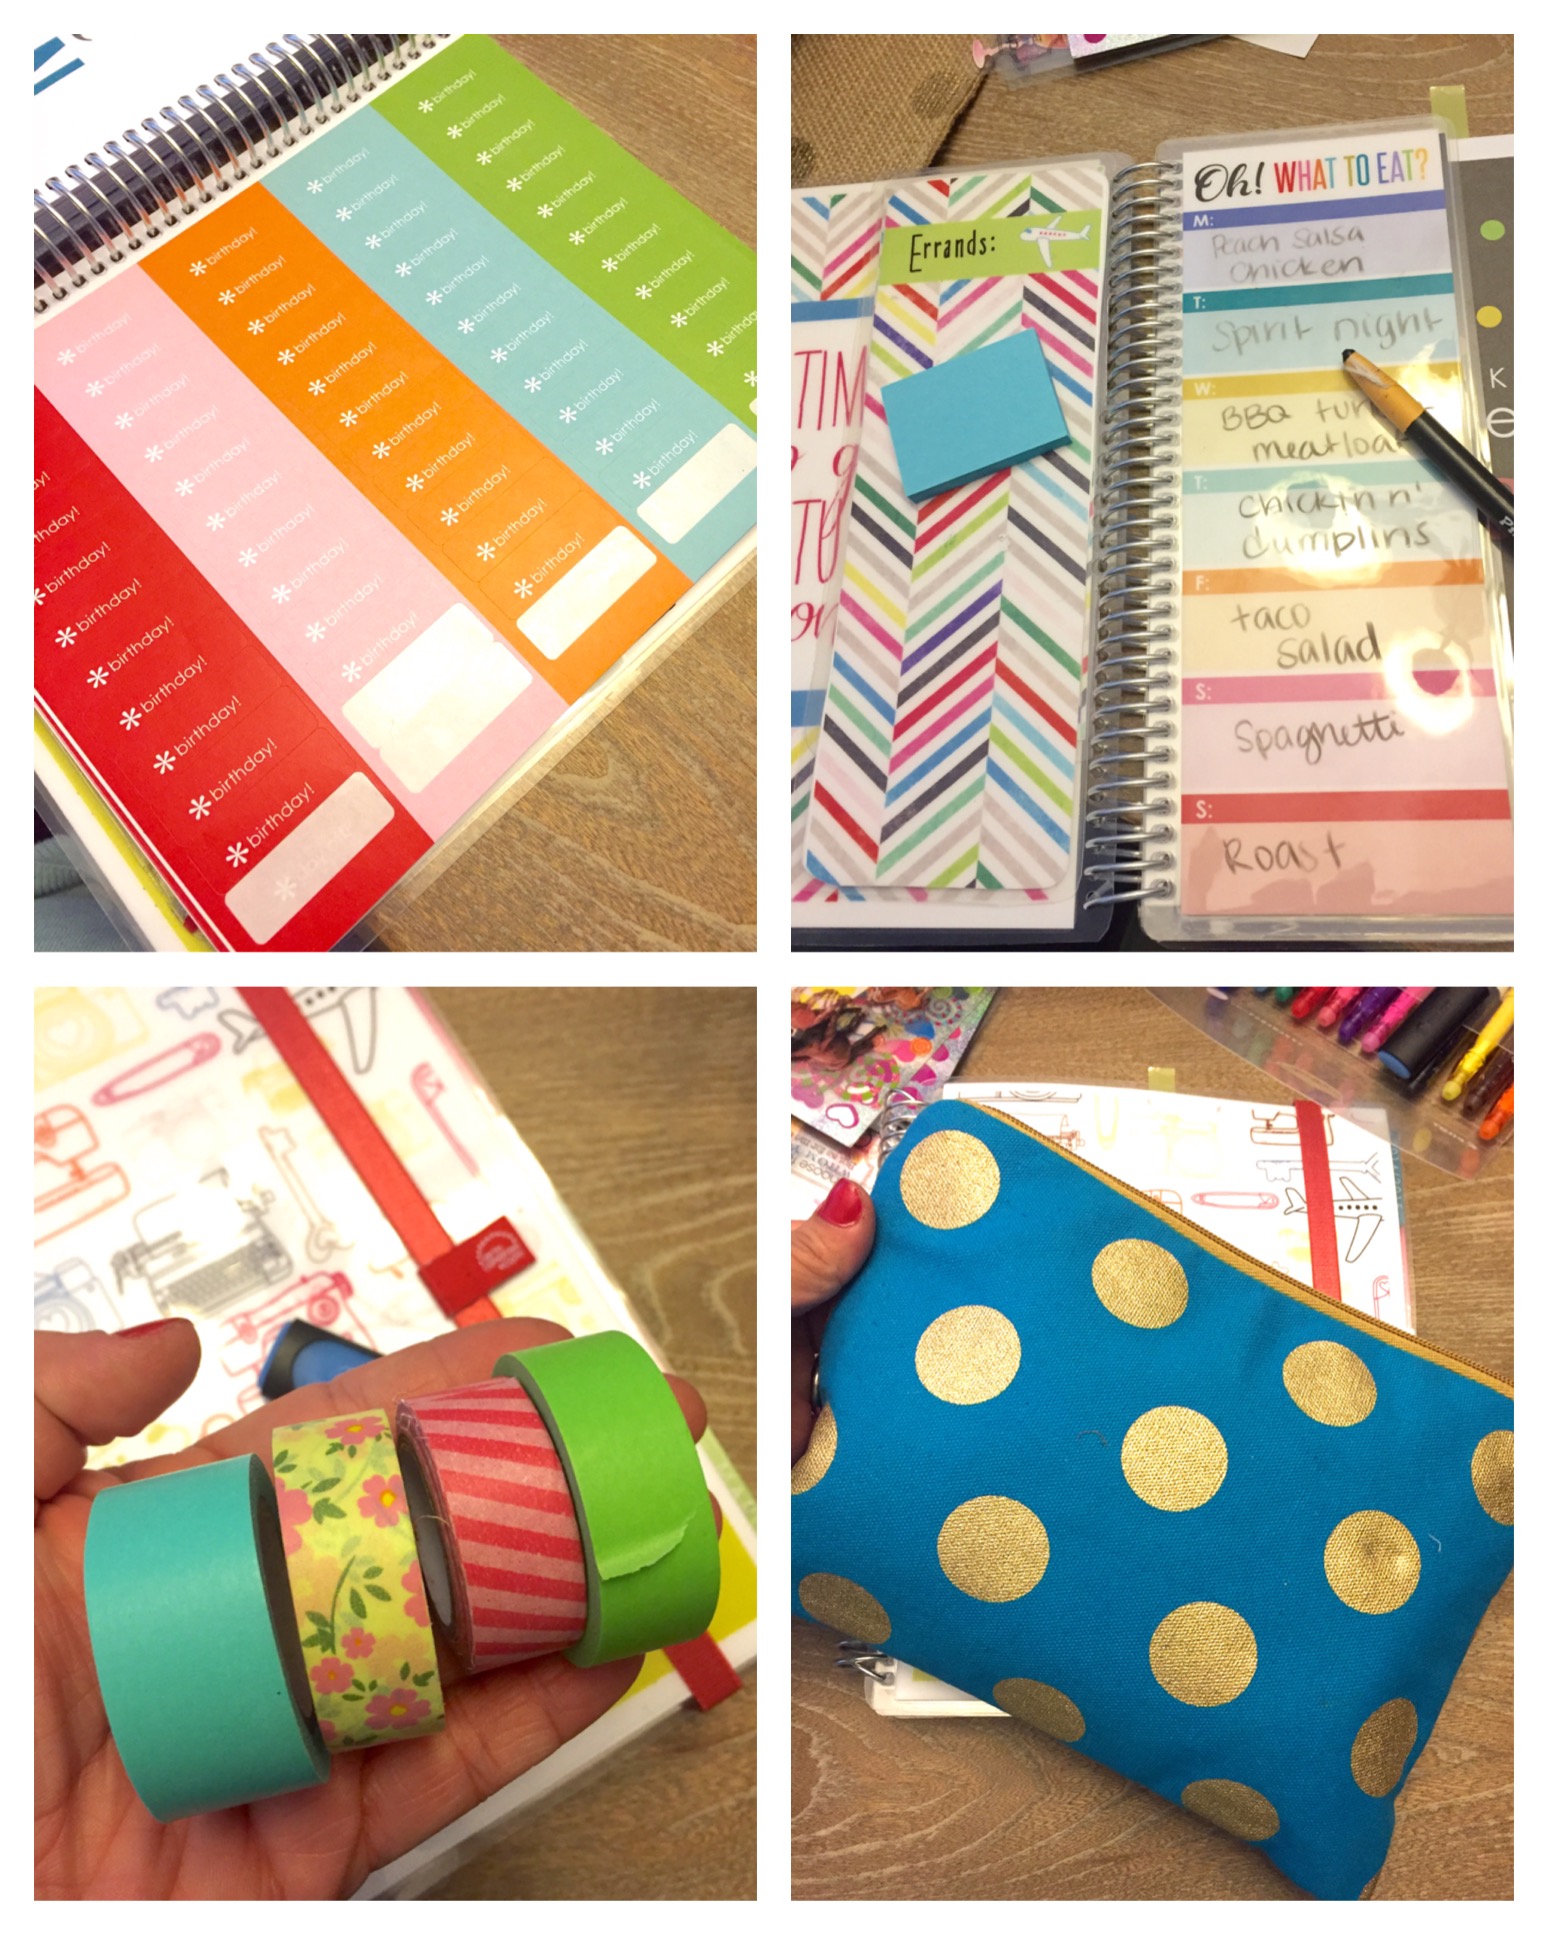
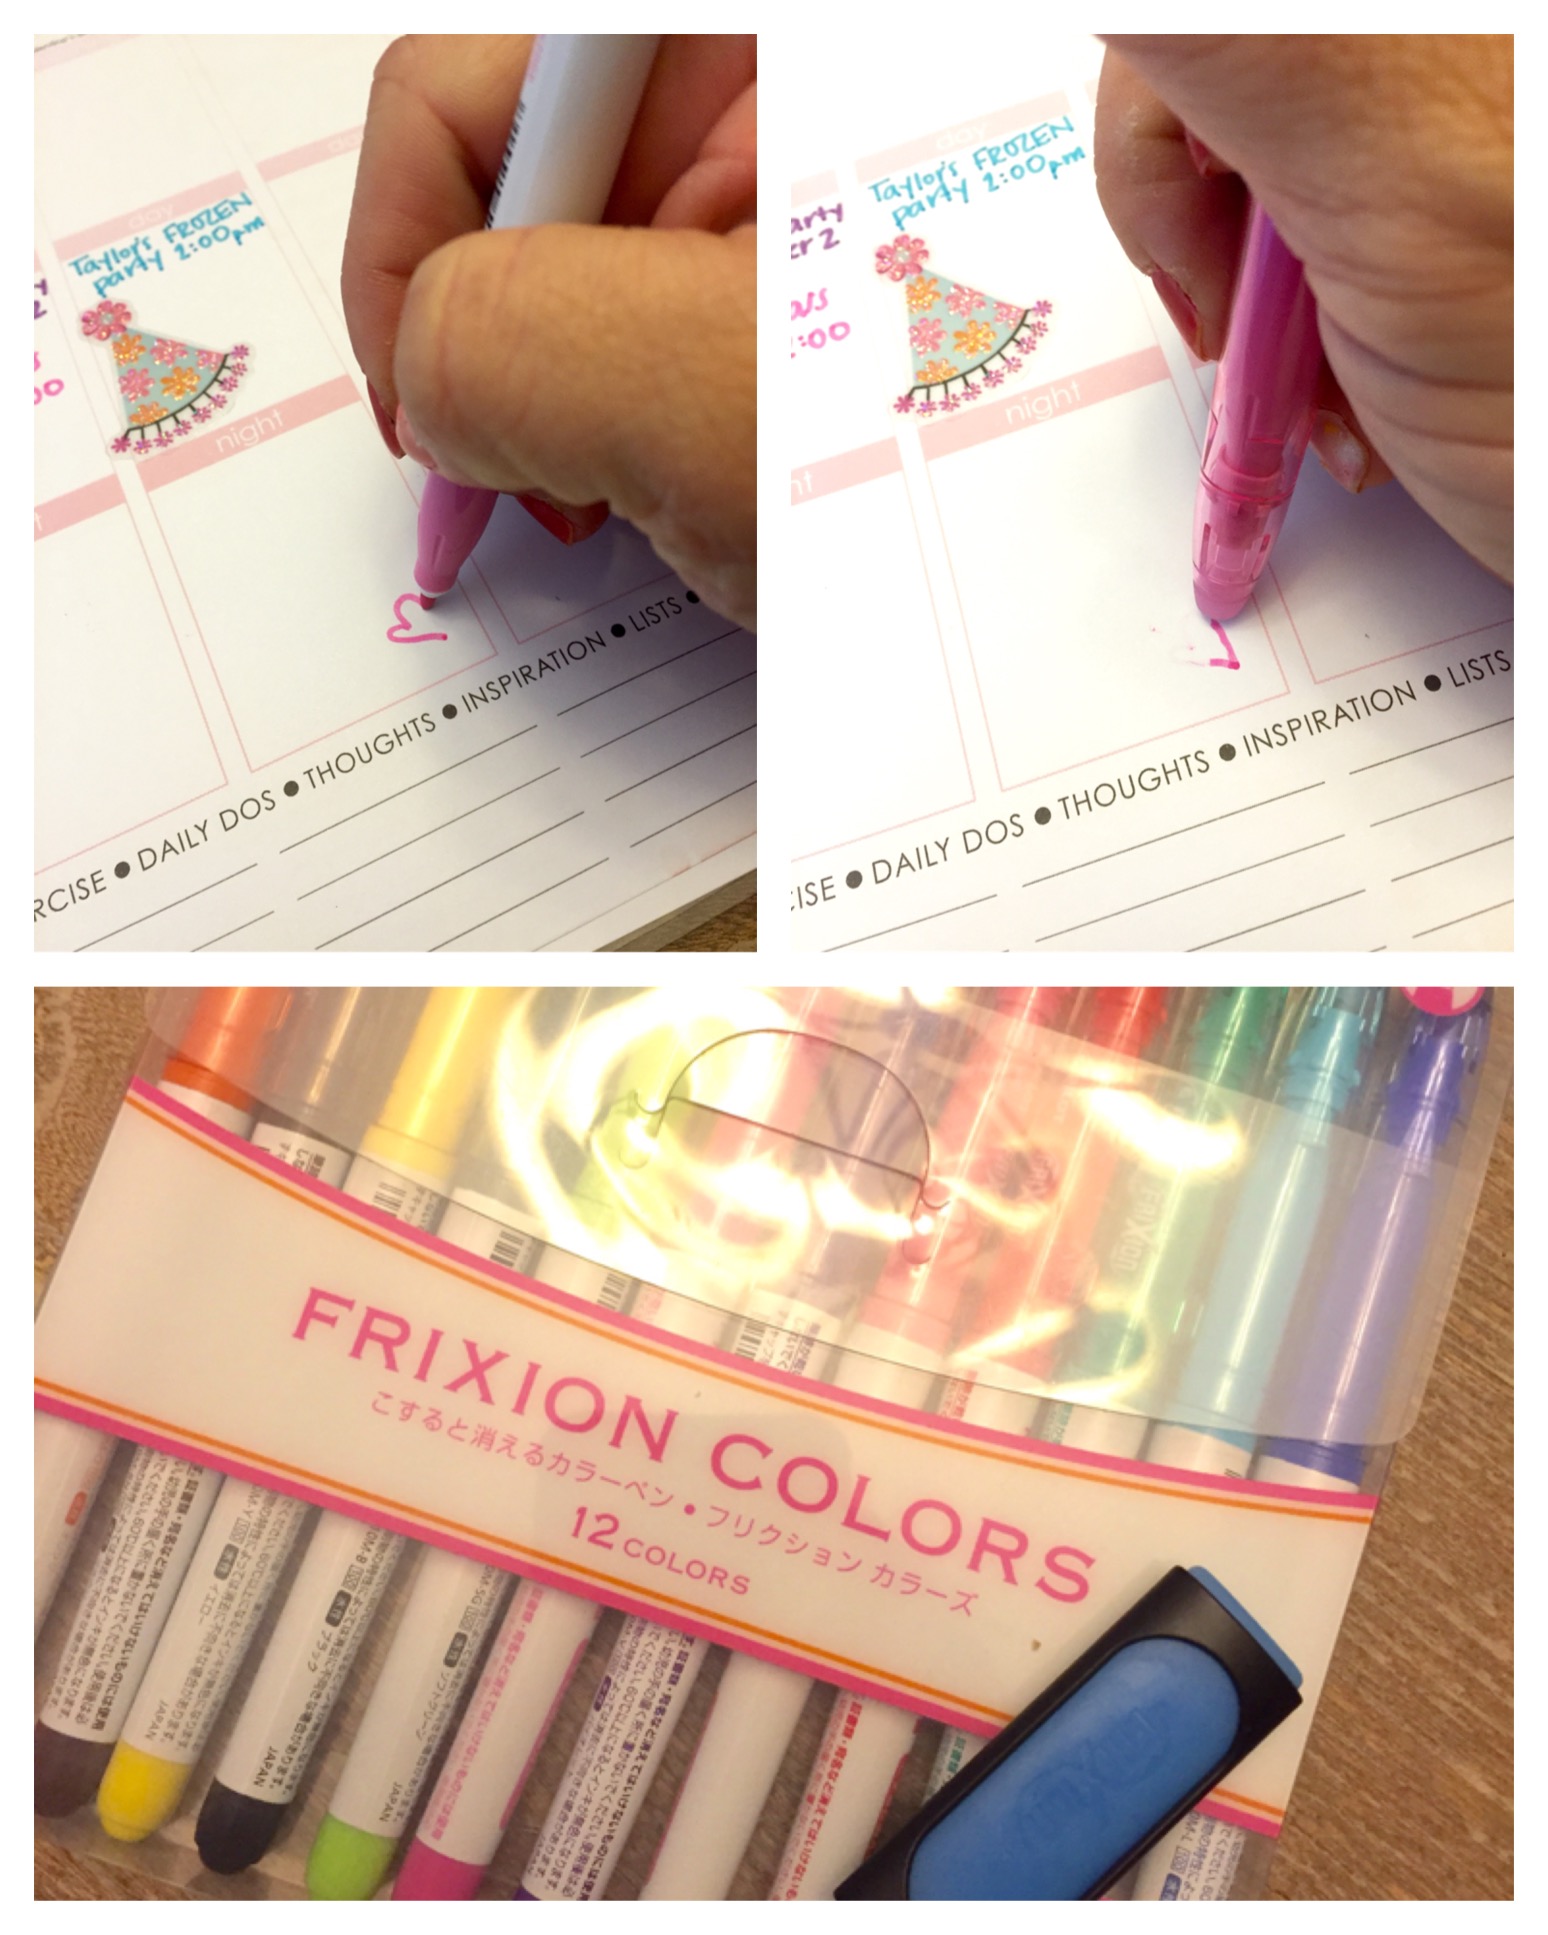
I also ordered a package of erasable markers off of amazon. Yep, I said erasable markers! Are you as excited as I was? They are by far the greatest thing since sliced bread and I think I need more ASAP!
You can find them here
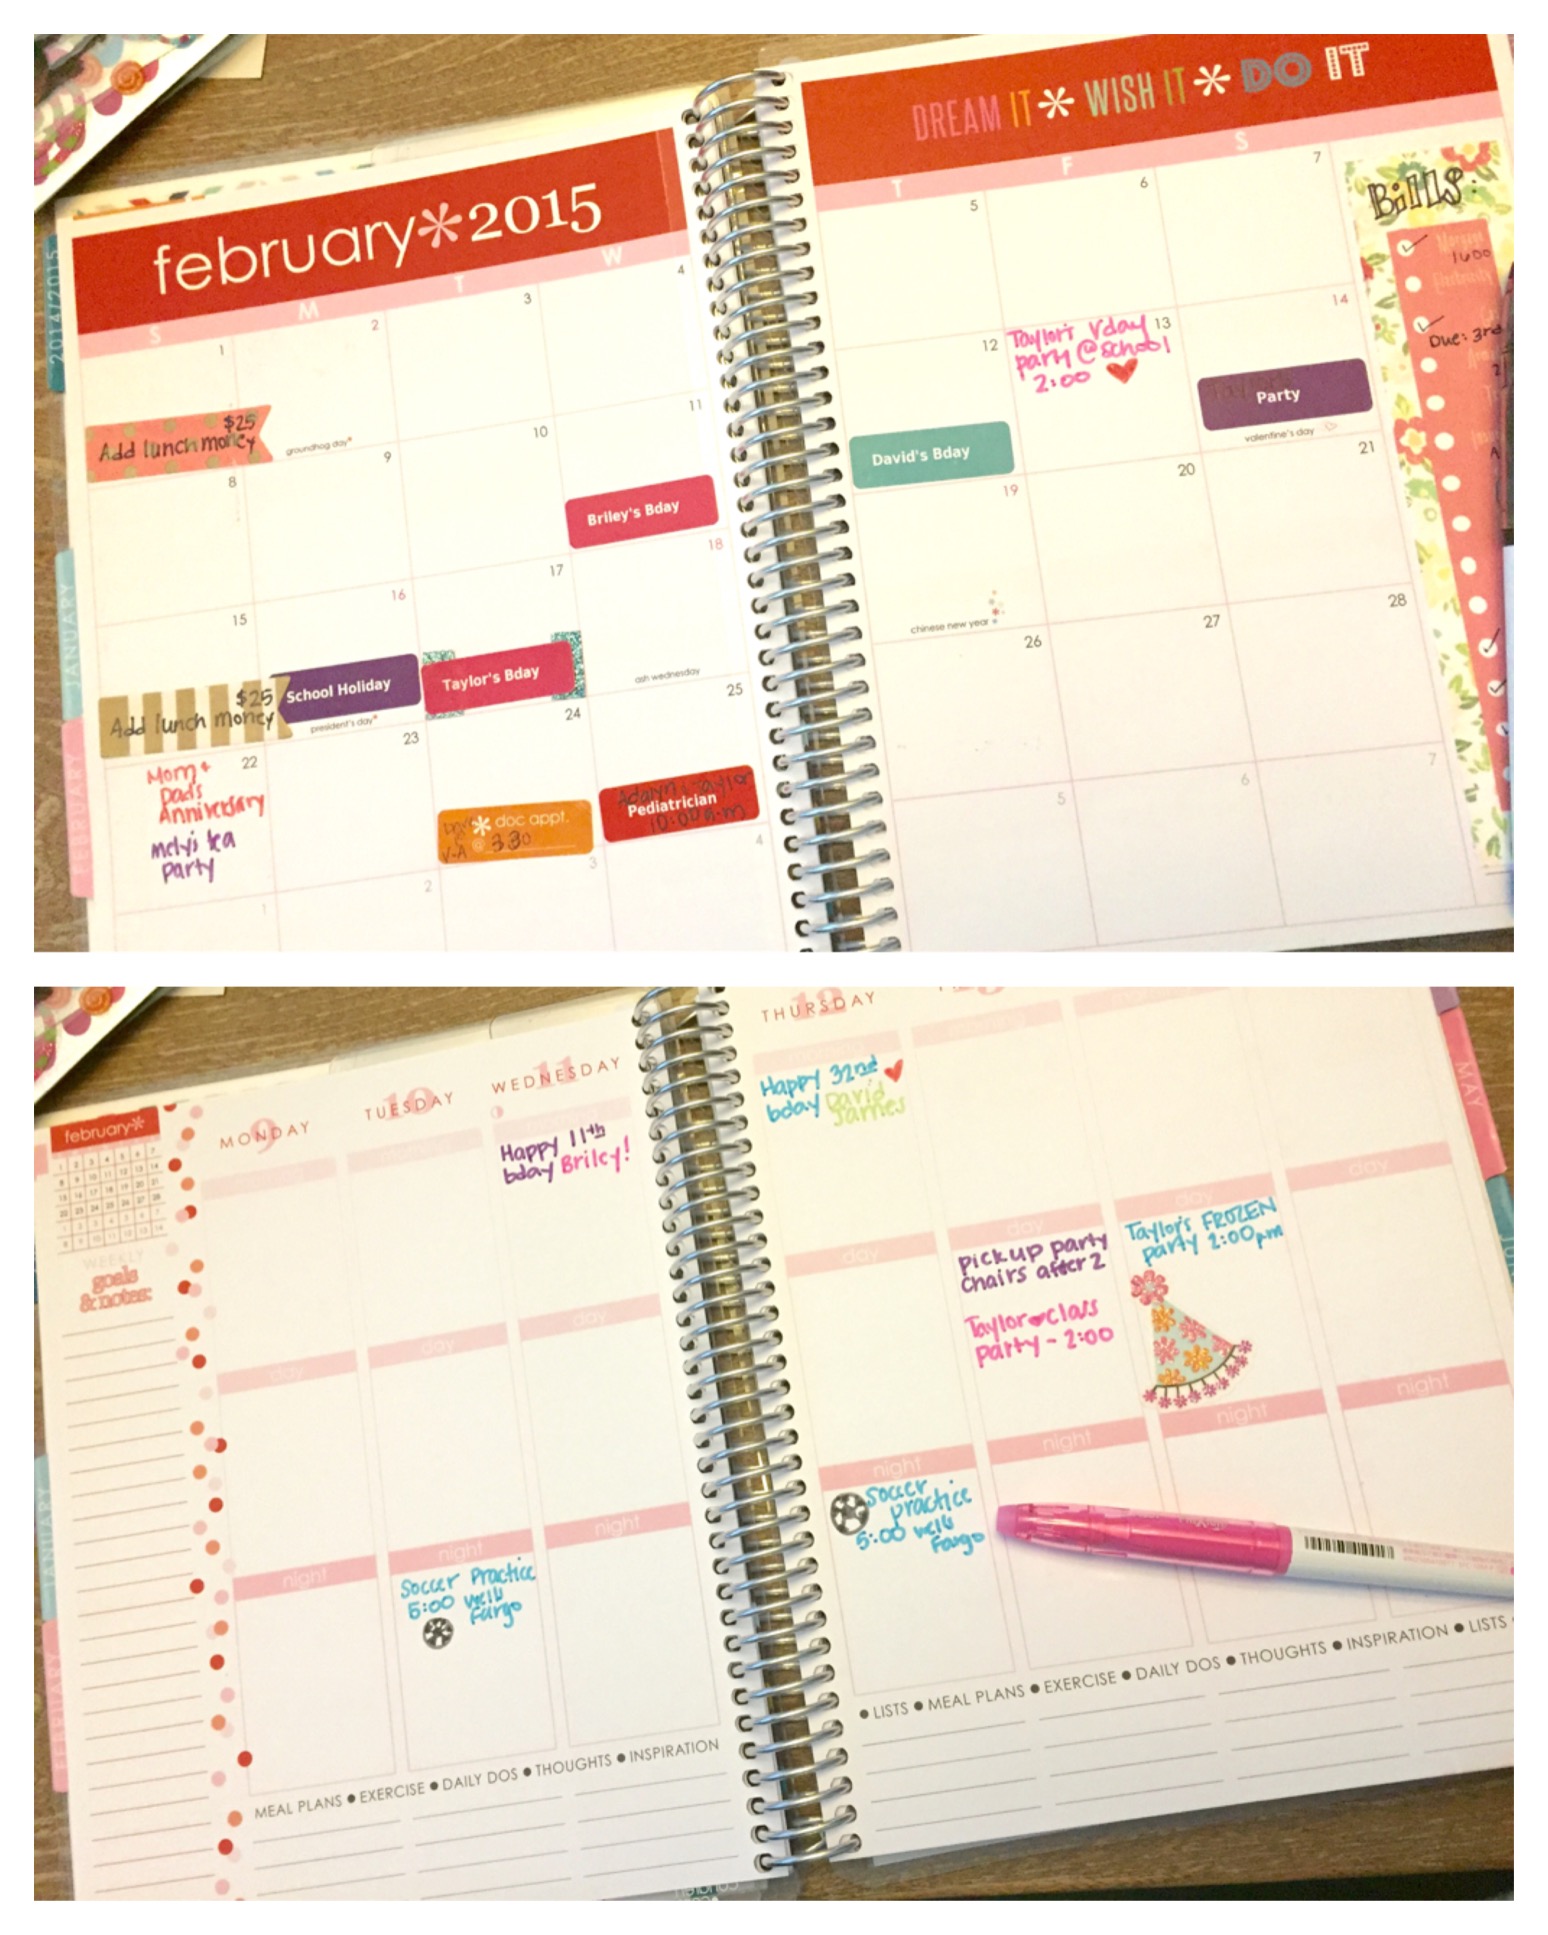
Here’s what the pages look like from monthly and weekly views.
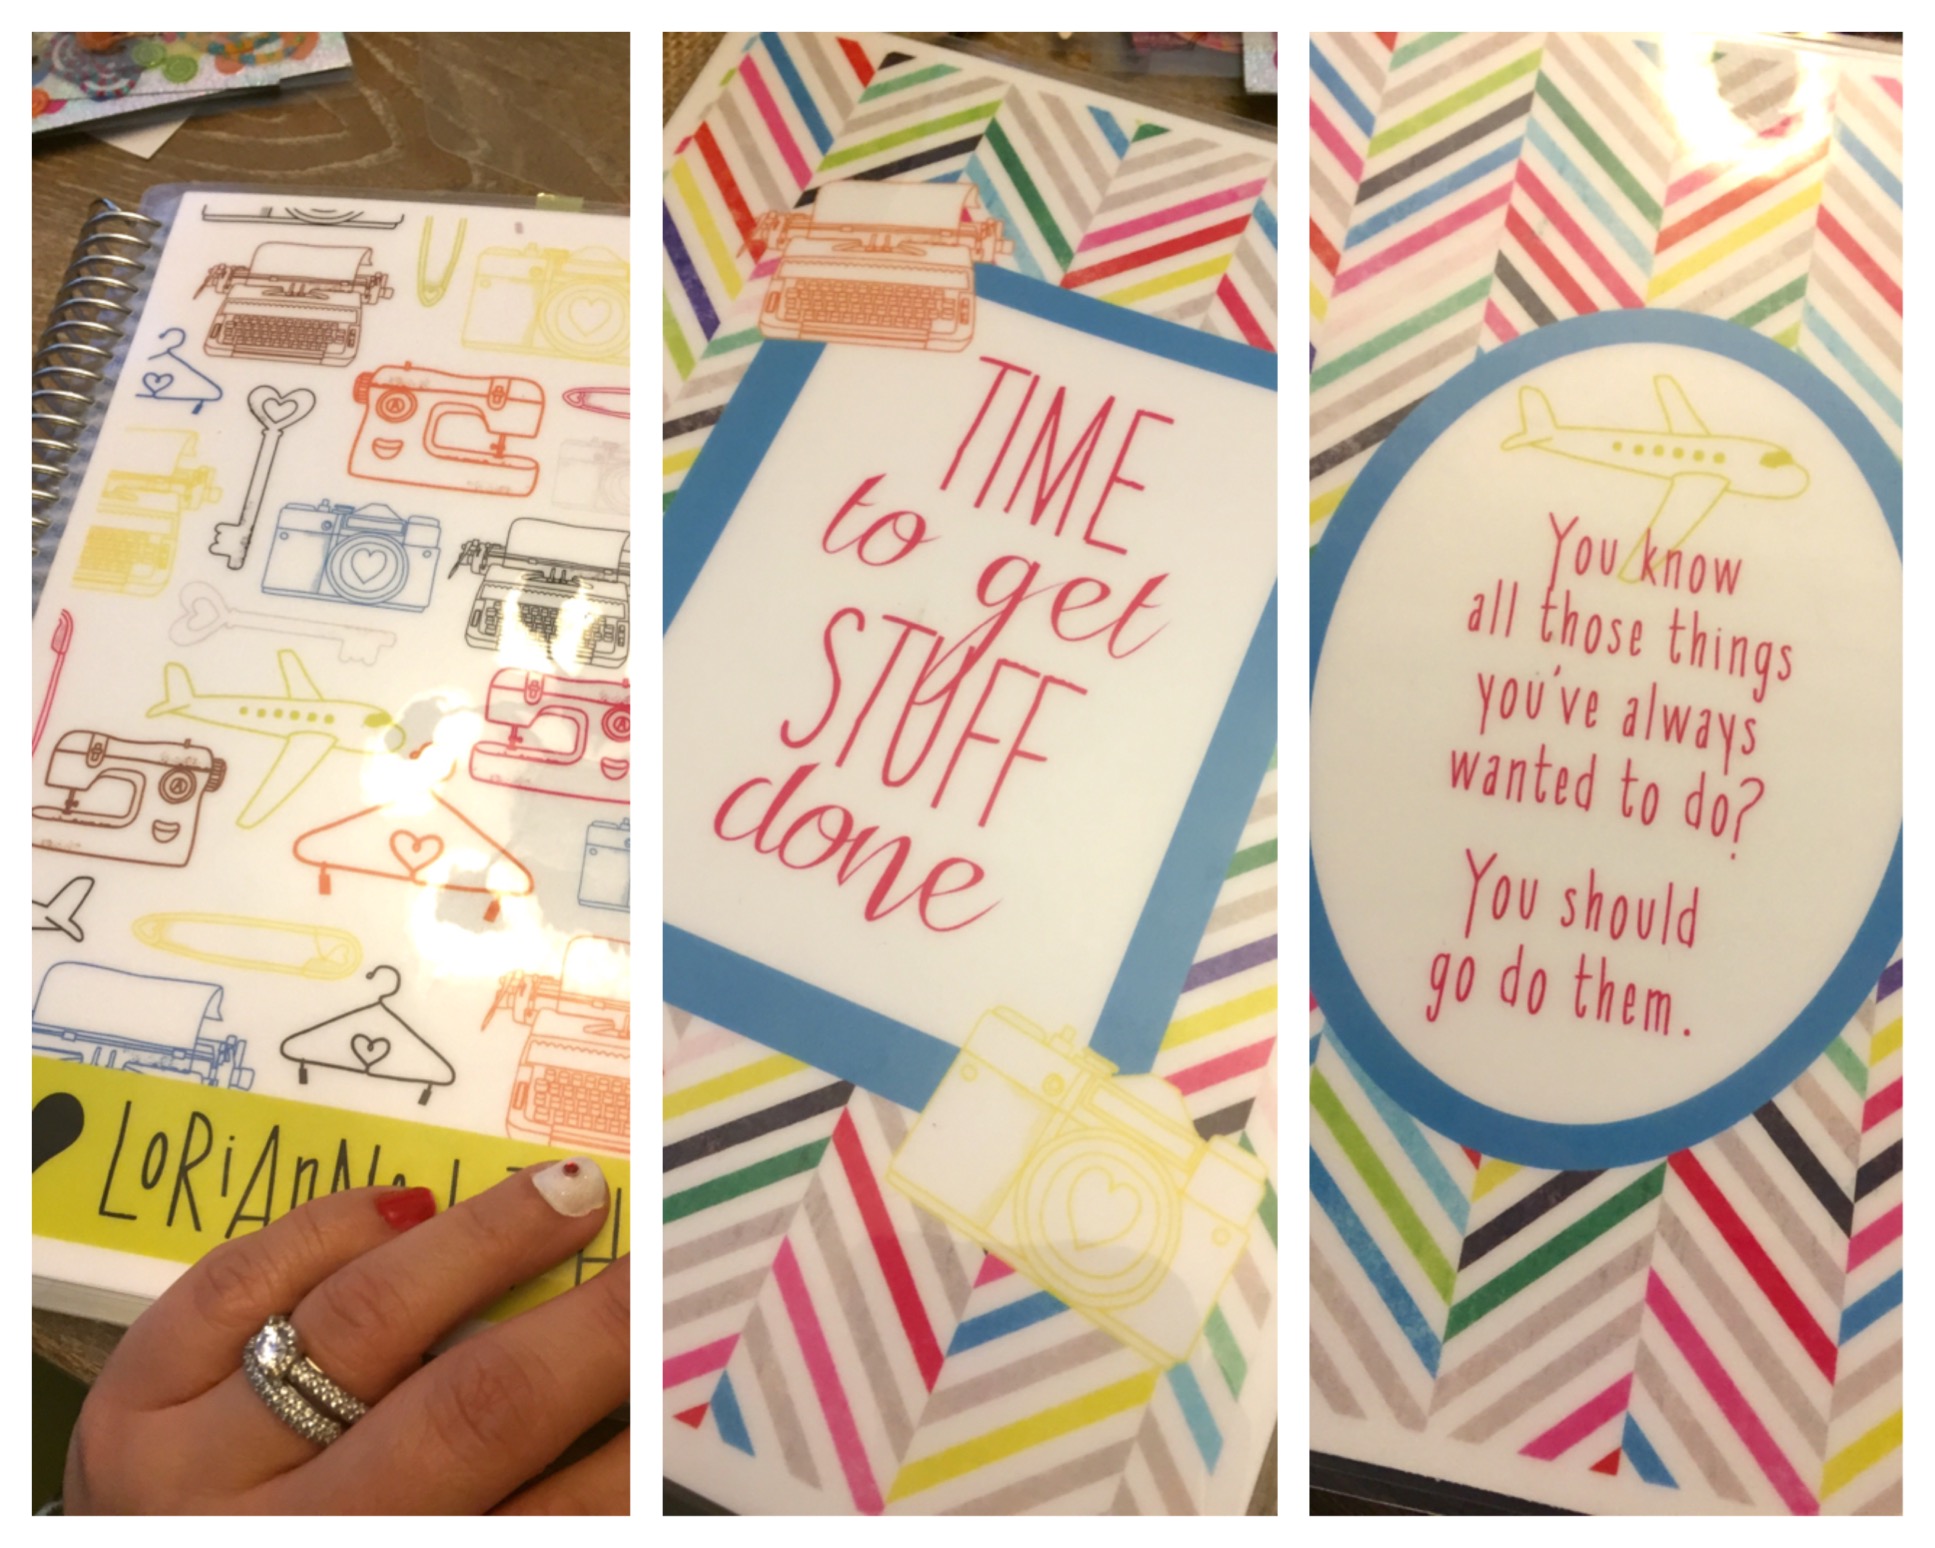
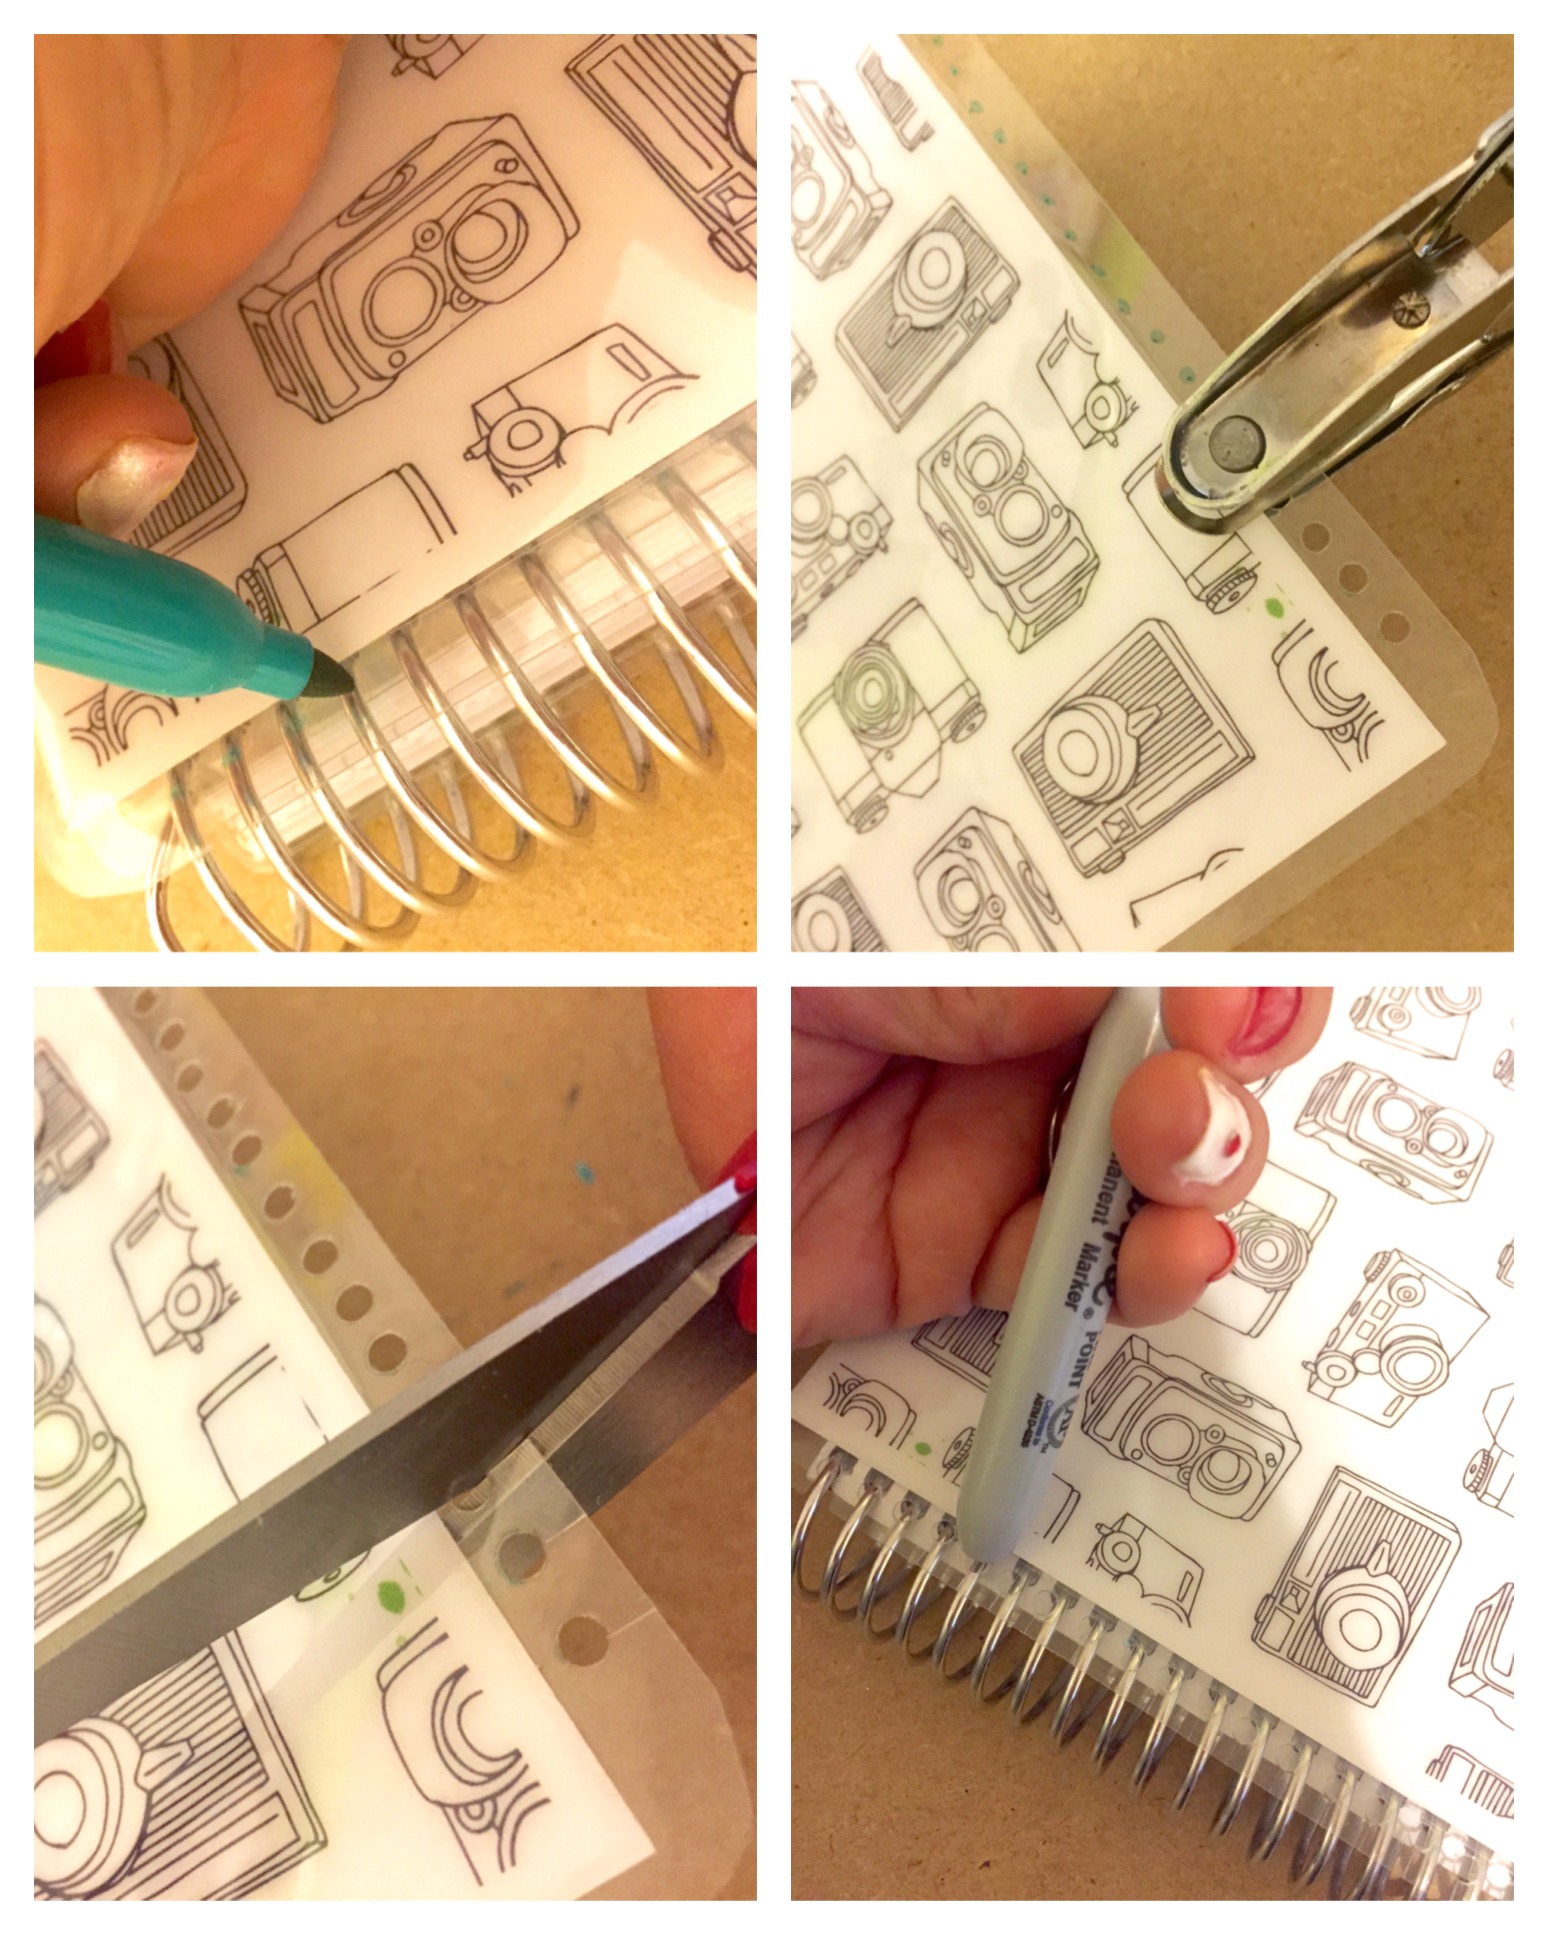
If you’re not the do it yourself type, you can purchase additional covers directly through EC for around $10. You can also find some cute ones on Etsy. To make my own cover, I selected a cute scrapbook paper combination and scanned them into my computer. I used photoshop to scale it to size, add text and/or shapes, and then printed them. I upload mine to office depot because their colors are so much more vivid than my printer at home but you can do it however you choose. While I was there, I used their straight cutter to trim the covers to size, place pages back to back, and then have them laminated on thick lamination. Be sure and tell them to laminate it in the center so you have room to cut and make your binder holes on the side. I then used the straight cutter again to cut the laminated cover down to size leaving an edge all along the sides.
Once home, I lay the new cover over the top of the planner and used a sharpie to mark where the holes would need to be quickly. I then used a handheld small hole punch to make holes all down the side. Once that is done, you take your scissors and make a slit through the center of the hole. Now the cover is ready to click right into your planner.
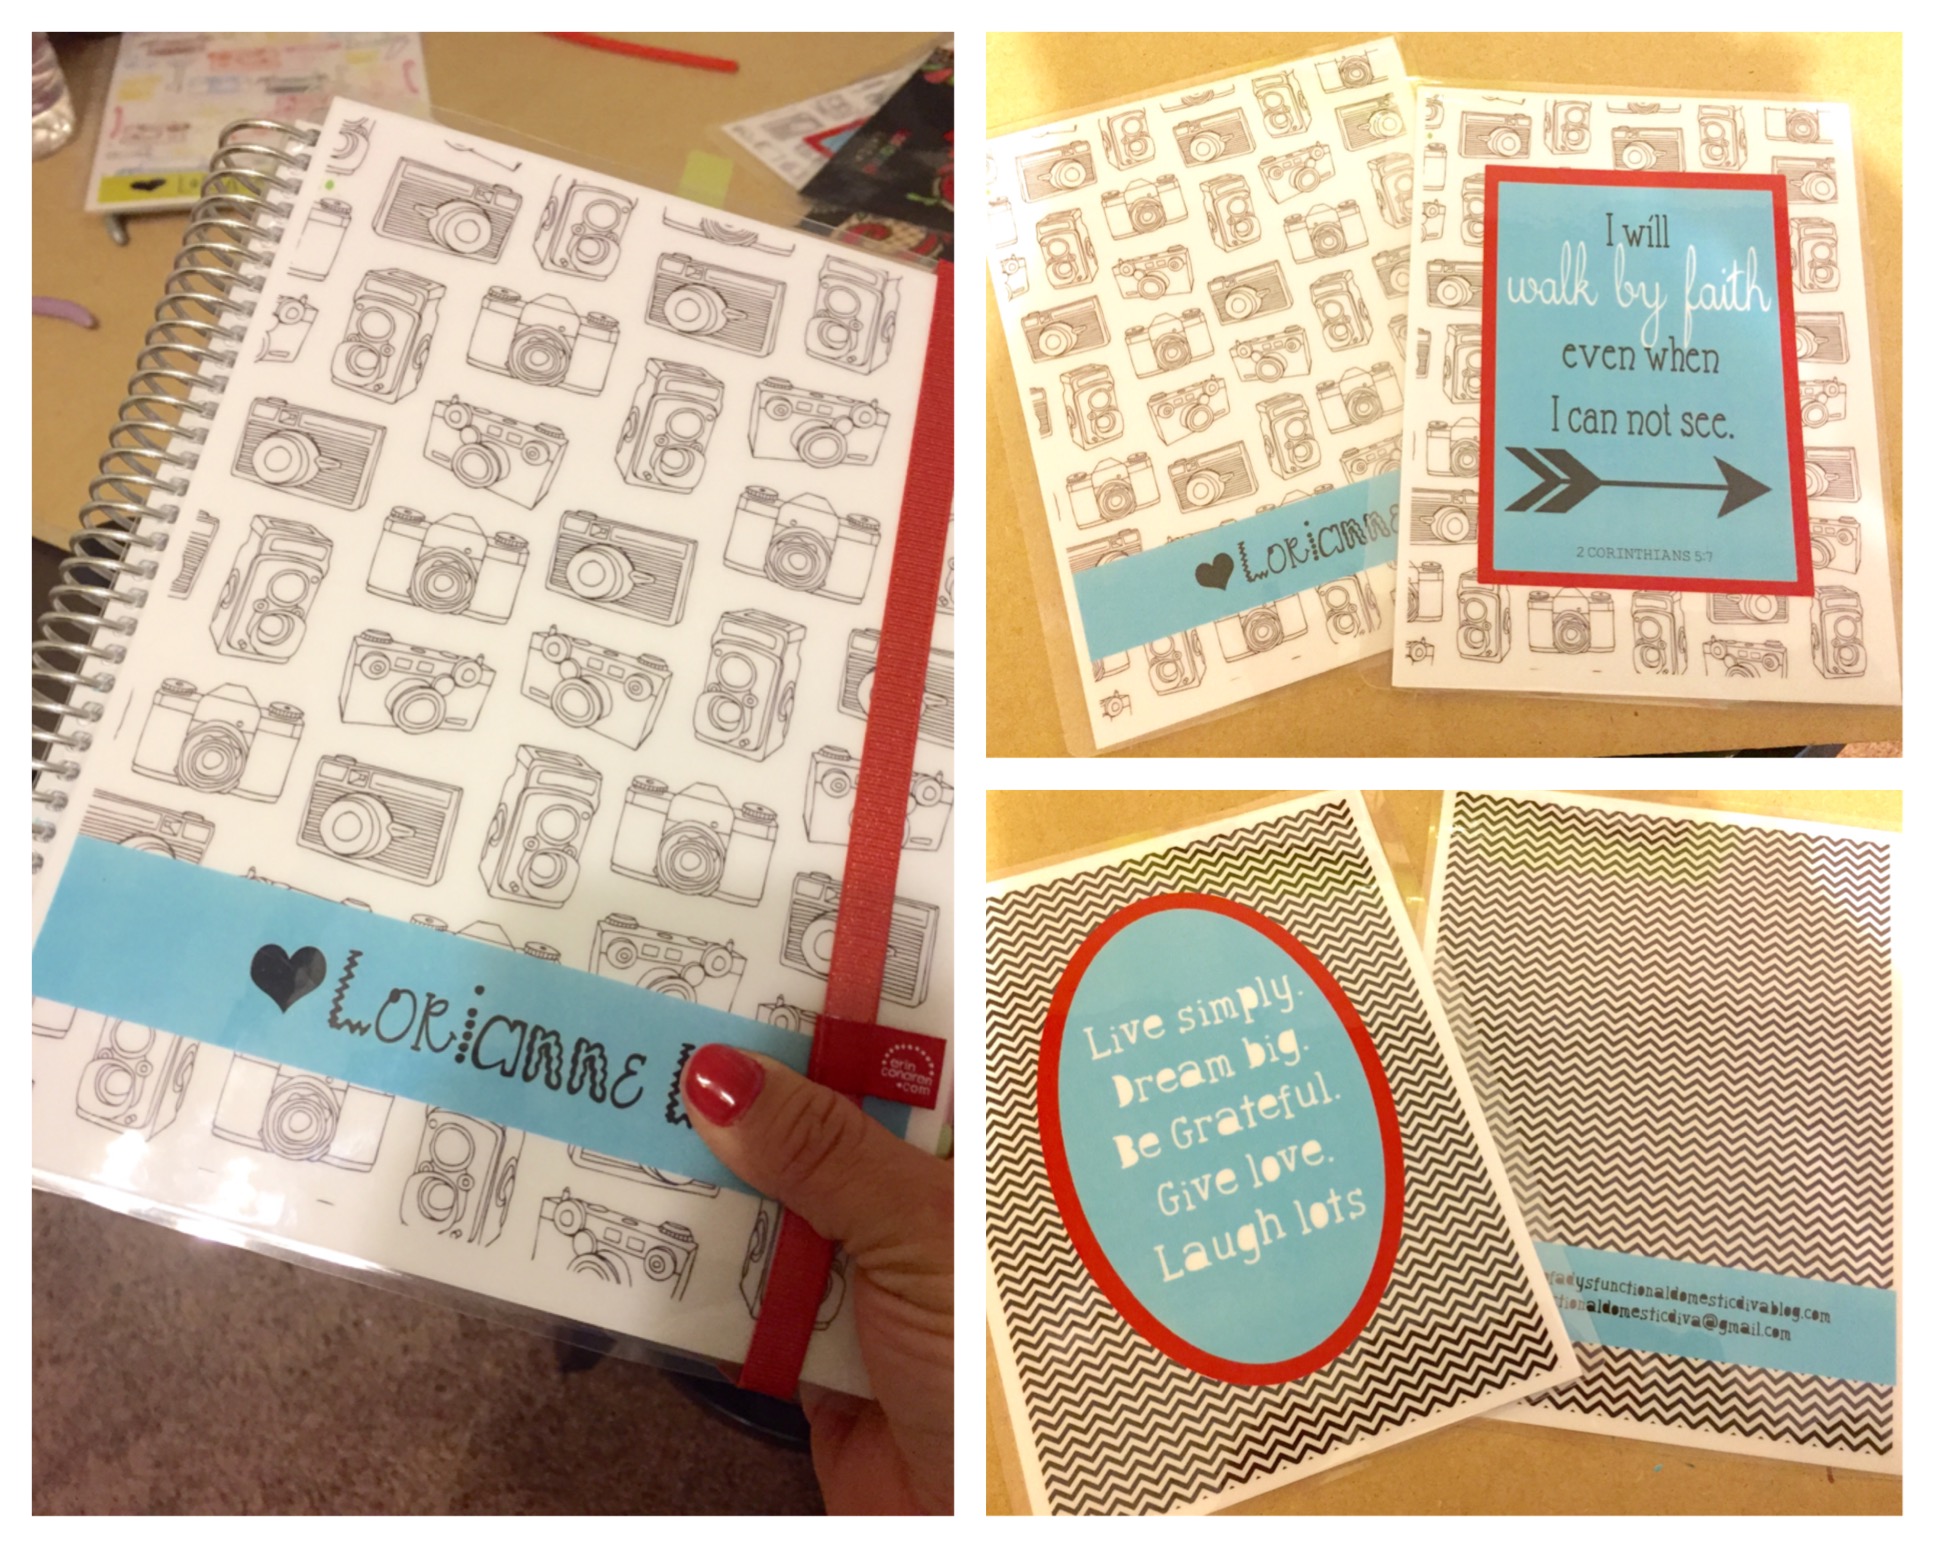
We’re only in February and I’ve already created 2 optional cover sets. I have commitment issues. haha
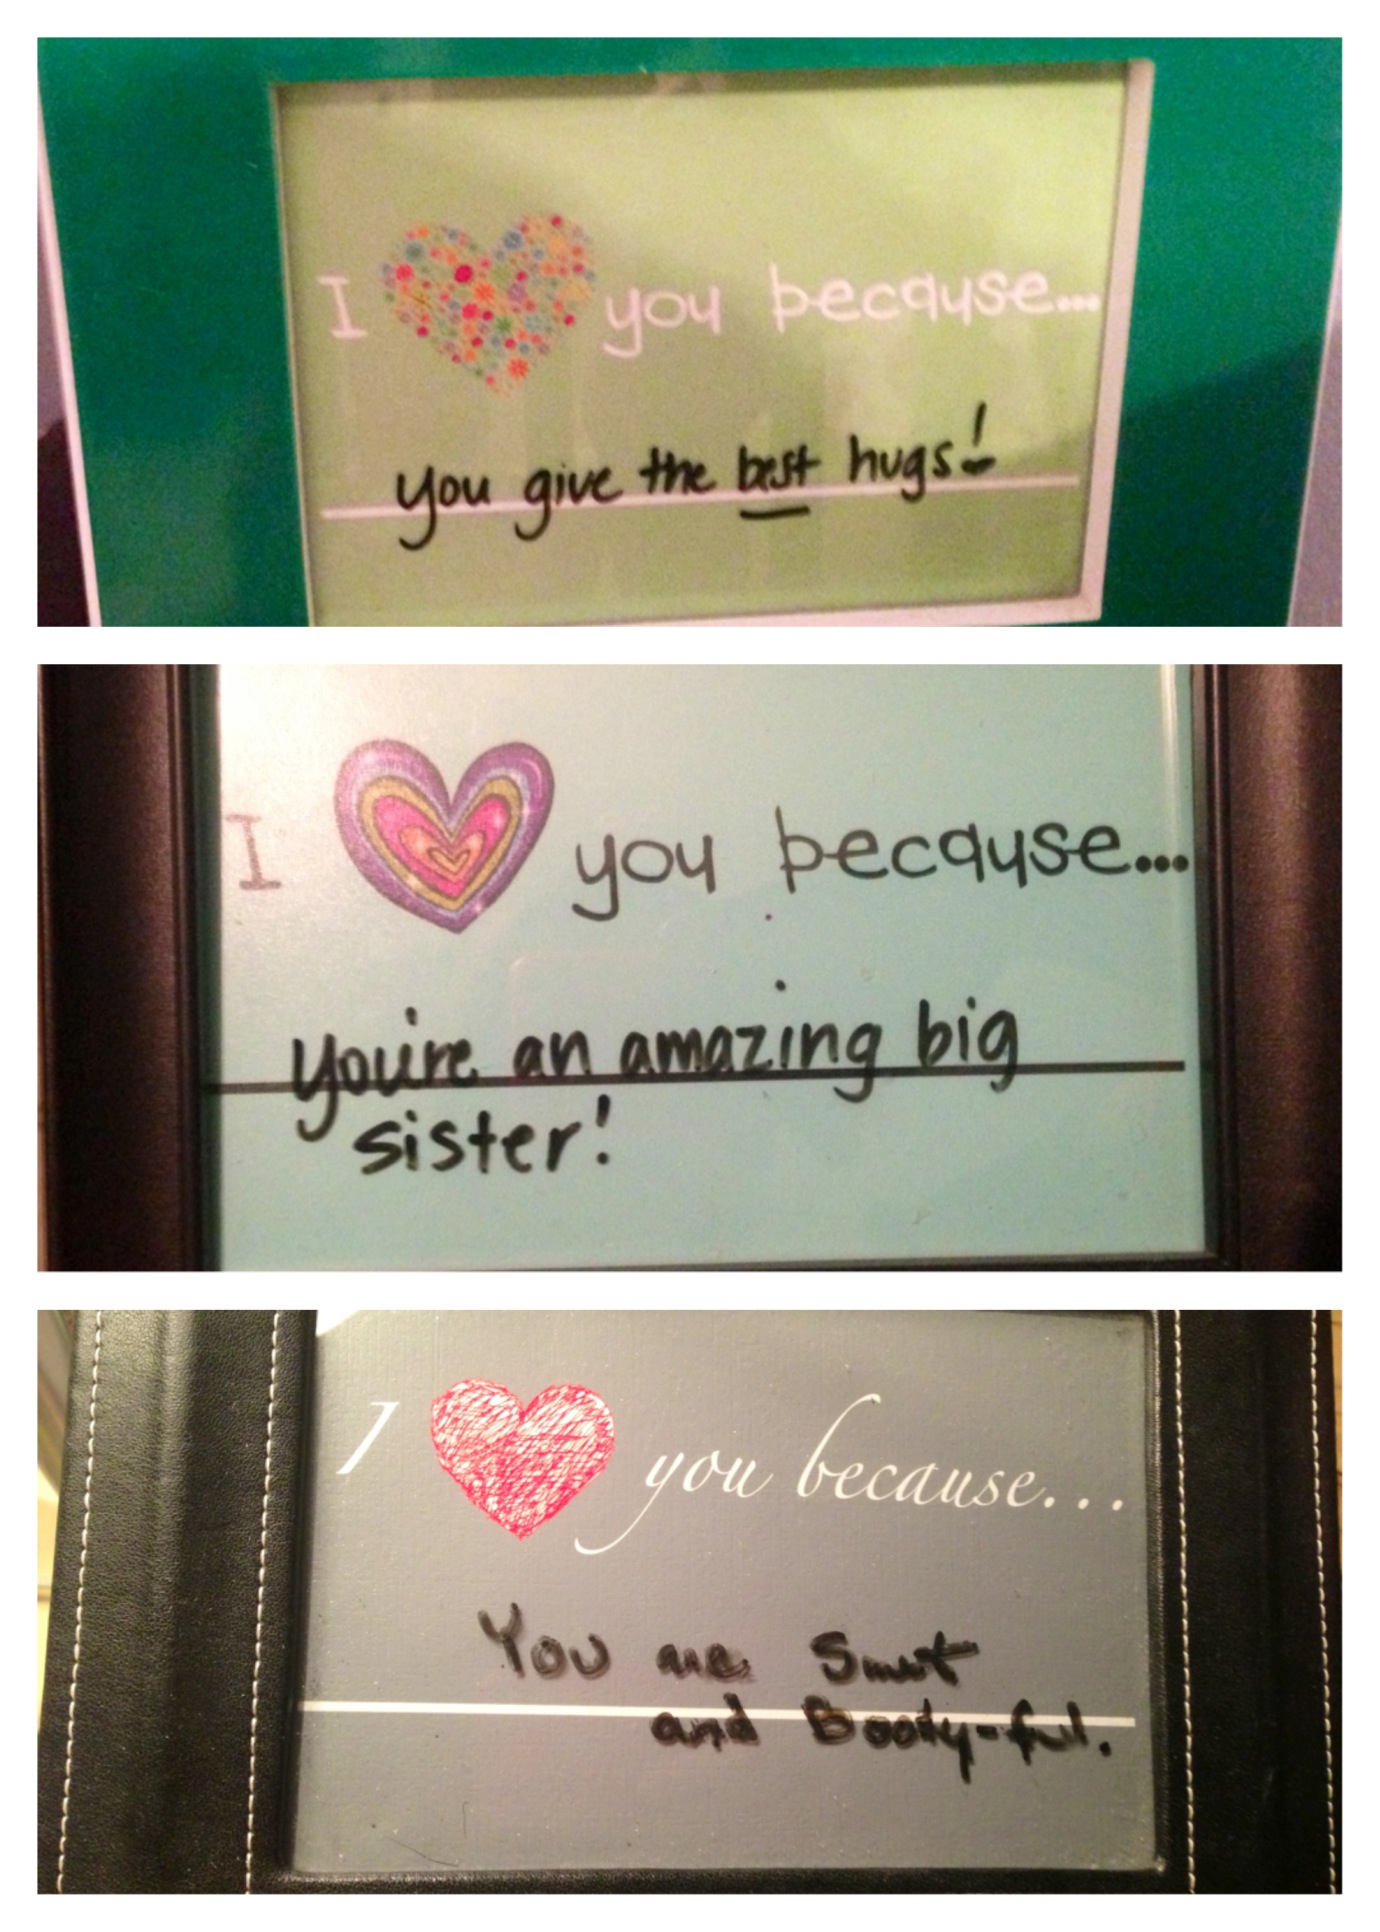
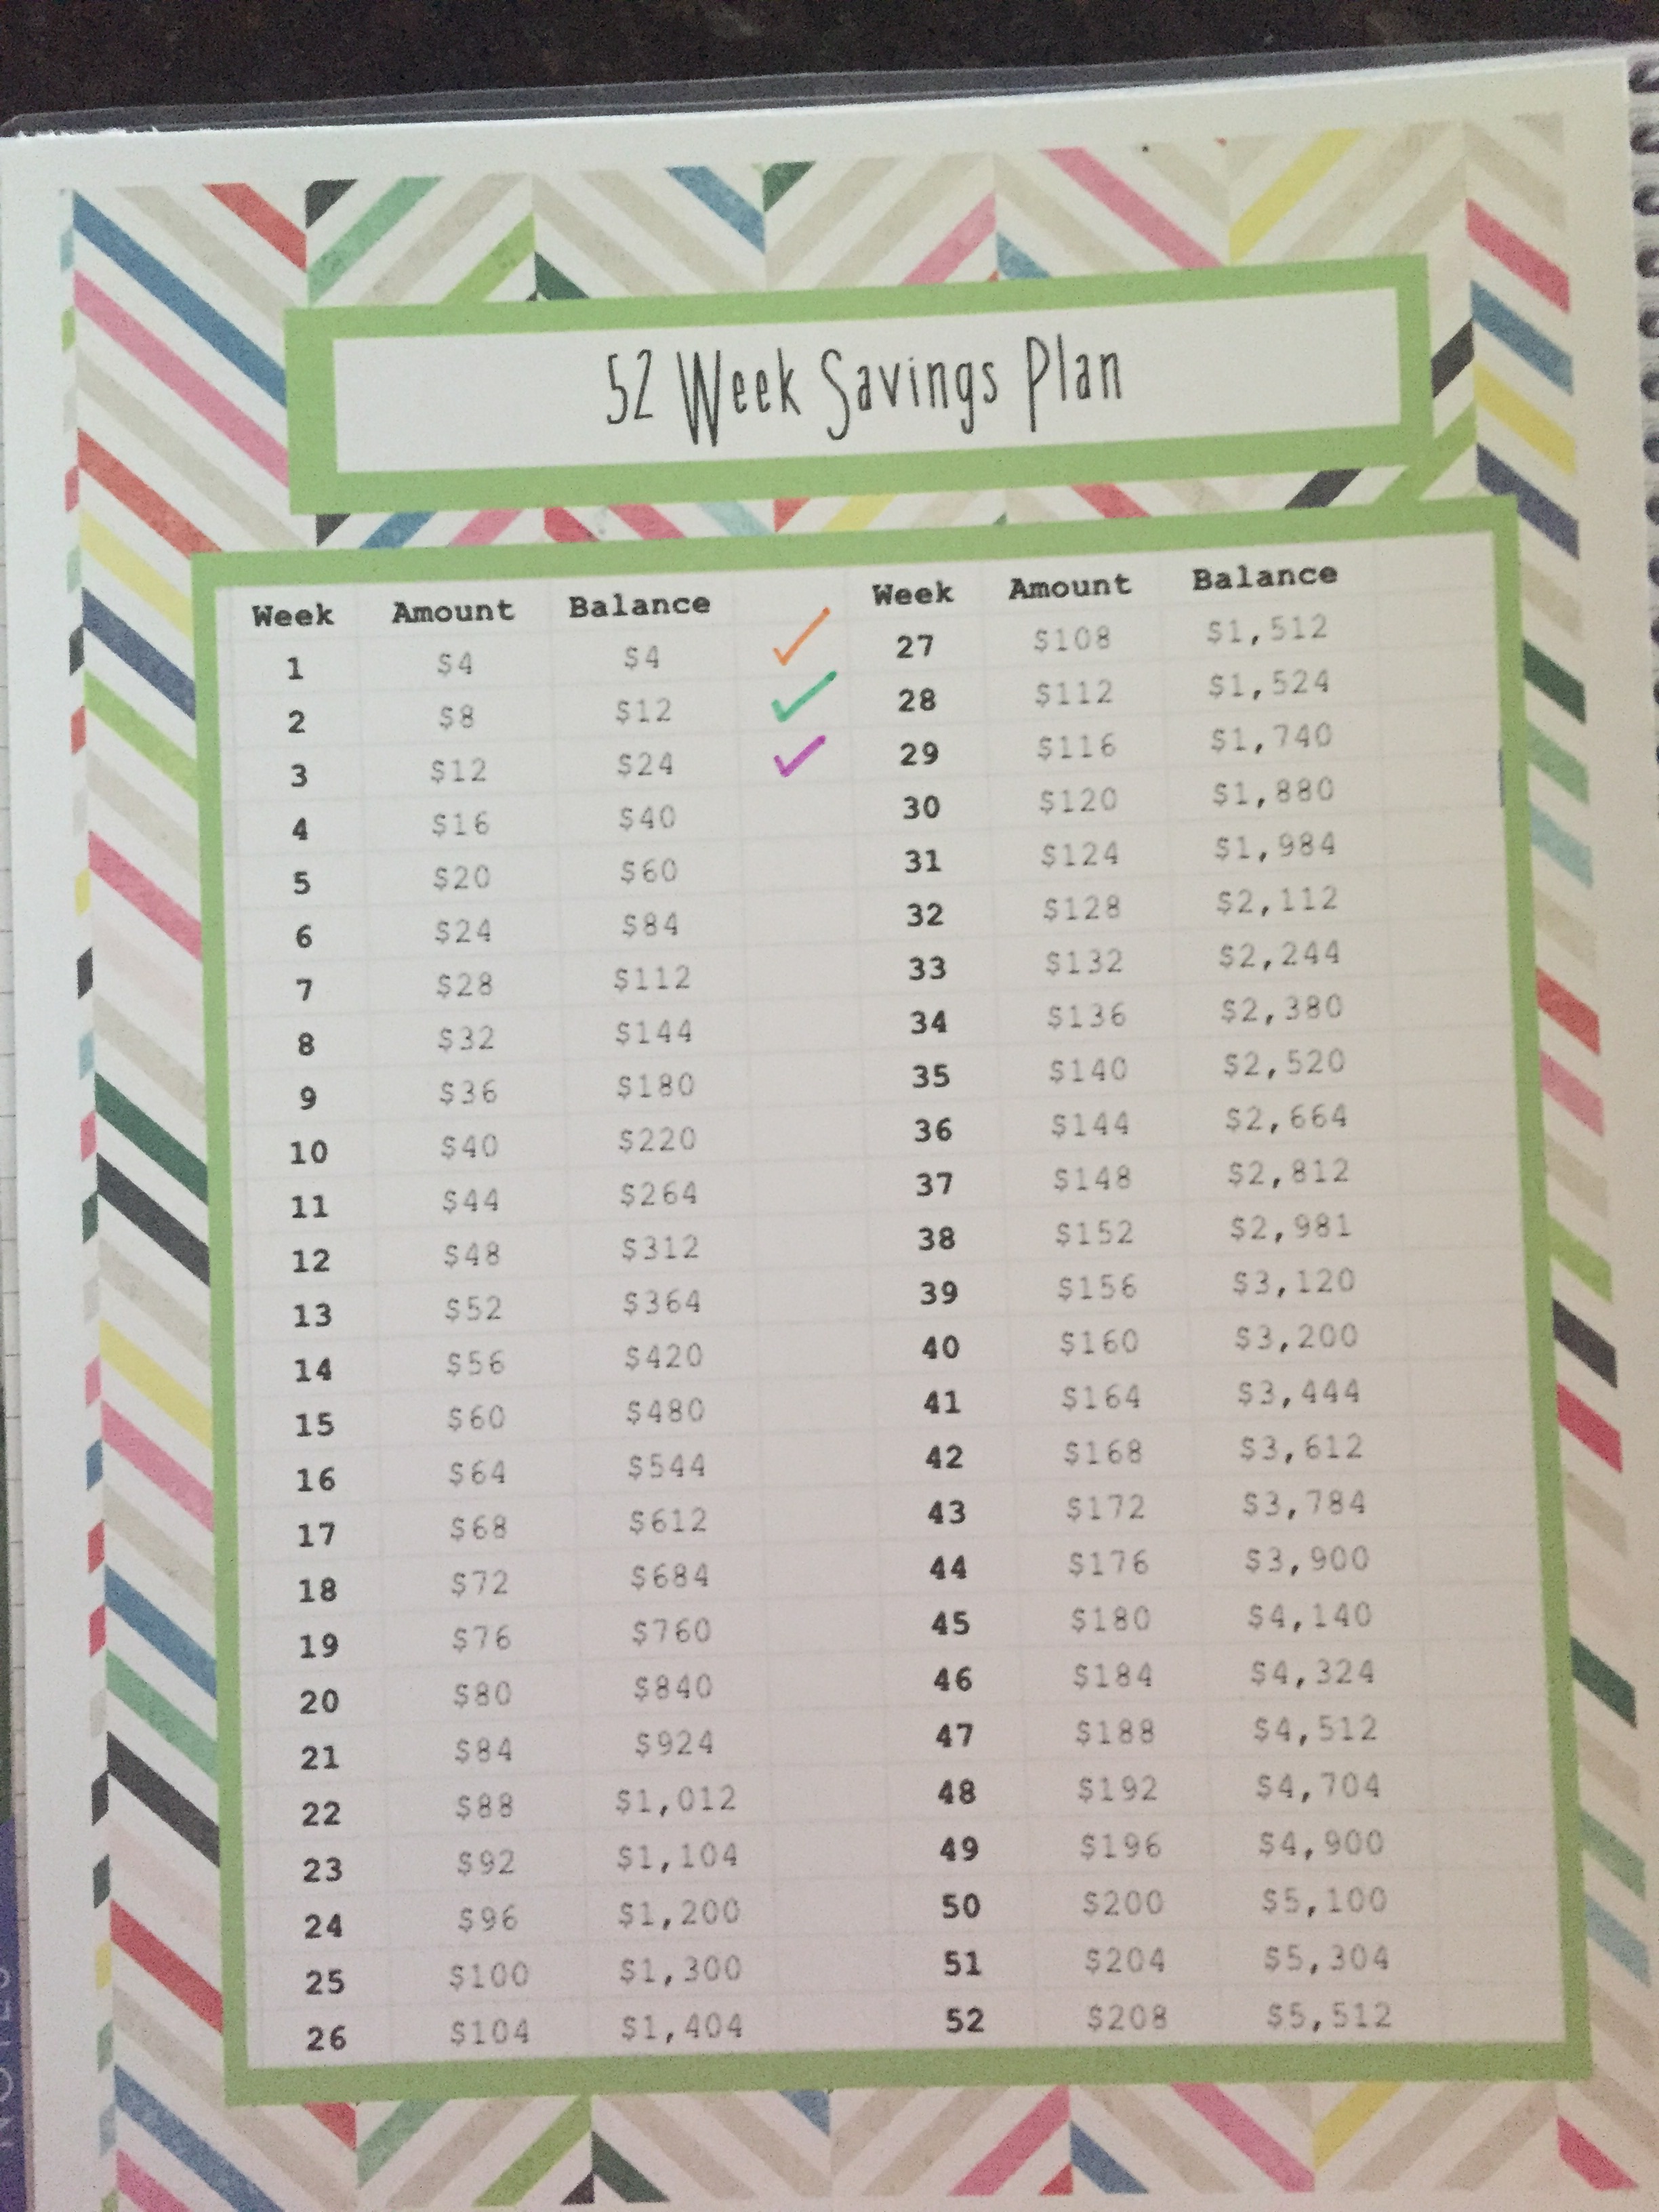
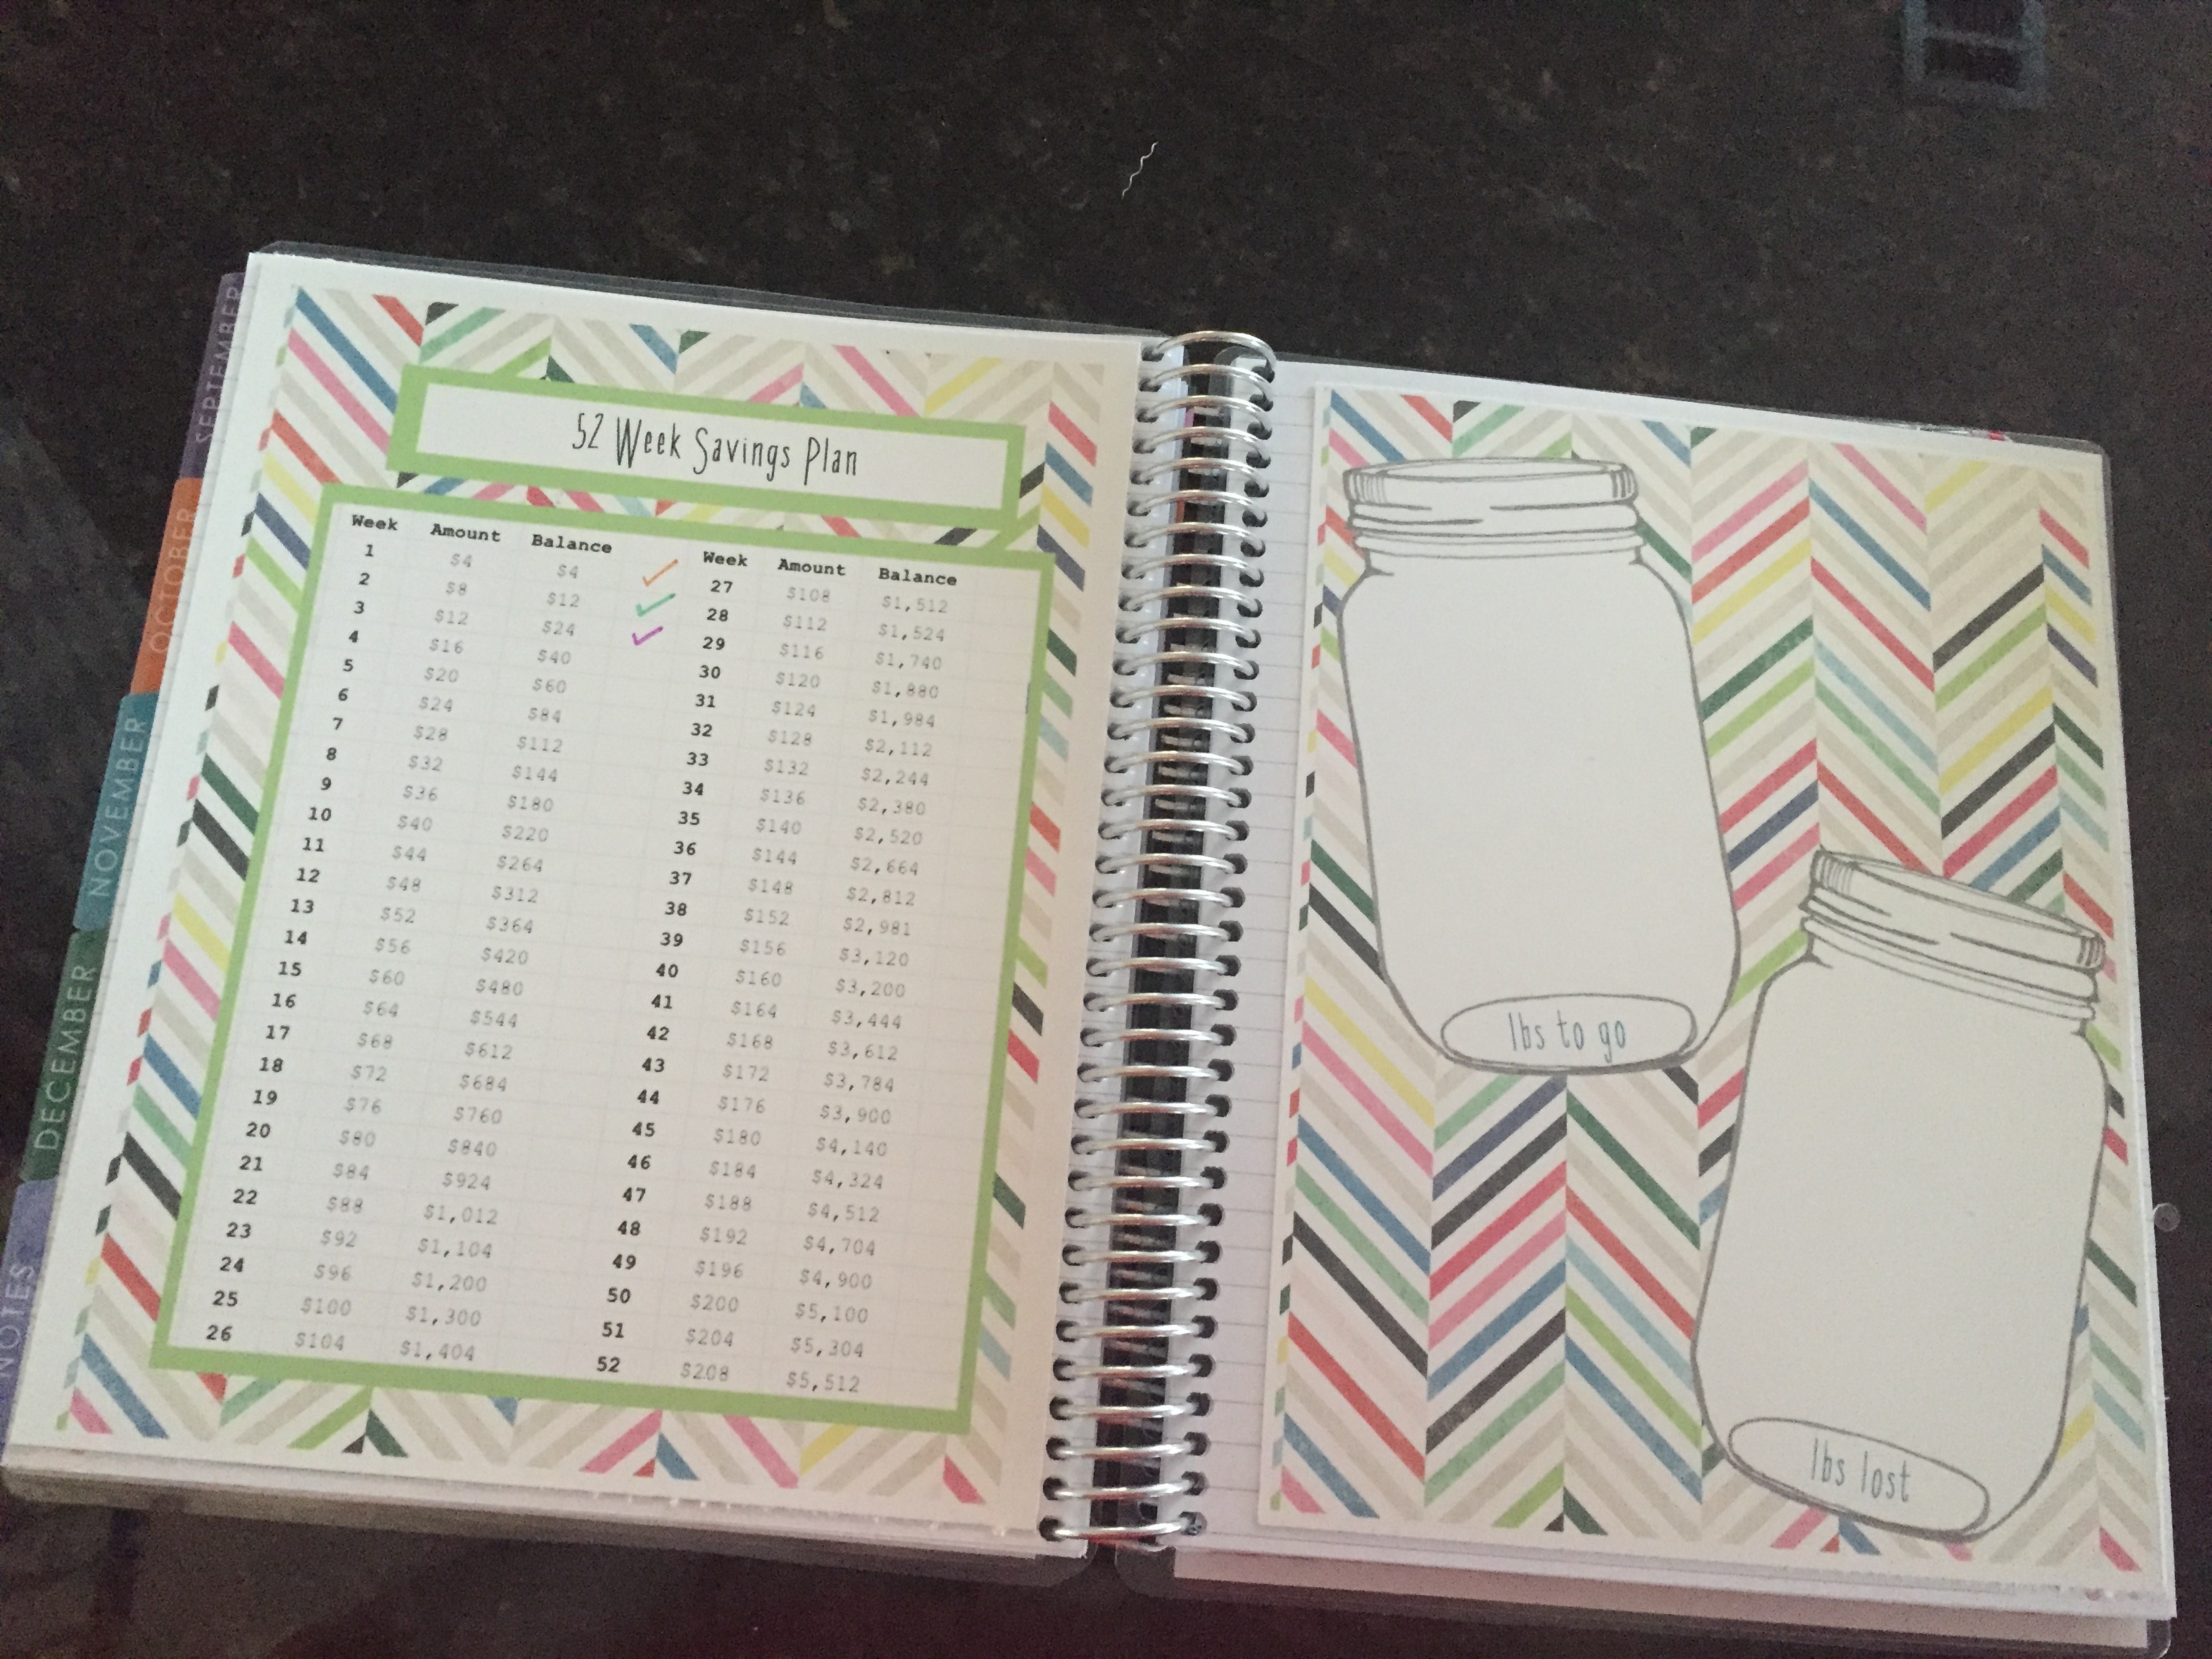
I also created a few printouts to help me with my little goal oriented organization. I kept seeing the 52 week savings challenge on pinterest and was dying to try it for our next Disney trip spending money stash so I added a checklist for that as well as a little mason jar weight loss page. I’ve been keeping up with the 52 week savings challenge thing but I will plead the 5th on the weight loss page! It’s not my fault, it’s those darn girl scouts I tell you! 😉
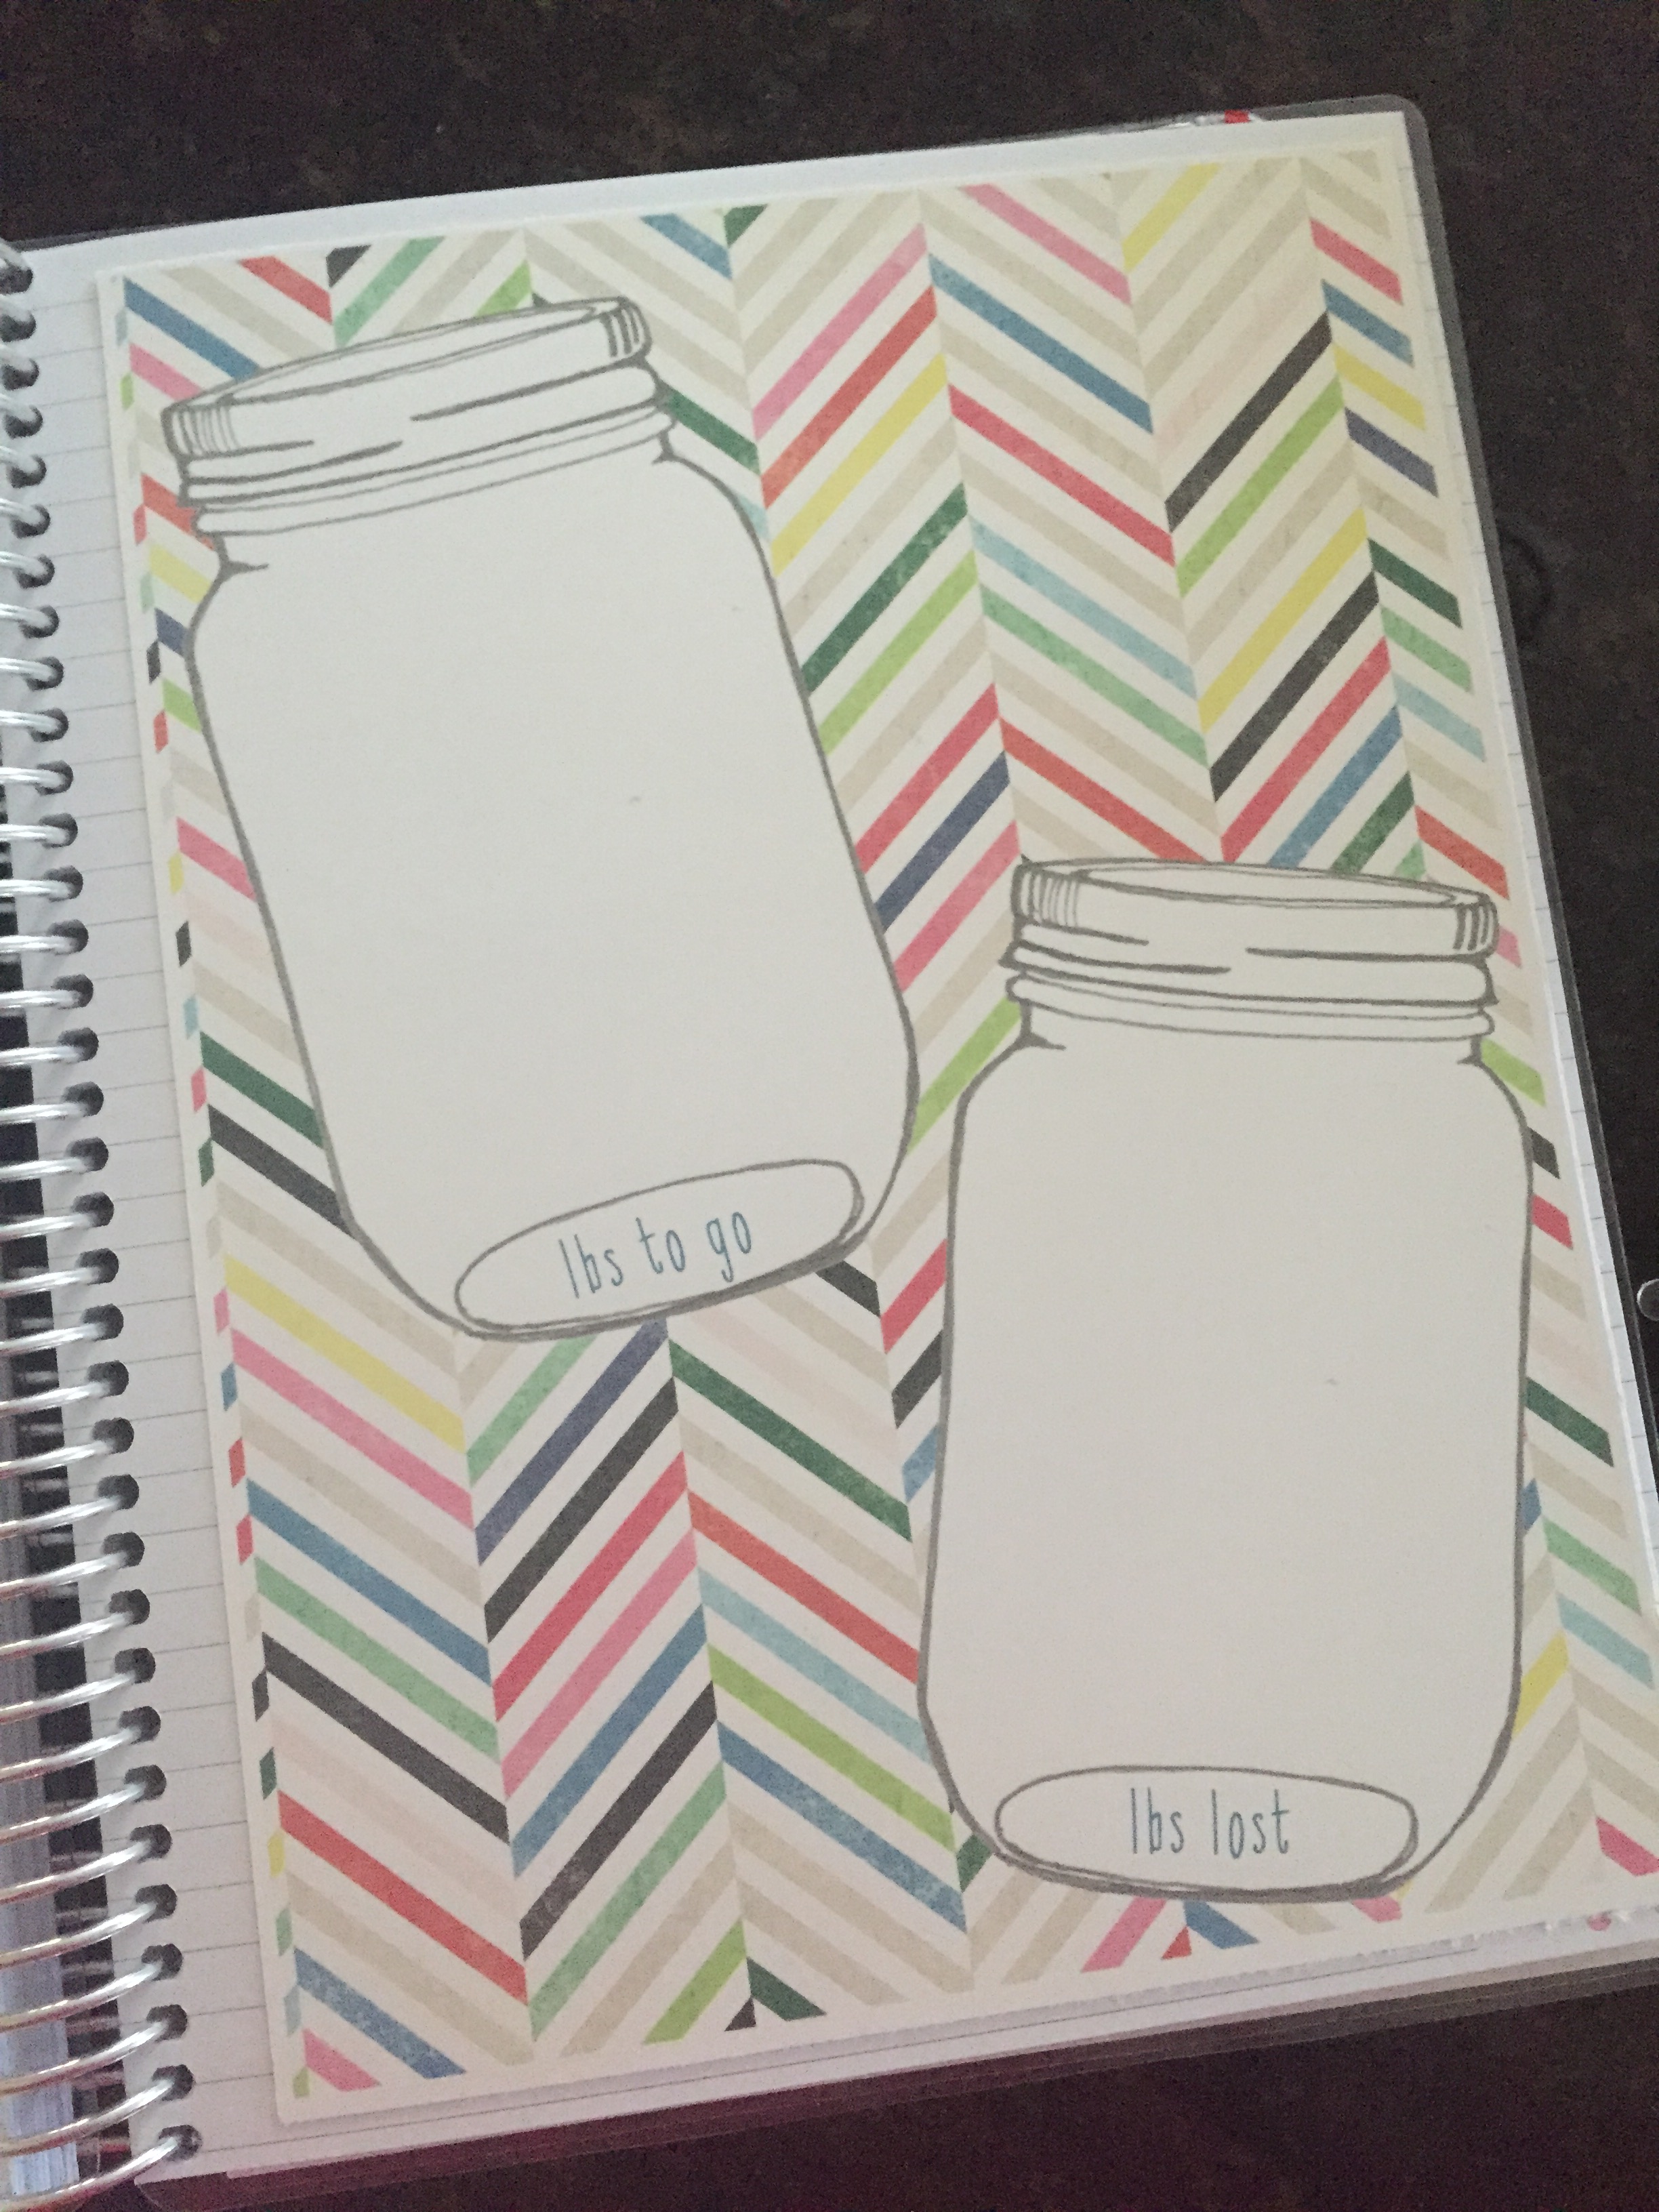
You can laminate these and insert them the same way as the covers if you so choose but I just glued them over some of the additional memo pages in the back that I will likely never use. I used little heart stickers to symbolize the about of lbs I wanted to lose this year and then as I lose them, I’ve moved them to the other lbs lost mason jar. Sadly, there are many more hearts in the lbs to go jar than there are in the lbs lost jar!
Overall, I’m really loving my planner and the fact that it’s large enough for me to see and really write in yet compact enough to toss in my handbag. I think I’m officially an EC believer! Ready to get started? You can follow this link to start your own account and create your very own Erin Condren Life Planner
https://www.erincondren.com/referral/invite/loriannelatch0107
Now here are some of the goodies I made for my planner. I’ve removed my name for you so that you can add your own and print if you so desire. Hope you enjoy!
plannerfrontandback1 This one can be used for the front and back of your planner. Just add your name.
Obviously, once you print, you can arrange them any way you want them, this is just how I did mine. Here are the mason jar printable, errands bookmark style insert, and the 52 week savings challenge to match.
plannererrands Just print this, cut it, place it back to back, laminate, punch holes, cut, and insert like the covers
Hope you get some use out of these printables. Have you used any of my printables in the past? Would love some feedback. Did they work out for you? How did you use them? Keep them coming? Comment here or email me at dysfunctionaldomesticdiva@gmail.com
Thanks! Happy organizing! ❤